Hi!, Easter is already here, that’s why today I have this DIY Easter Bunny Basket for you to decorate your home, I tried to put together in this basket the colors and symbols used for this celebration; I hope you enjoy doing it as much as I do!
Easter Bunny Basket

What you need to make this Easter Bunny Basket:
- Basket
- Moss
- Natural Felt
- Cotton
- Twine
- Sewing needle
- 1 sheet of paper
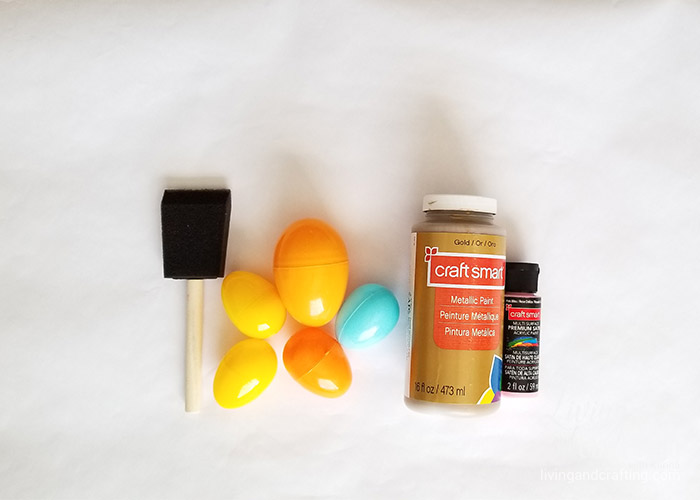
- Plastic eggs (1big, 4 small)
- Acrylic Paint (pink , golden and brown)
- Sponge Paint Brush
- Tulip Paper Flowers
- Bunny pattern
- Old Toothbrush
- Silhouette Cameo machine (optional)
- Scissors
- Newspaper
- Hot silicone or glue
Start by downloading the bunny pattern:
- For Silhouette Cameo: cut bunny.studio, cut it, mark it on the felt 2 times and cut them.
- If you do not have Silhouette Cameo: cut bunny.pdf, print it on a sheet of paper, cut it, mark it 2 times on felt and cut them.
You must have 2 felt bunnies like these
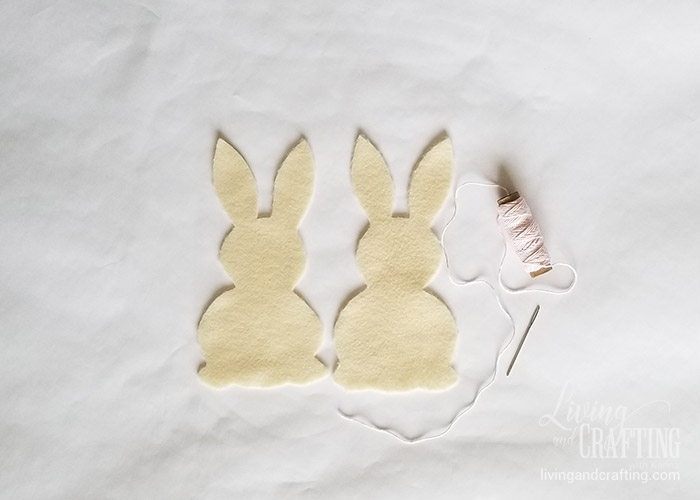
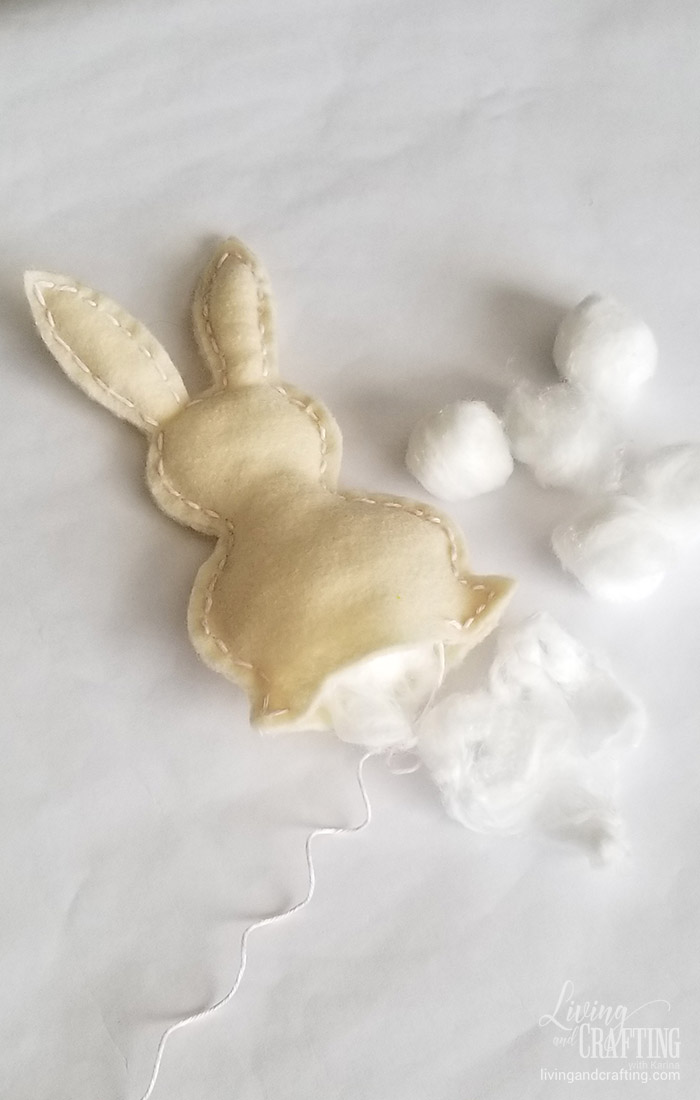
Take the twine and the needle, and sew both rabbits around the edge as shown in the photo
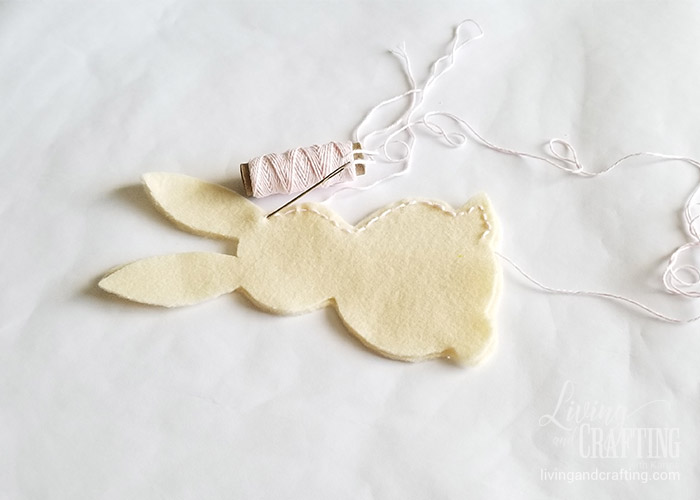
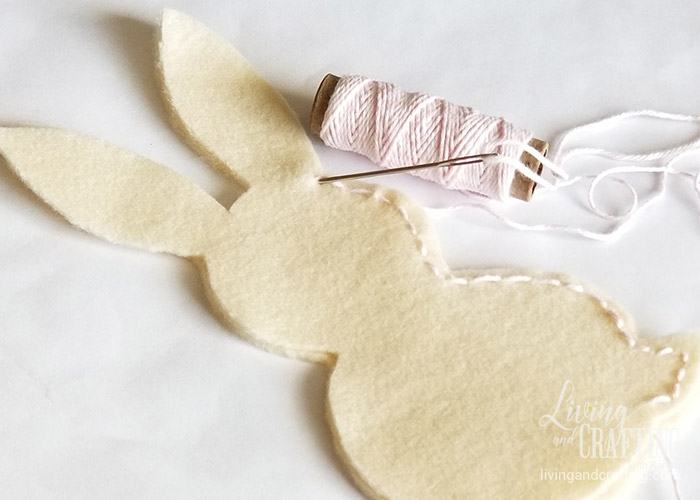
You must leave a hole in the bottom to fill with cotton
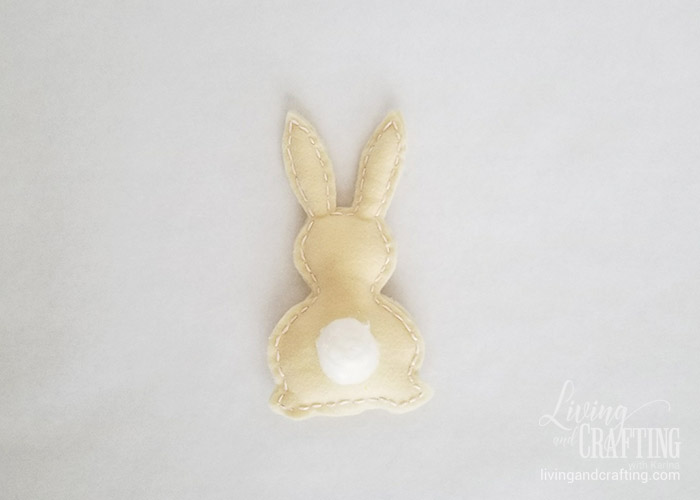
When the rabbit is stuffed, finish sewing it, take a cotton ball and glue it as the bunny tail
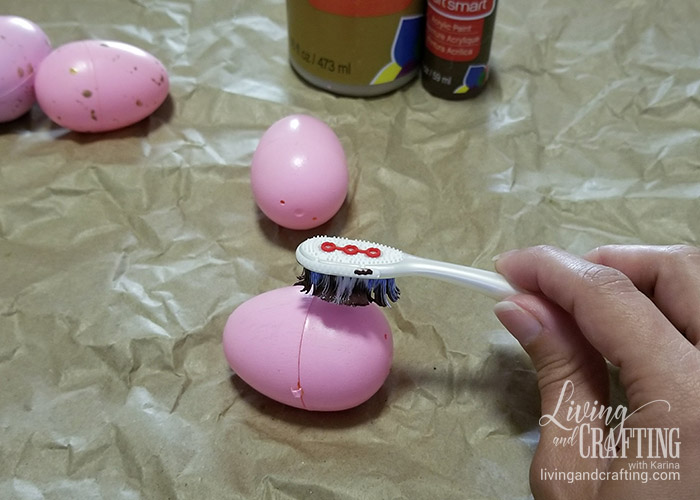
Take the plastic eggs and paint them, I painted the big egg gold and the other ones pink (you can use the colors you prefer)
Then take the old toothbrush and put a little brown paint on it and lightly touch the eggs
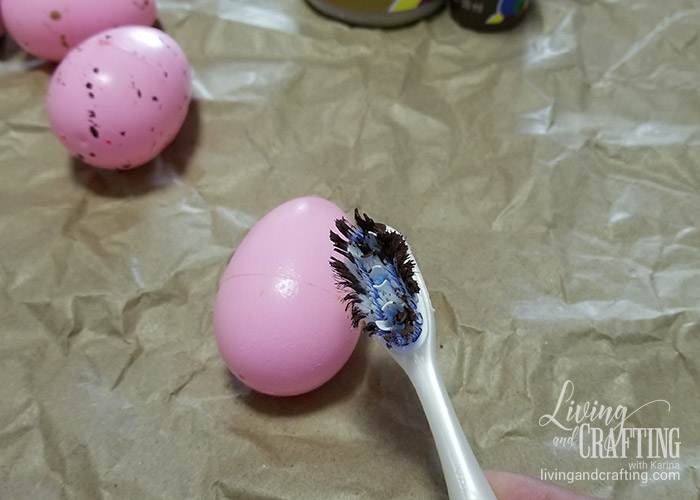
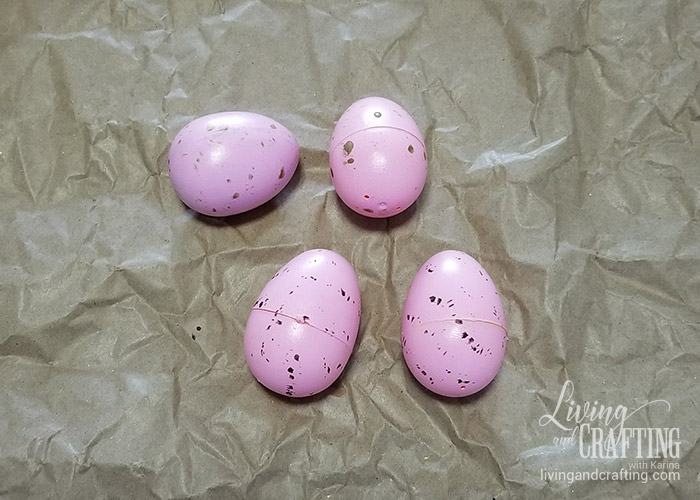
They should look like this (I made brown spots on 2 eggs and gold spots on the other 2)
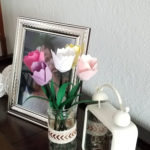
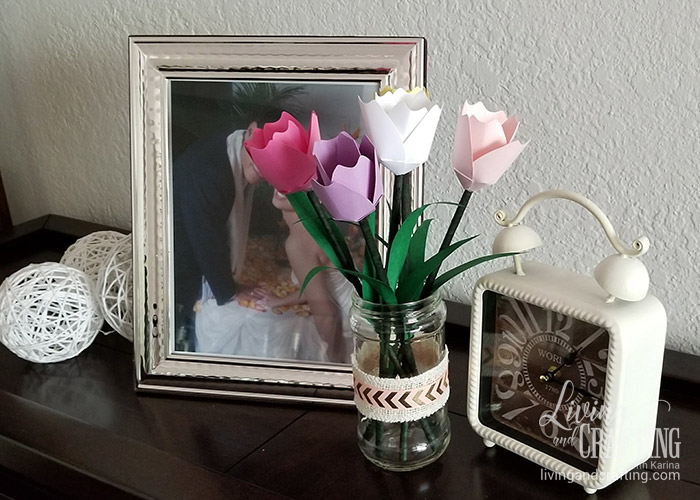
It’s time to make the tulips, in my previous post DIY Spring Tulip Paper Flower, you’ll get the patterns and the step-by-step tutorial on how to make them
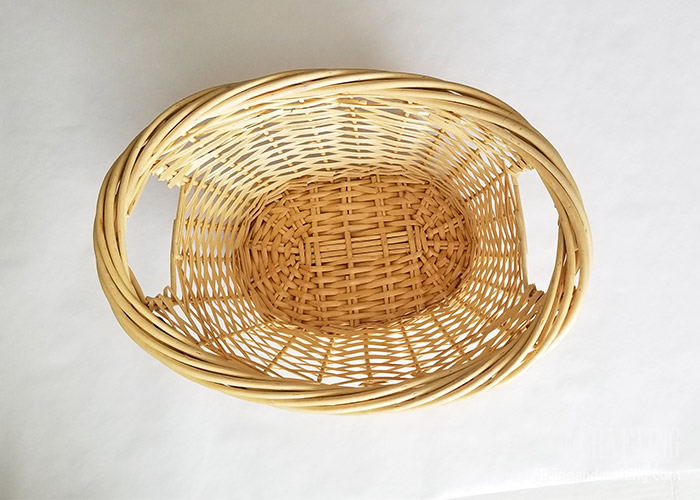
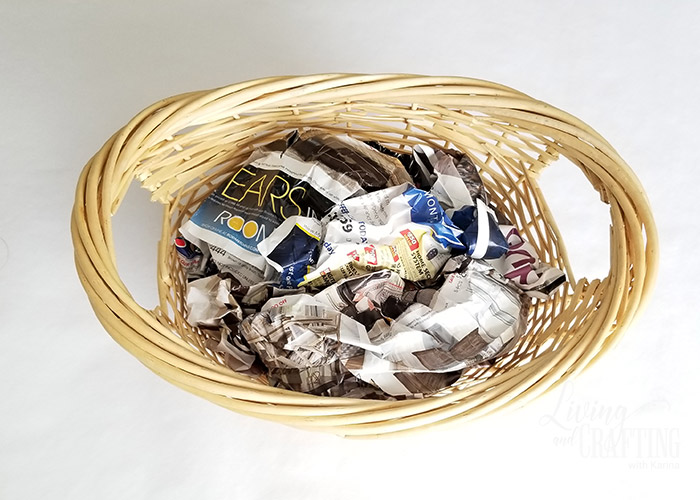
Now you have everything you need to assemble your Easter Bunny Basket, take the basket and fill it with newspaper
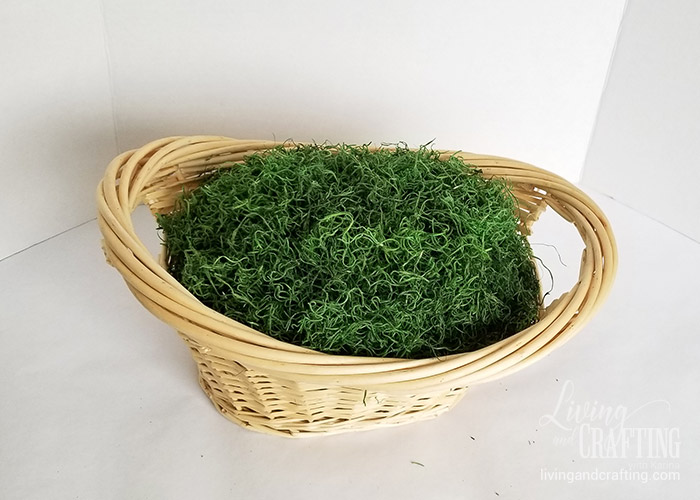
Take the moss and place it on top of the newspaper, cover everything
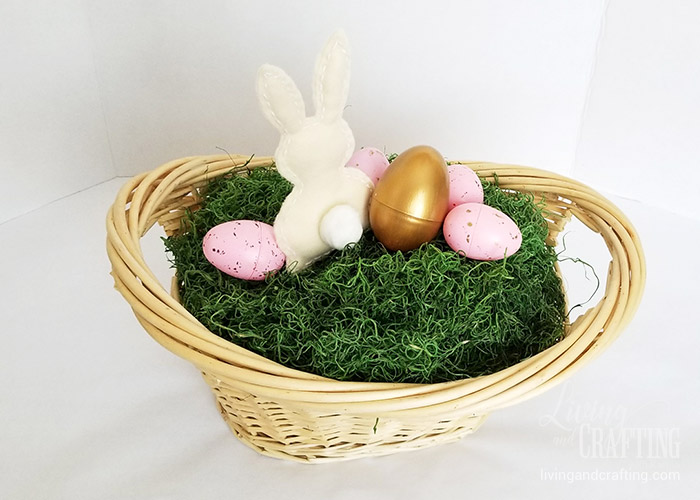
Place the bunny and the big gold egg

Add the other eggs
Take the tulips and place them on the back of the bunny and the eggs
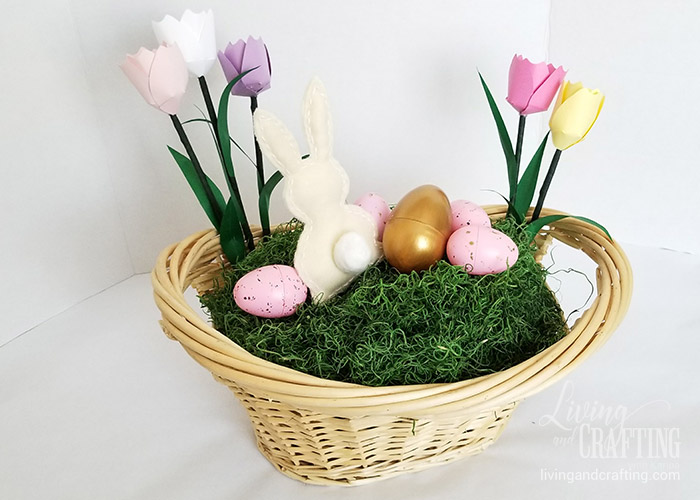
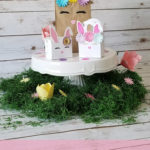
You must have a basket that looks like this


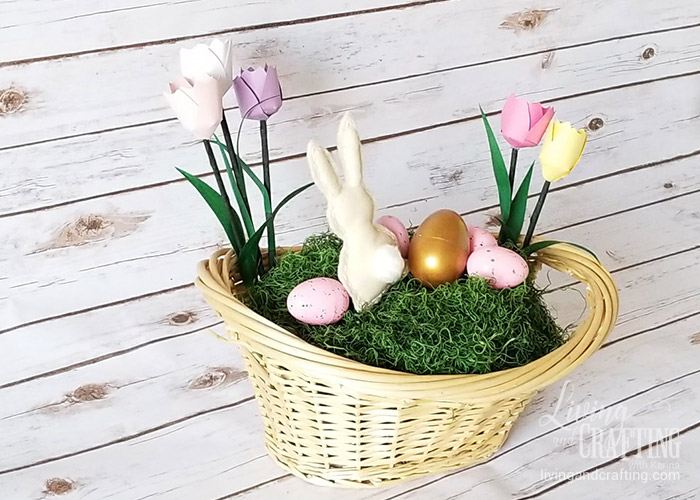
Look how cute mine looks
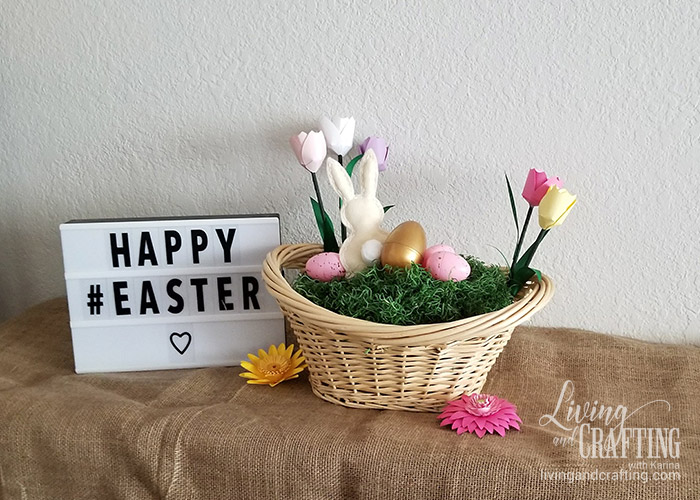
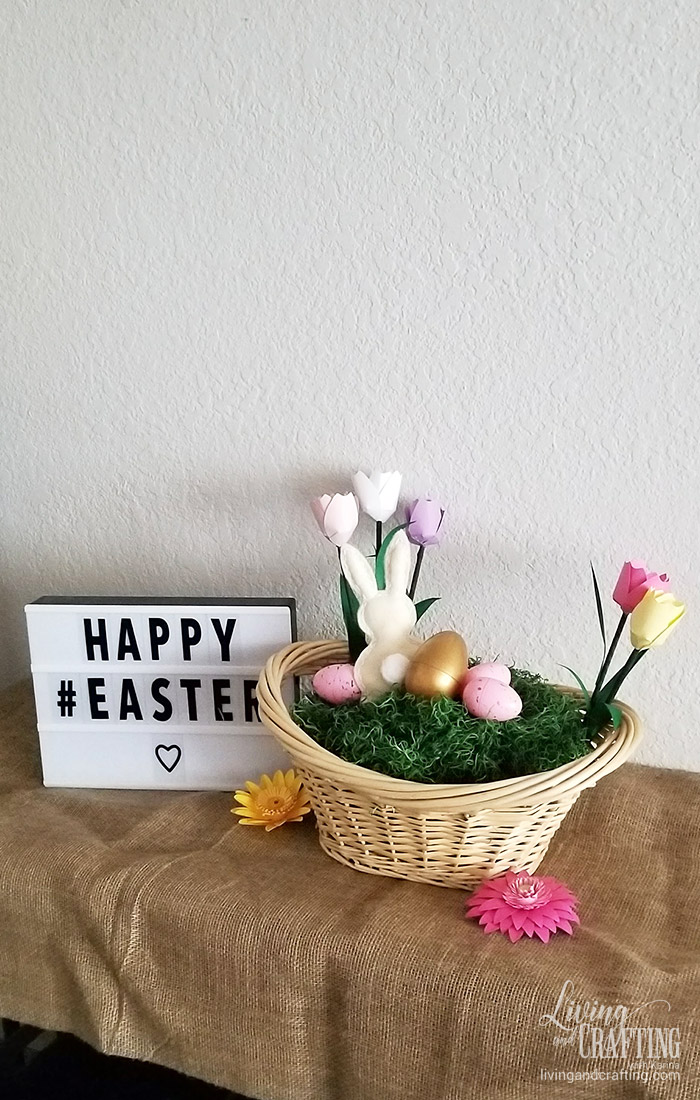
I hope this post will help to decorate a corner of your home this Easter, and certainly if you have children, they will like it as much as mine. Do not hesitate to leave your comments and photos of your basket!
Kisses,
Kari