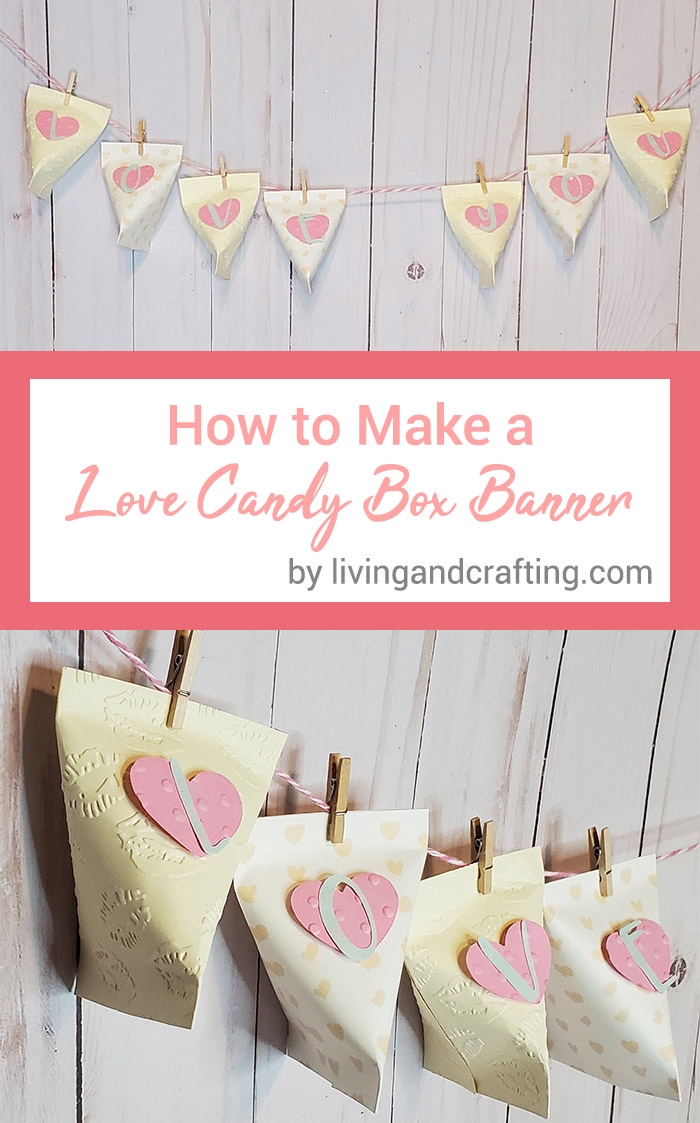
Are you looking for a quick and easy decoration to do on Valentine’s Day that allows you to give a special touch to a space in your home, office, or classroom? This LOVE Gnome Banner is the ideal element for that cute touch that you want that day.
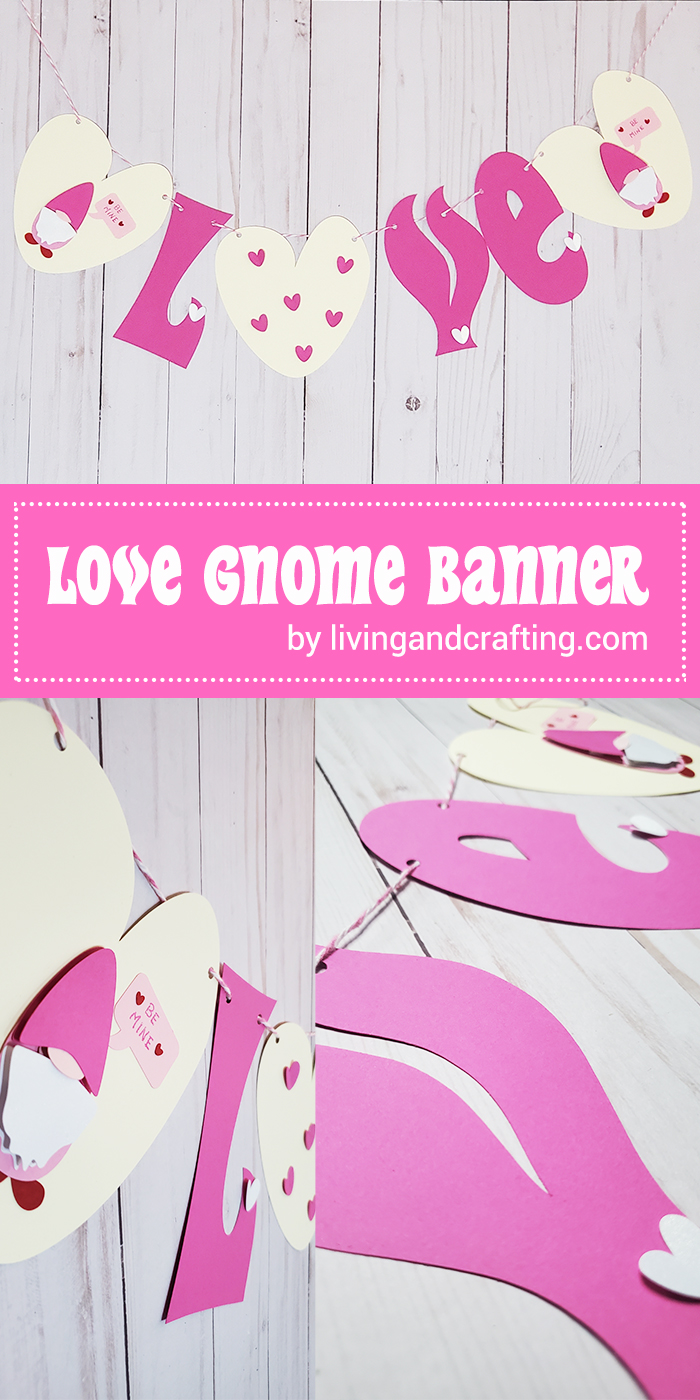
For this Valentine’s Day, I wanted to create a beginner-level banner that you can create with or without a cutting machine (in my case Silhouette Cameo with which I have been working since 2012), my idea is that you can make a piece that allows you to decorate this 14 February a space for those you love that doesn’t take you long to do it.
LOVE Gnome Banner
I designed the gnome from scratch in Silhouette Studio (the design software for Silhouette cutting plotters), if you want to learn stay tuned on my Youtube channel. You can see how to design this banner here, don’t forget to subscribe to my channel!
HOW TO MAKE A LOVE GNOME BANNER
SUPPLIES:
- Files to cut or print and cut, click here to download.
- Hot pink, pink, powder pink, beige and red cardstock.
- Glue.
- Ribbon, baker twine, or wool.
- Fine pen or marker.
- Mountain tape (optional)

TOOLS:
- Cutting Machine (optional).
- Pair of scissors.
- Tweezers (optional).
- Puncher hole or Xacto.
DIRECTIONS:
- First, cut or print and cut the files you downloaded.
- For the next step, take all the shapes with which we will assemble the 2 gnomes.
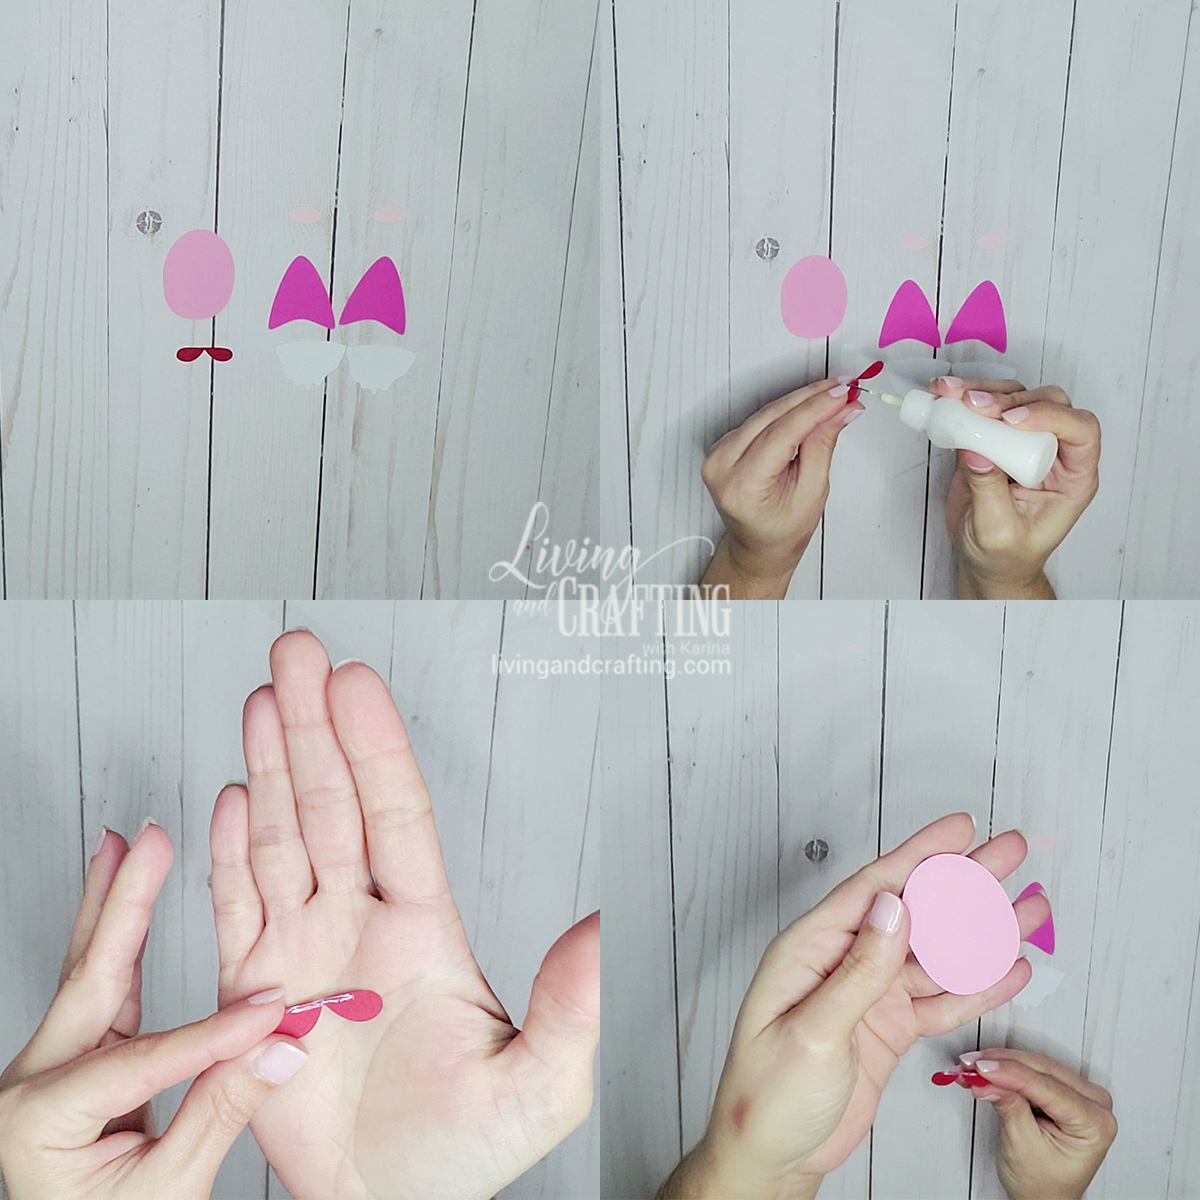
3. Take the gnome’s feet and place a little bit of glue on top center.
4. Then take the body piece and glue the feet to the back.
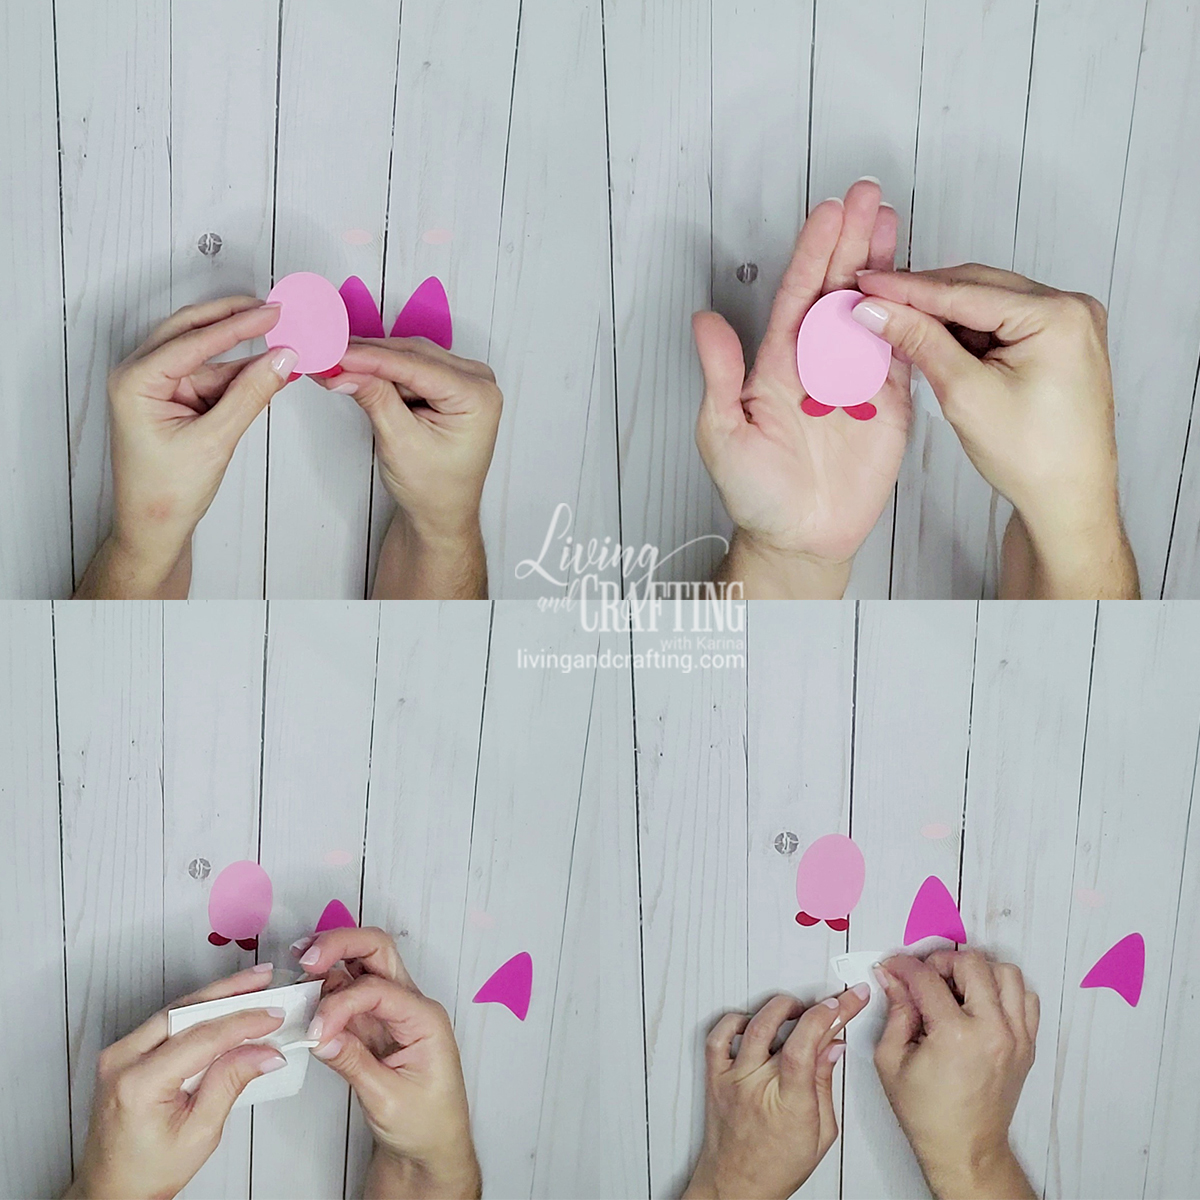
5. Now we are going to assemble the beard, take a little piece of mountain tape and place it on the back of one of the beard pieces, and then glue it on top of the other beard piece (I do this to give volume to the piece)
NOTE: all the steps where we use the mounting tape to create a 3D effect are optional, you can use only one piece of each and assemble the gnome.
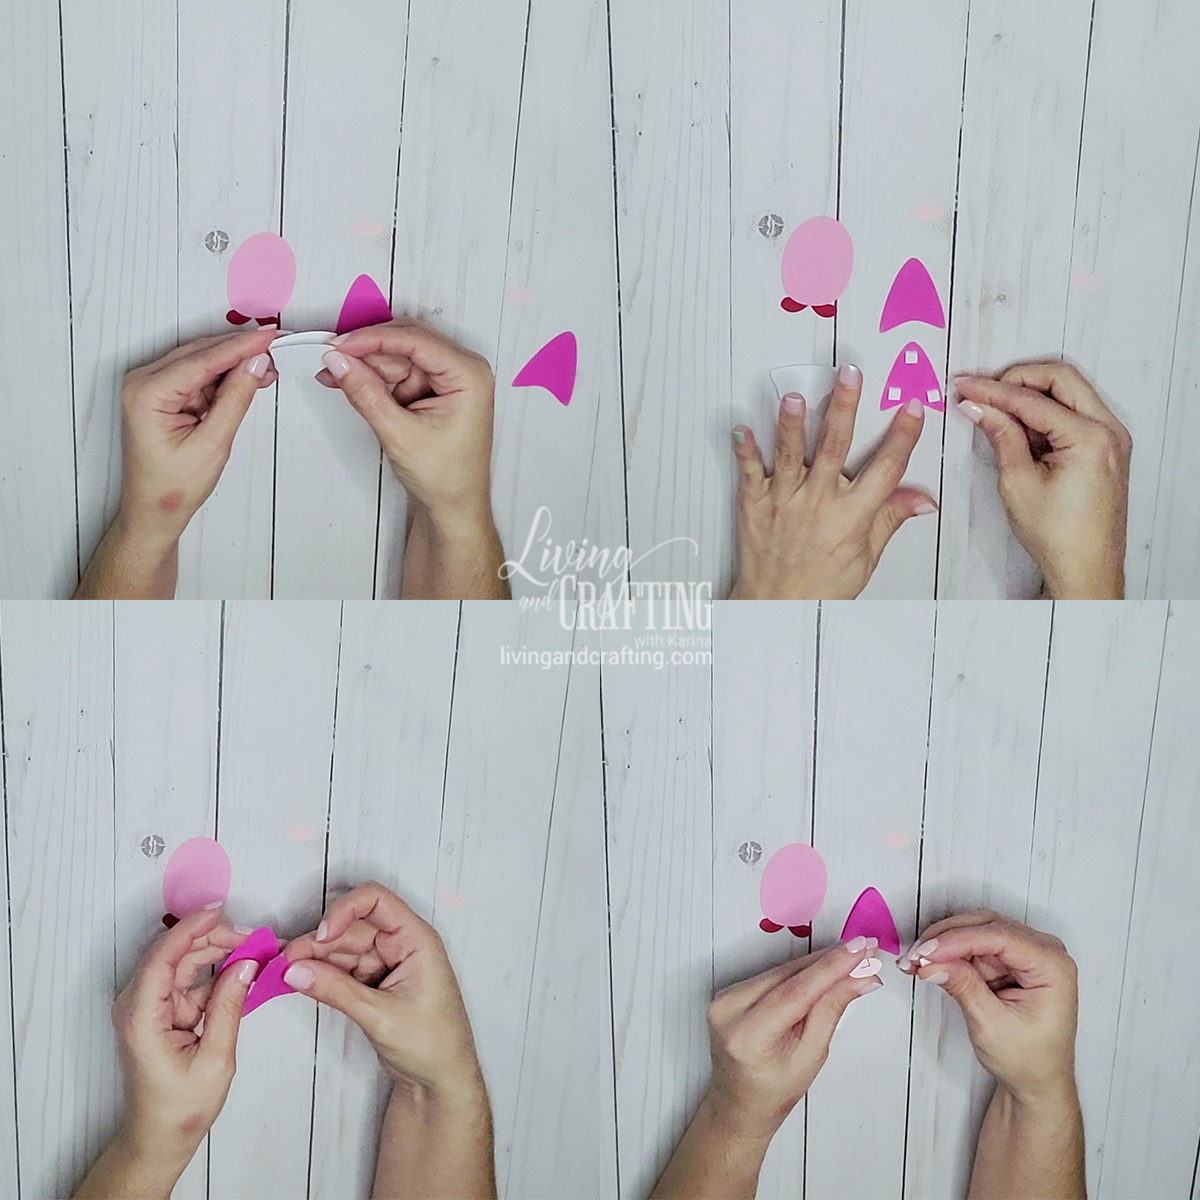
6. Now take one hat piece and put mountain tape on the back, and glue it to the other hat piece.
7. Then take the nose pieces and repeat the steps above.

8. Now take the gnome’s beard, put glue on the back, and glue it to the gnome’s body.
9. Take the nose piece and glue it to the body of the gnome so that the bottom part rests on top of the beard.
10. Now take the hat and glue it to the top of the gnome’s body leaving the top of the nose above the bottom of the hat.
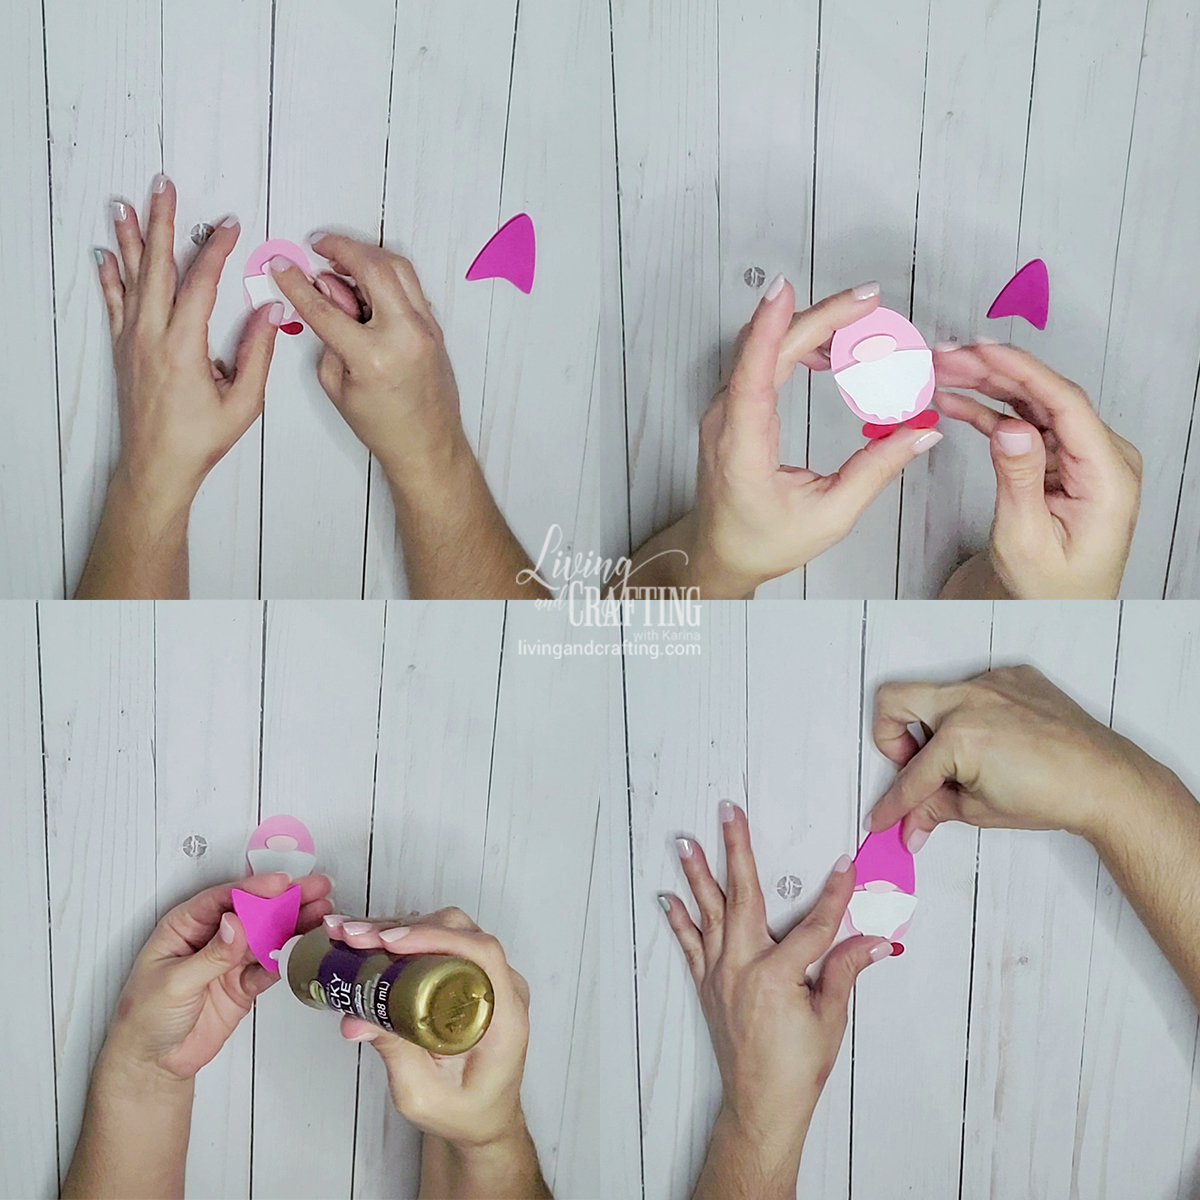
11. Repeat the previous steps to assemble the second gnome.
Your gnome should look like I show you in the photo
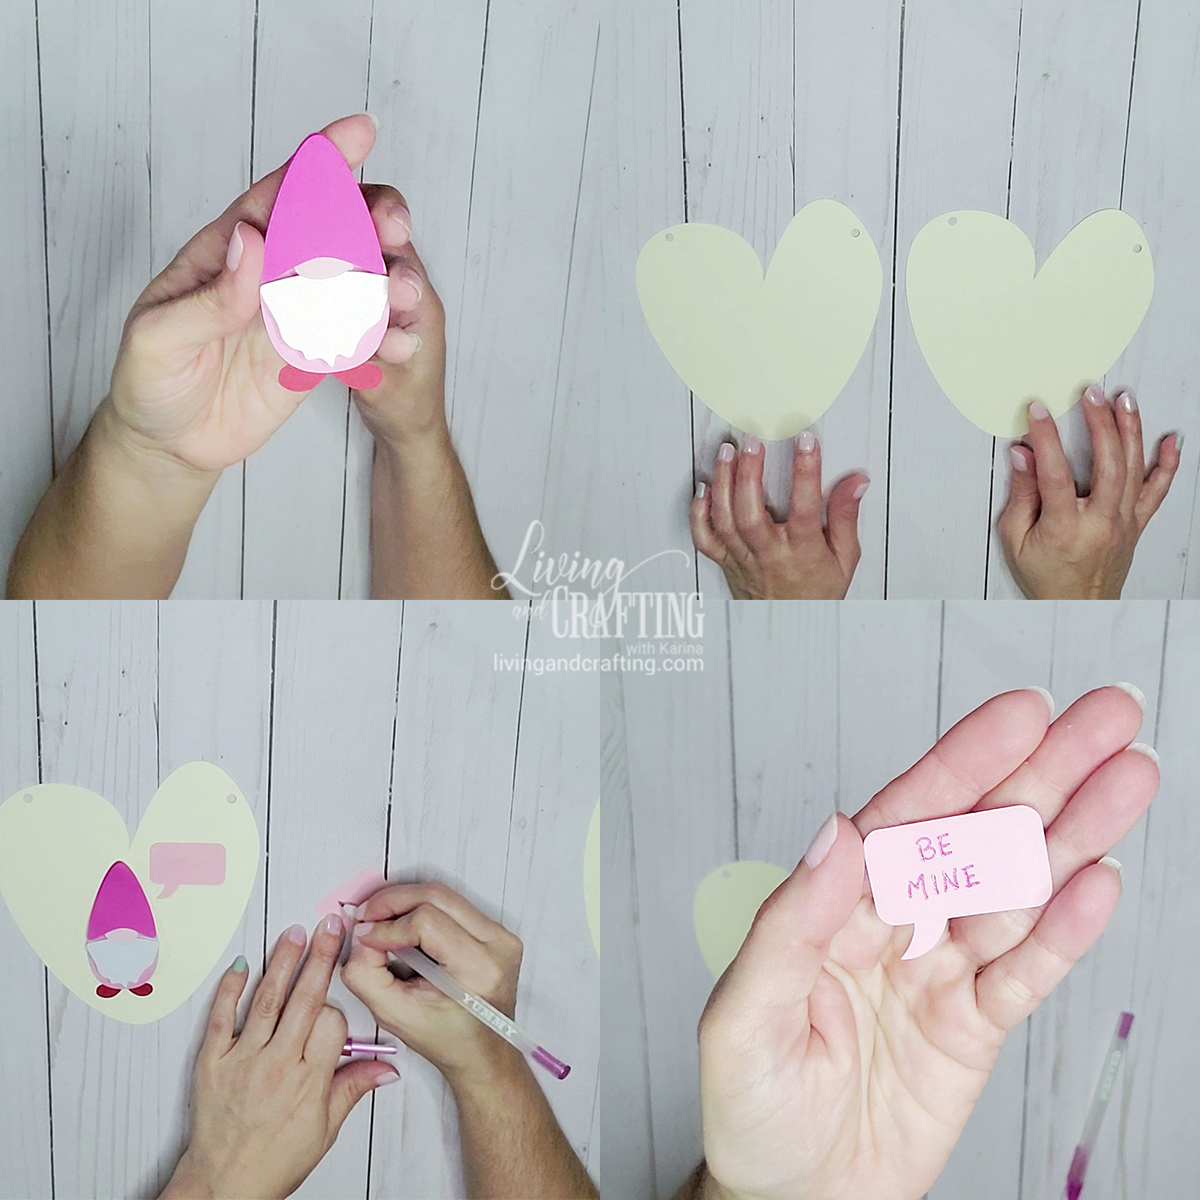
12. Take two big hearts and two bubbles.
13. Write a message in each bubble.
14. Take the smaller hearts, and stick them on the bubbles with the messages to decorate them (I used a tweezer to help me, but it’s optional).
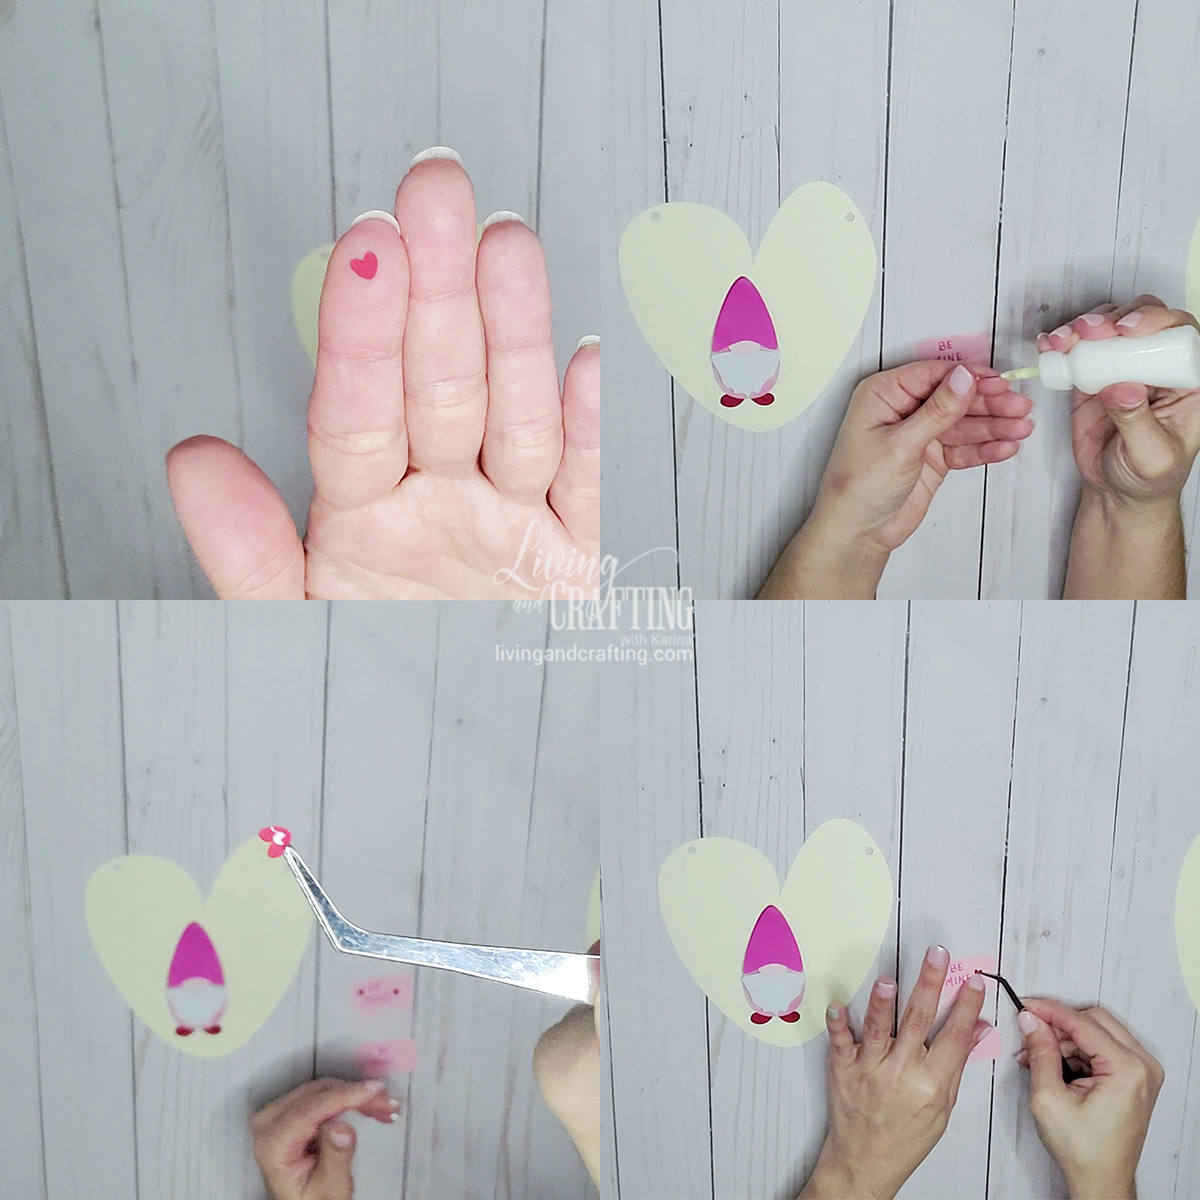
15. In this step, glue each gnome with its message bubble on each heart. It should look like the photo.
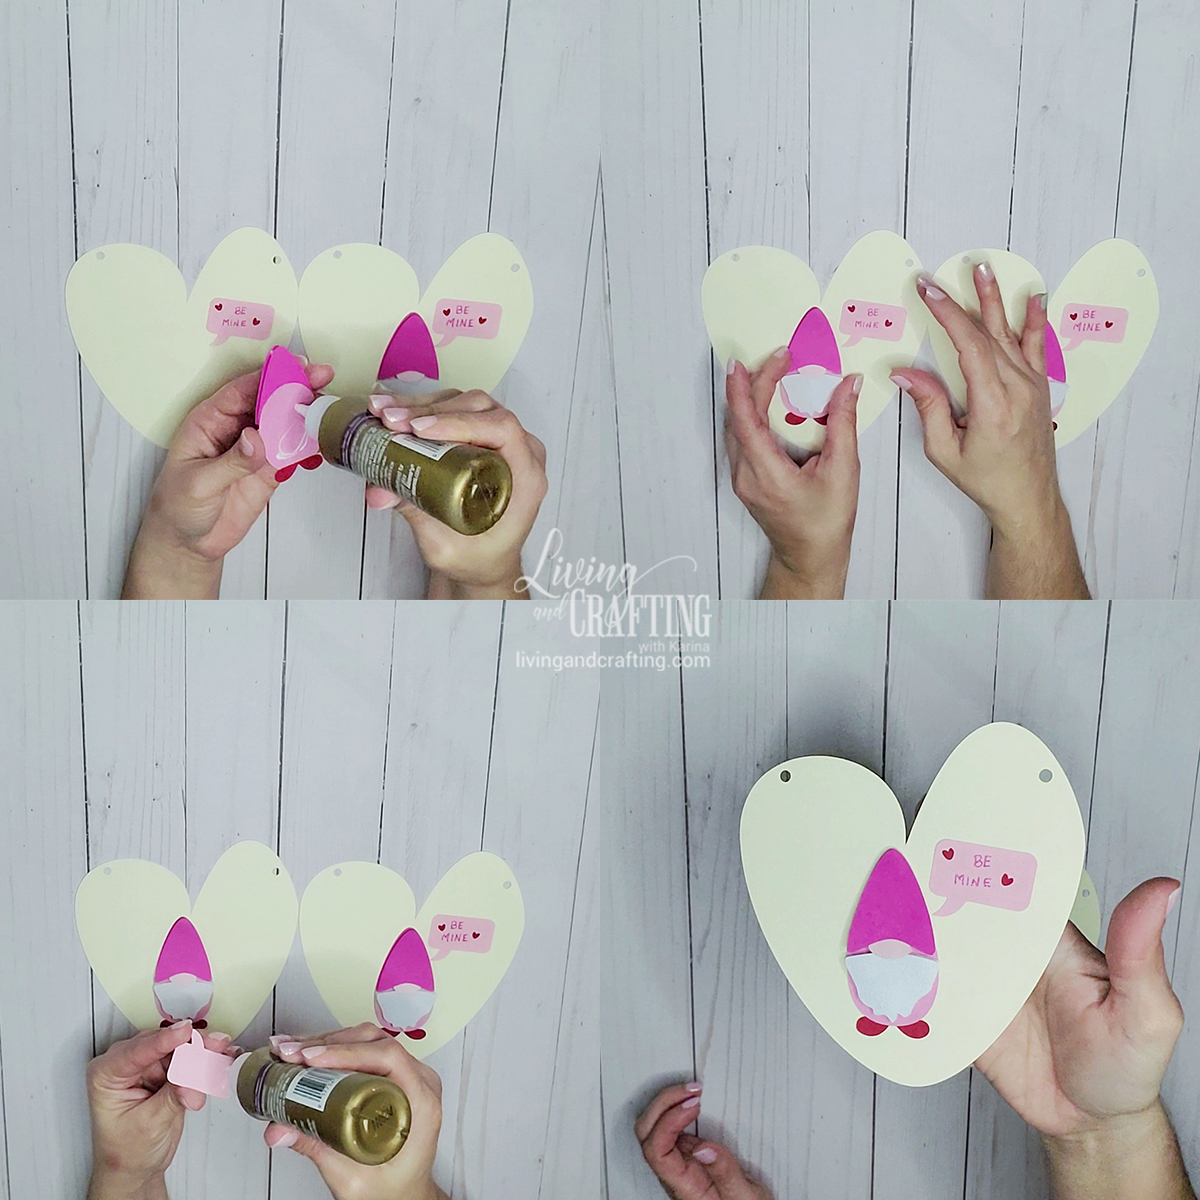
16. Now take the remaining large heart and the 6 medium hearts.
17. Fold the medium hearts in half as shown in the photo.
18. Glue the back of each heart and glue them to different places on the big heart as shown in the photo.

19. Take the three letters LVE and 3 medium hearts (or more if you want to decorate the letters with more hearts).
20. Fold the medium hearts and glue them on the back.

21. Decorate the 3 letters with the hearts, I used one for each letter, you can use as many as you want.
22. It’s time to bring the 3 big hearts and assemble our LOVE Gnome Banner.

23. To assemble the banner, we are going to use the ribbon, baker twine, or wool (whatever you have selected) and you are going to pass it through each hole of the pieces starting with a heart that has a gnome, do it as shown in the photo so the twine remains behind each piece.

24. When you’re done with all the pieces, leave a length of twine to hang the banner on and cut the twine.
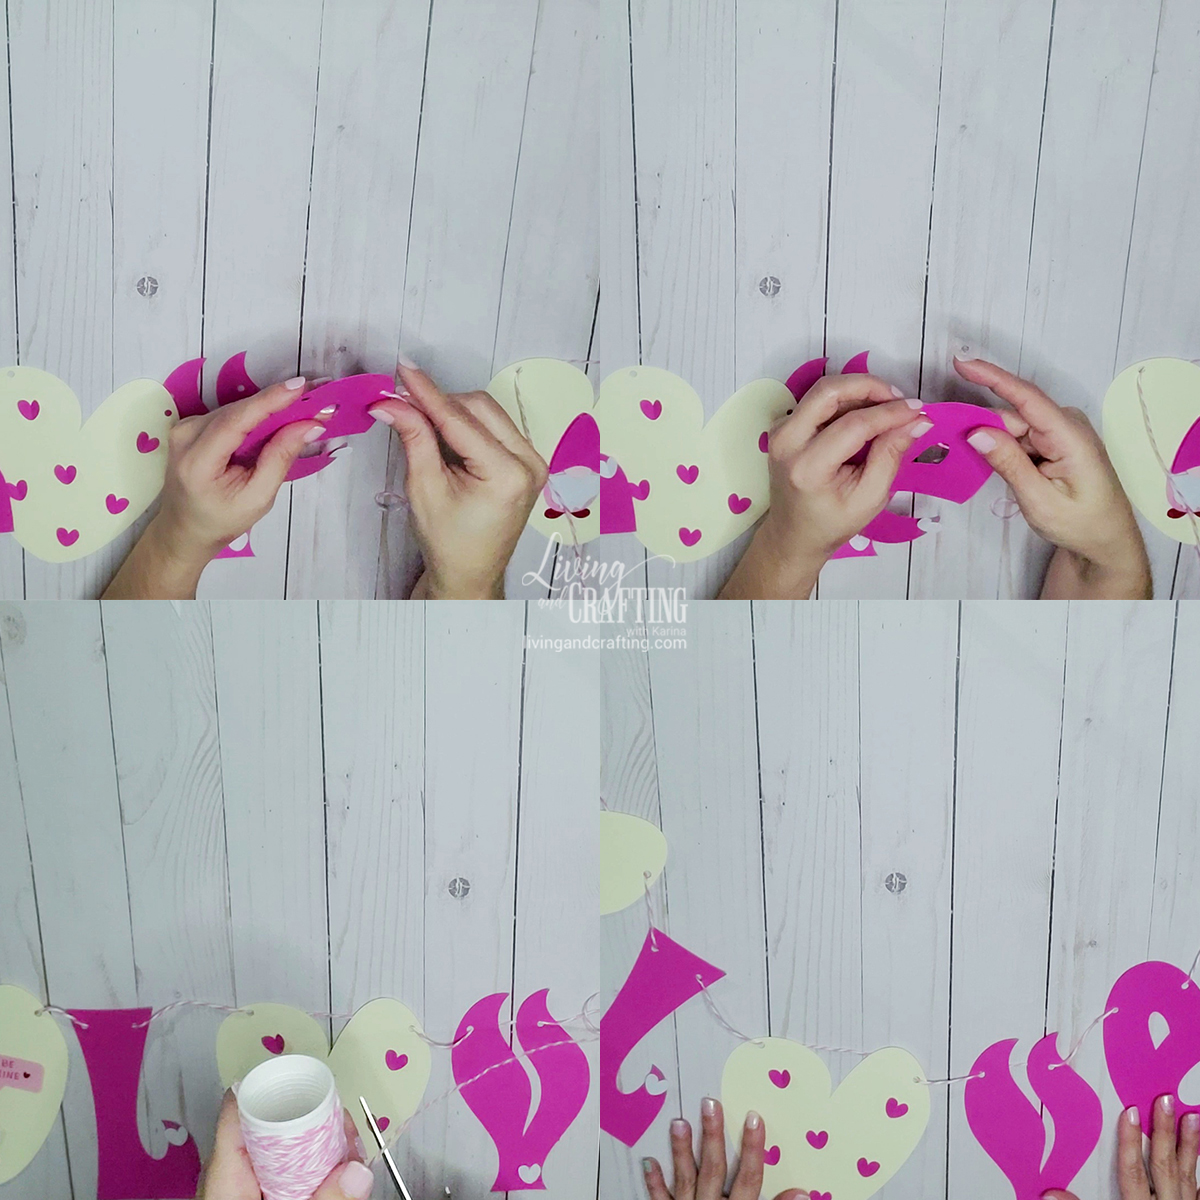
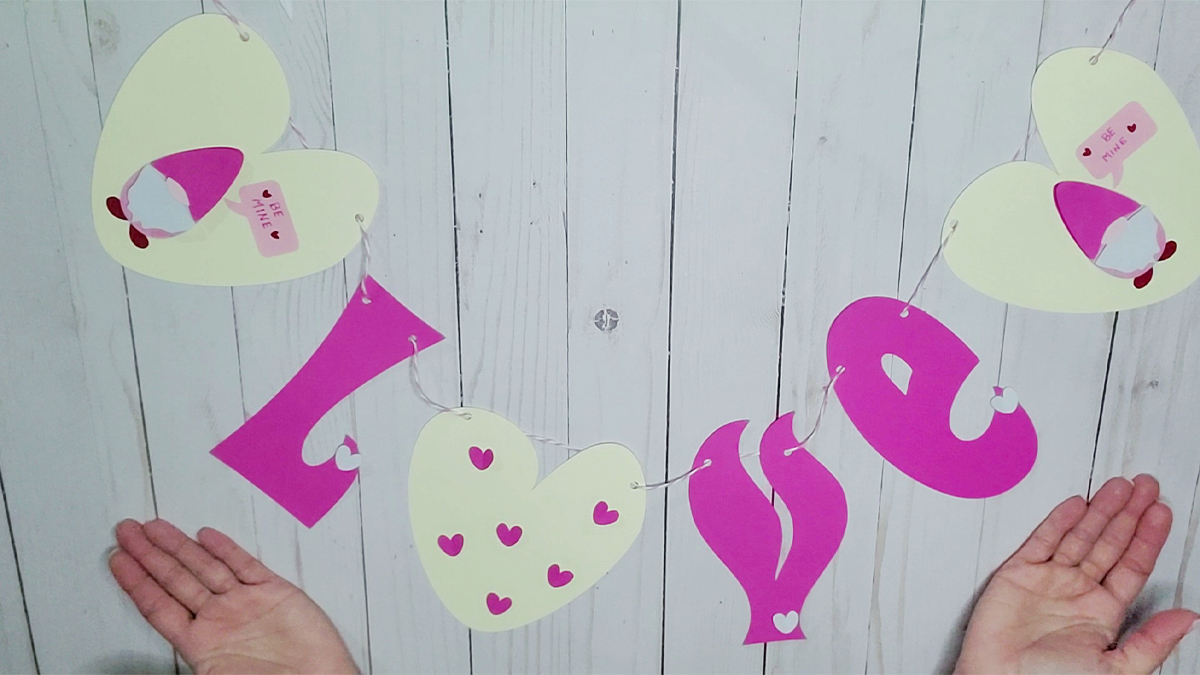
When finished, your LOVE Gnome Banner should look similar to the one in the photo.
VARIATIONS:
To change the banner you can:
- Vary the colors.
- Use pompoms, or buttons to decorate the hearts.
- Use wool on the gnome’s beard.
- Texturing the letters.
Write me about how it went and you can tag me on your networks as @livingandcraftingblog.
If you liked this LOVE Gnome Banner, you should be interested in