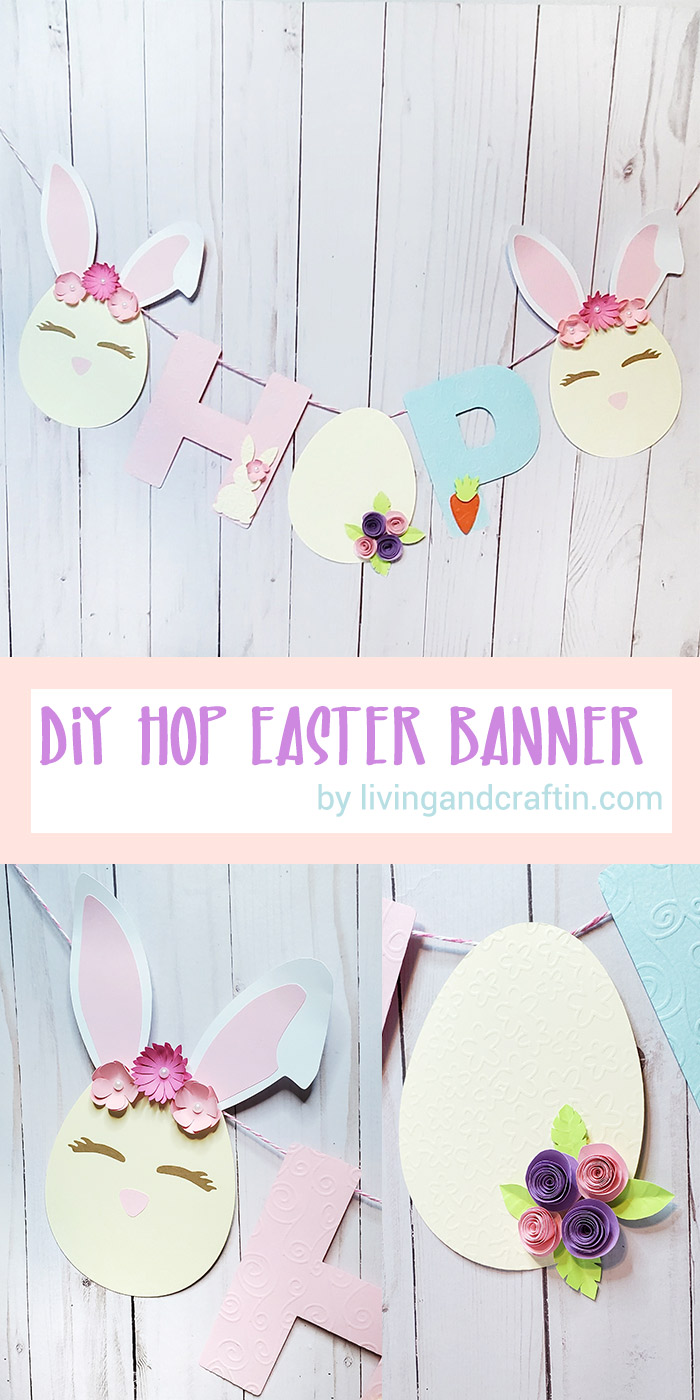
Hi there! If there is something I like about Easter, it is its cute decorations, everything is bunnies, flowers, eggs, I particularly like light colors and I enjoy creating with them. As a mom, I have experienced the excitement of the little ones when they look around the house for their chocolate eggs, and I think it is nice that part of the decoration is for them, that is why today I have for you this DIY Hop Easter Banner that you can use to decorate a space in your home this Easter.

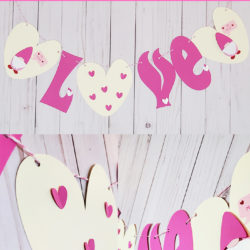
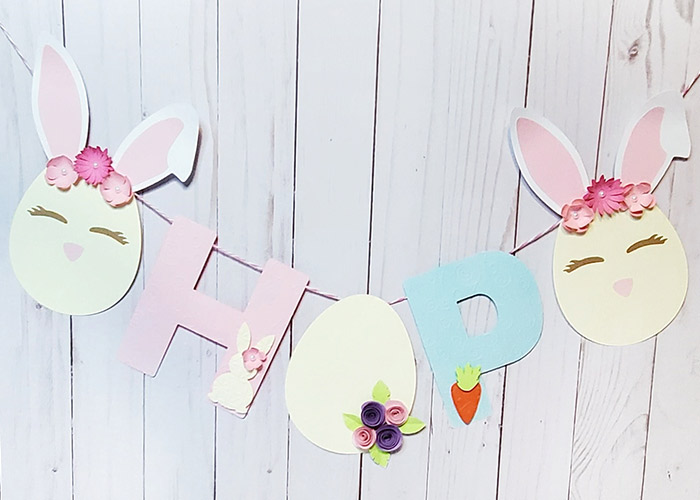
DIY Hop Easter Banner
I decorated this DIY Hop Easter Banner with flowers, but if you want you can decorate it with any other element that best suits your decoration.
What you need to create this DIY Hop Easter Banner:
Template files for the Easter Banner and decoration download here
Cardstock of the following colors: white, light pink, pink, cream, purple, light blue, light green, and kraft
Glue, foam mounting tape.
Scissors, xacto knife, or cutting plotter machine.
- Baker twine or ribbon
Printer.
Step by Step to make DIY Hop Easter Banner:
If you have a cutting plotter machine:
Cut the files with the pieces to assemble the easter banner
If you don’t have a cutting plotter machine:
Print the .pdf file and cut the shapes with scissors or xacto knife.
Once you have all the pieces cut it is time to assemble:
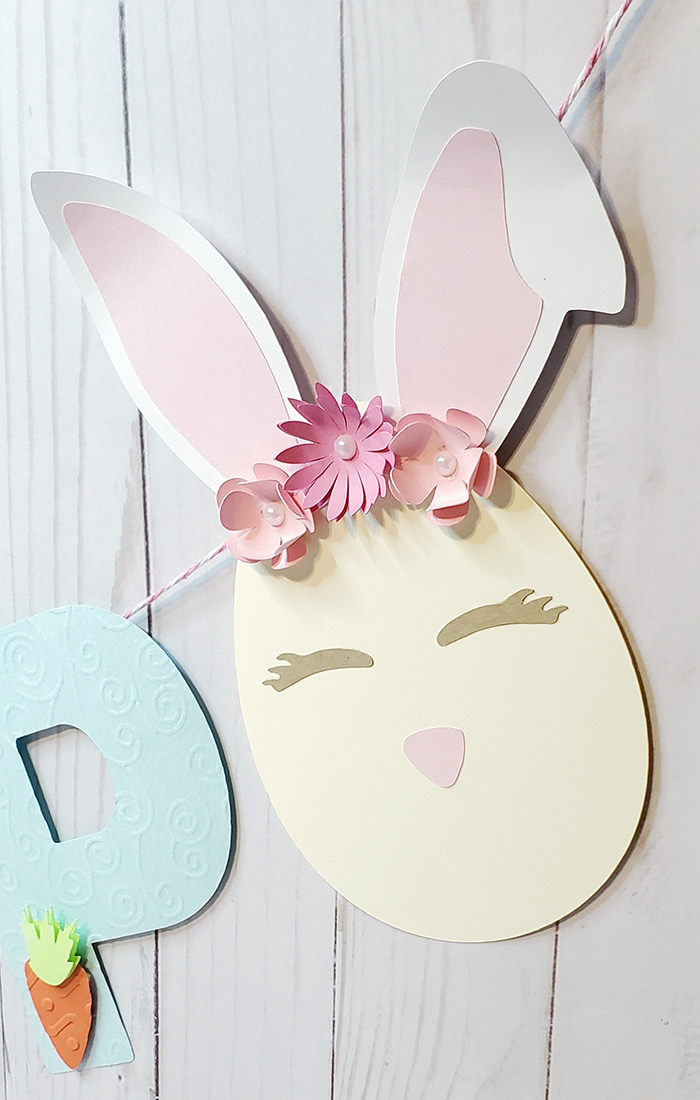
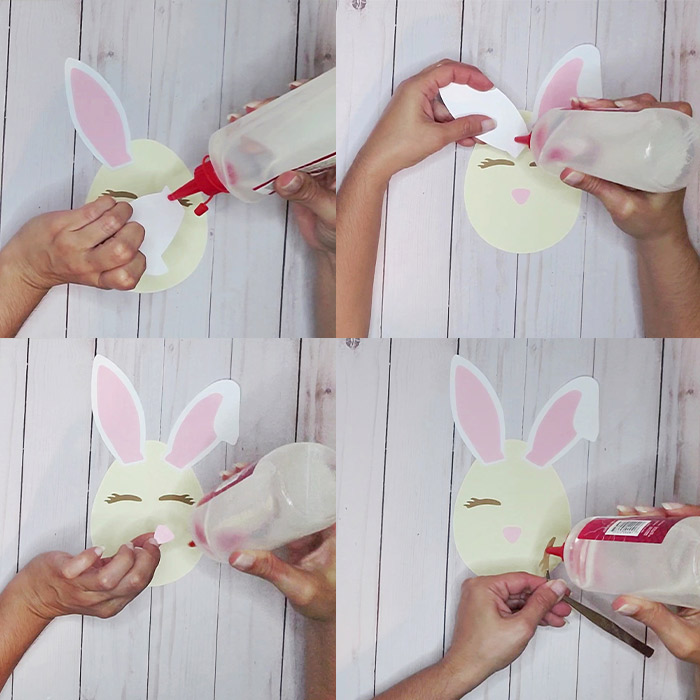
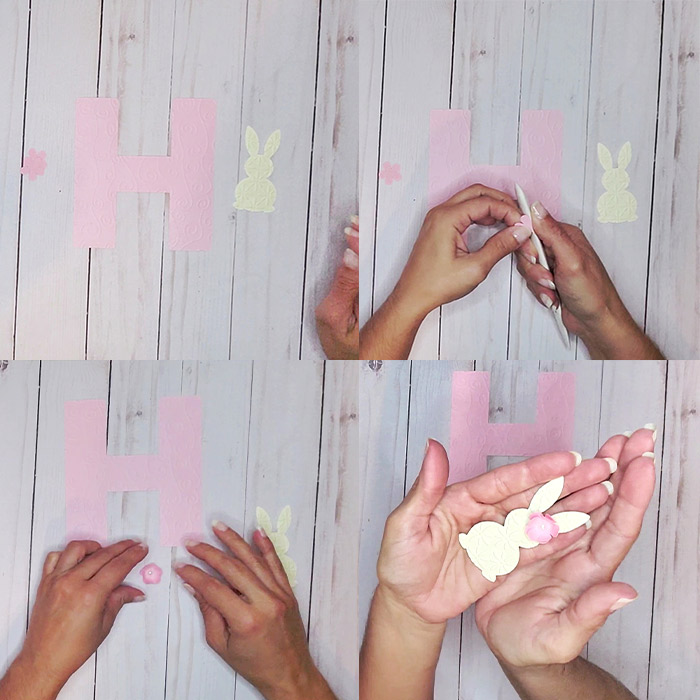
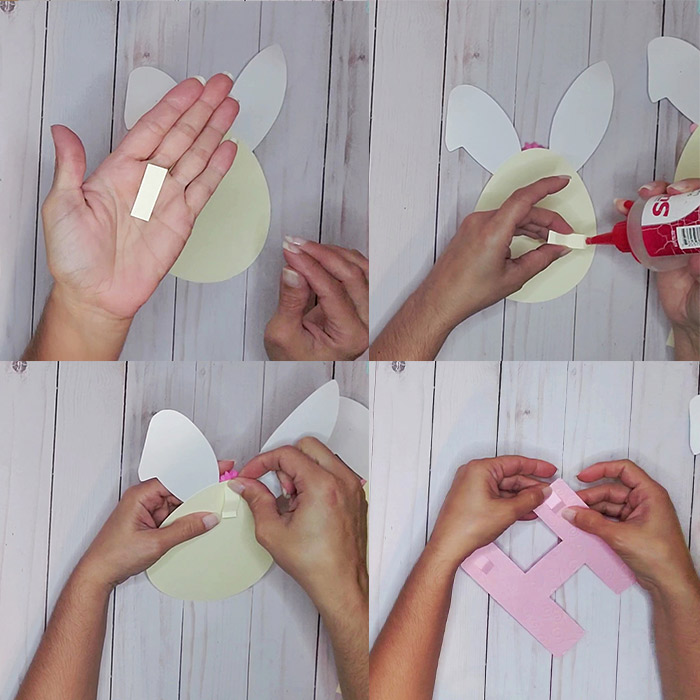
- Take the ears, eyelashes, and nose of the rabbit, to decorate one of the eggs; arrange the parts before gluing them. Now glue the pink pieces (center of the ears) over the white piece (rabbit ear)
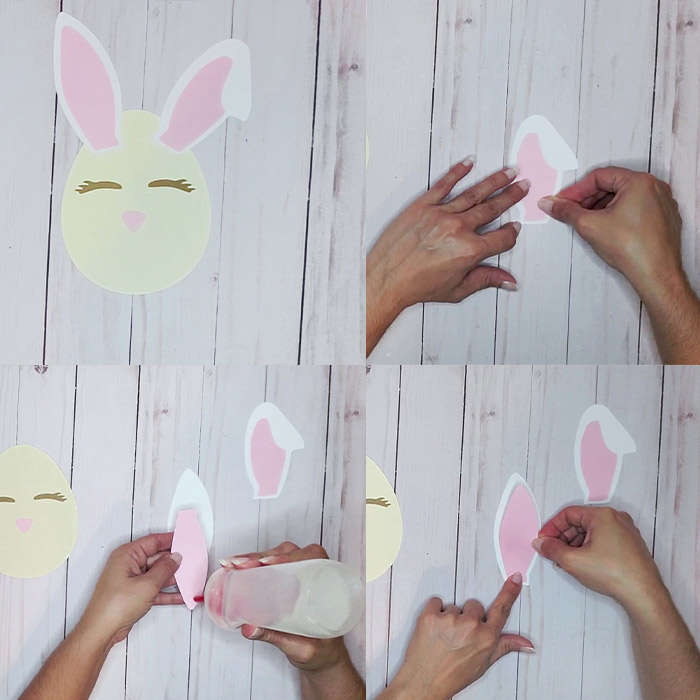
place glue at the bottom of each of the ears, and glue them to the egg as shown in the photo; do the same with the nose and eyelashes
In this step, we will make some flowers to decorate the rabbit, take two pieces of the 5-petal florets and with a craft bone (or pencil) gently fold the petals of both pieces as shown in the photo, then place glue on the back of one of the pieces and glue it on the other, try that the upper petals are in the middle of the lower ones, finally decorate the center of the flower with a rhinestone or a pearl

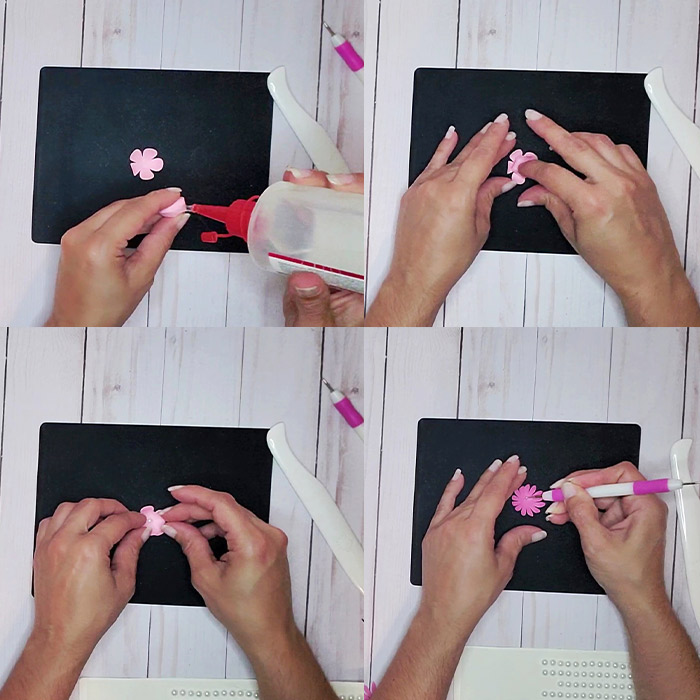
Repeat the previous step with the flower with the most petals.
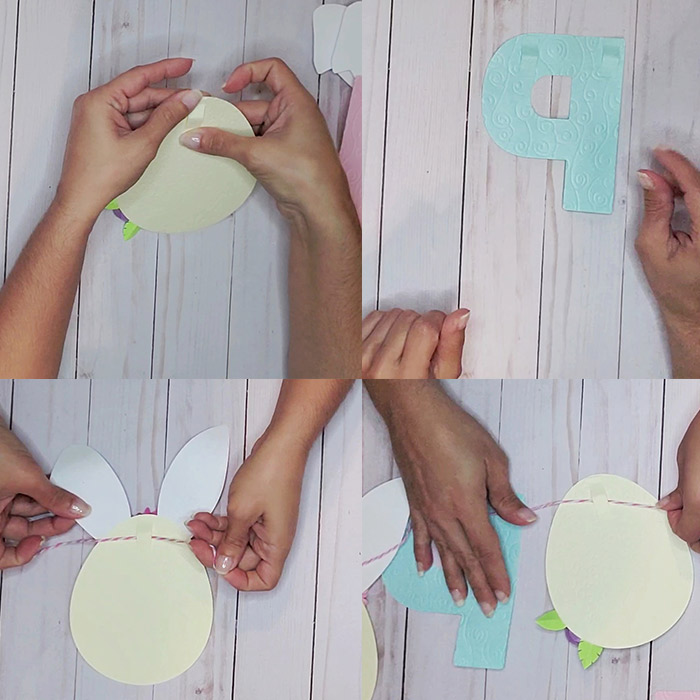
Place the three flowers between the two ears of the rabbit. (you must make two pieces like this)
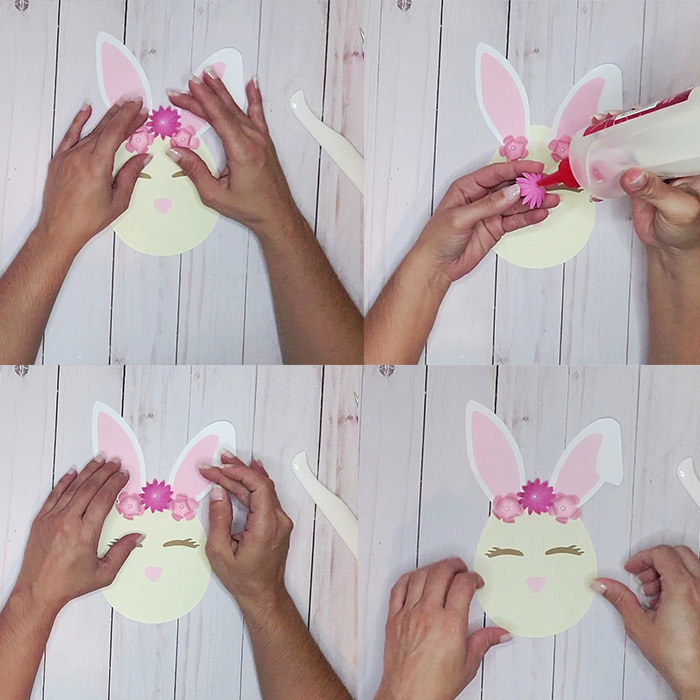
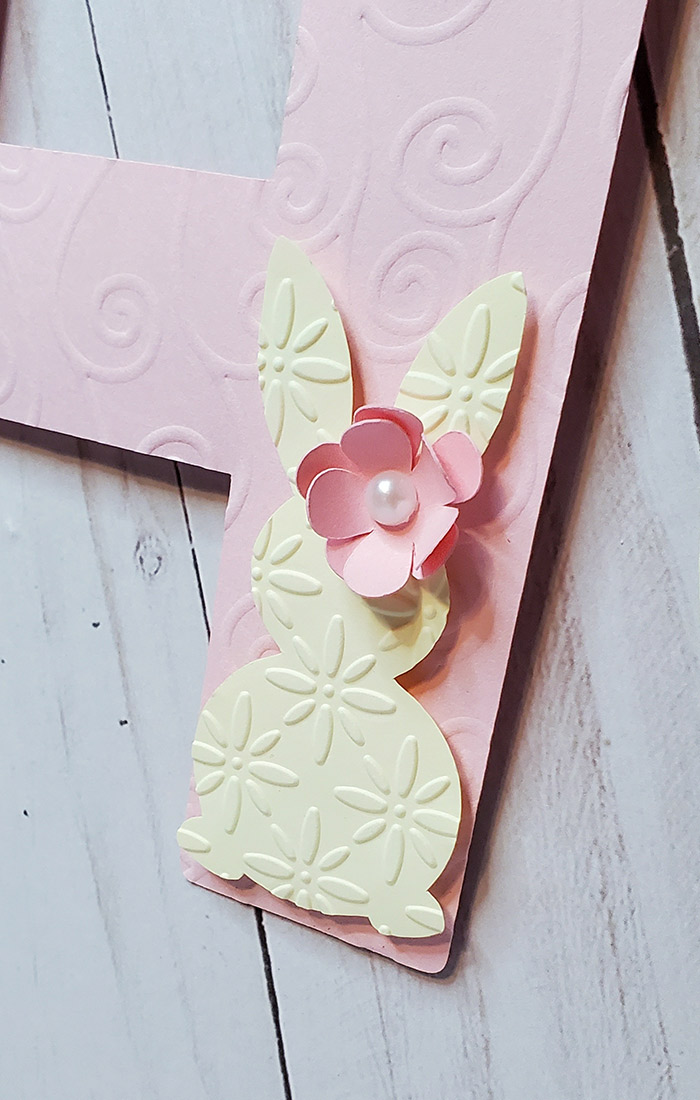
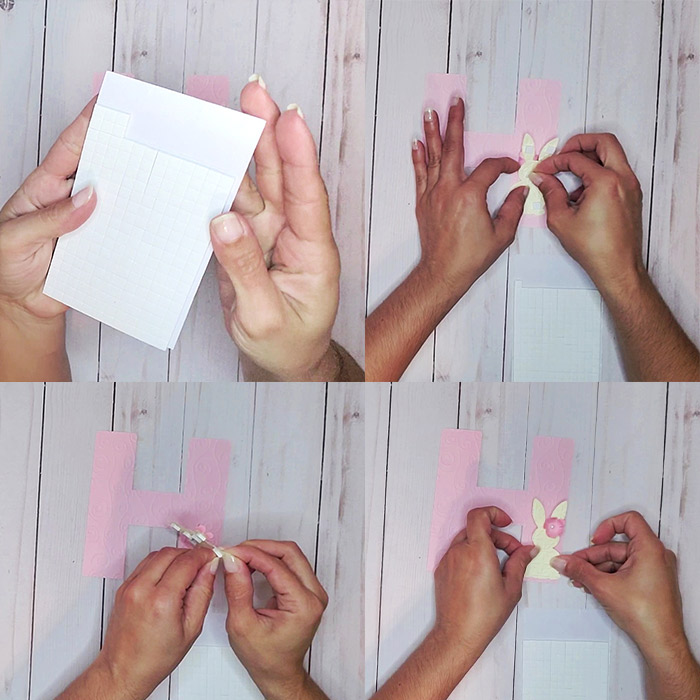
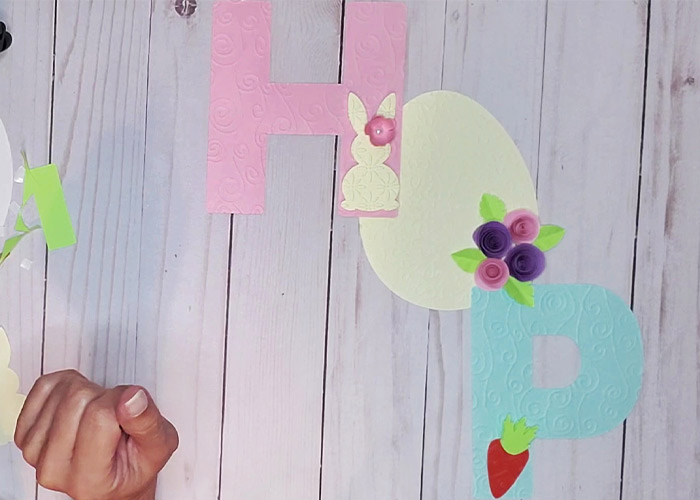
Take the letter H, the bunny, and the two smaller flower pieces. Assemble the flower as the previous steps, then stick it on the bunny’s ear.
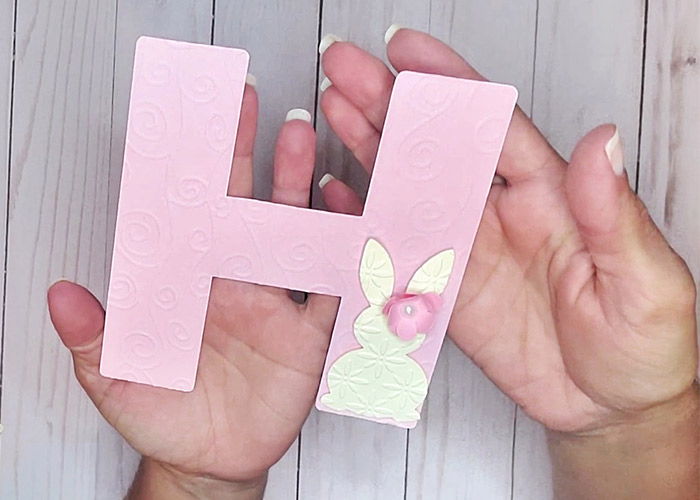
Finally place foam mounting tape on the back of the bunny and stick it at the base of the letter H as shown in the photo
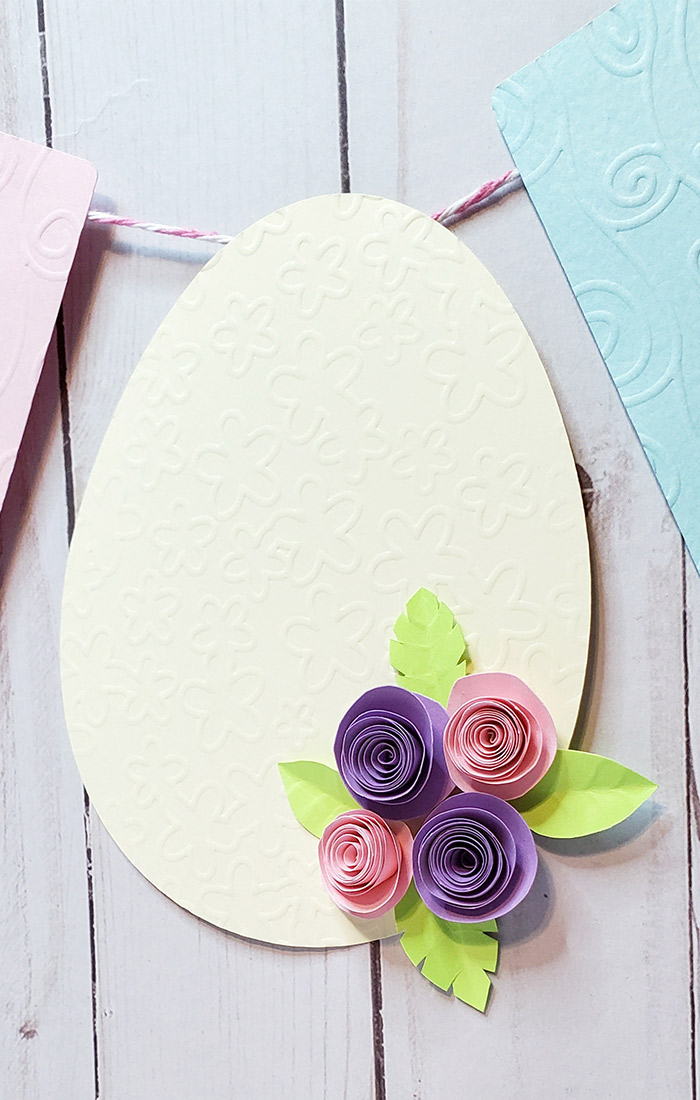
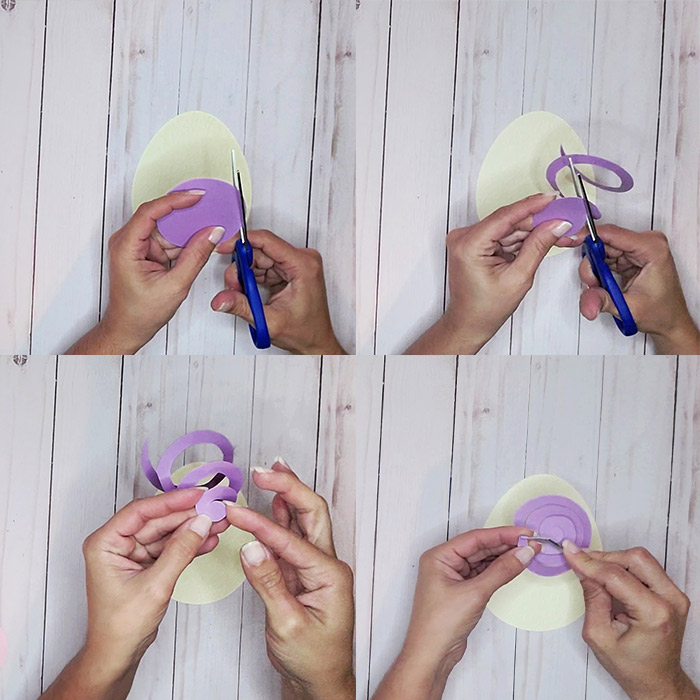
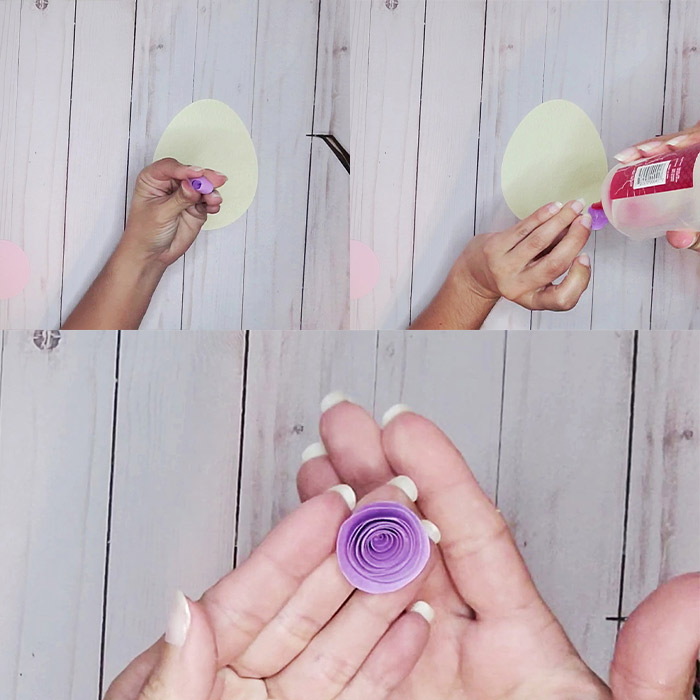
Now we are going to decorate the remaining Egg, take one of the 4 circles and we are going to make a flower with them! With scissors, begin to cut it in a spiral shape (you must turn the circle while cutting to make it easier for you. In my post Small, Easy & Fast Paper Flower is the step-by-step to make them). Repeat this step with the remaining 3 circles.
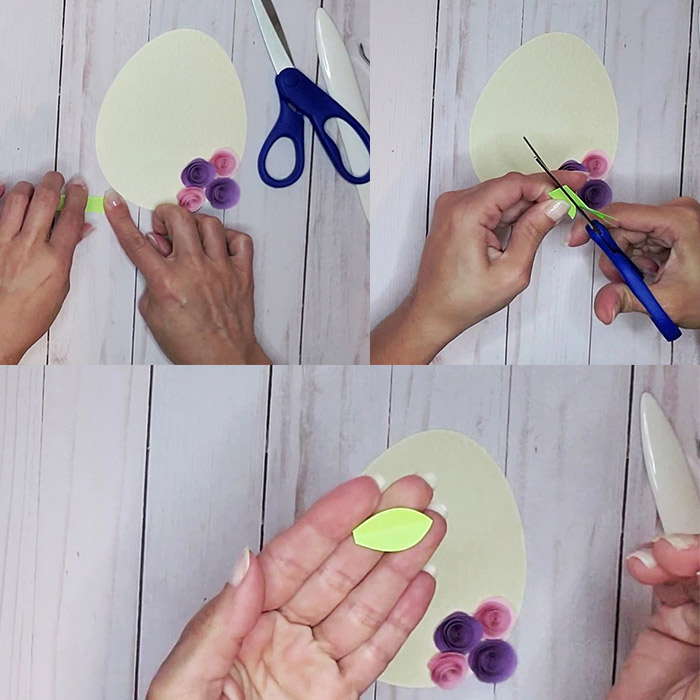
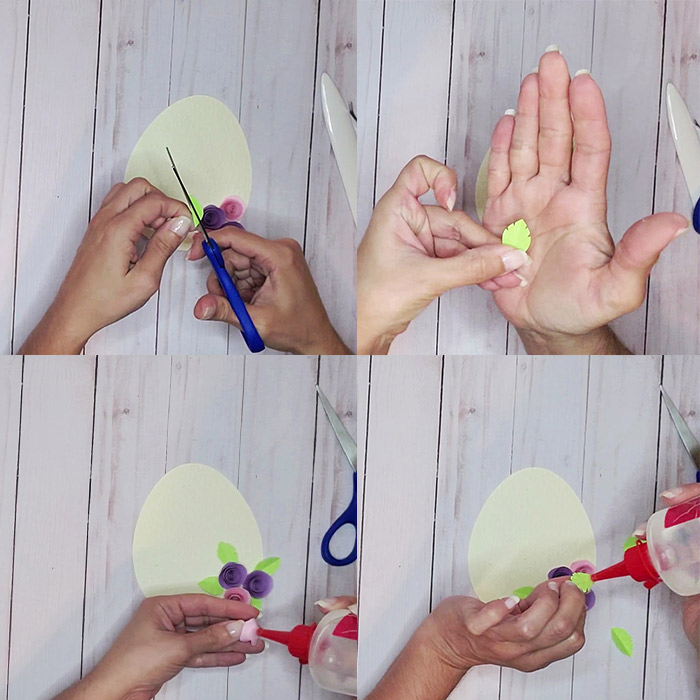
Take the green rectangles to make the leaves, fold them in half and cut it into a half-leaf shape. Repeat this step to create 3 more leaves.

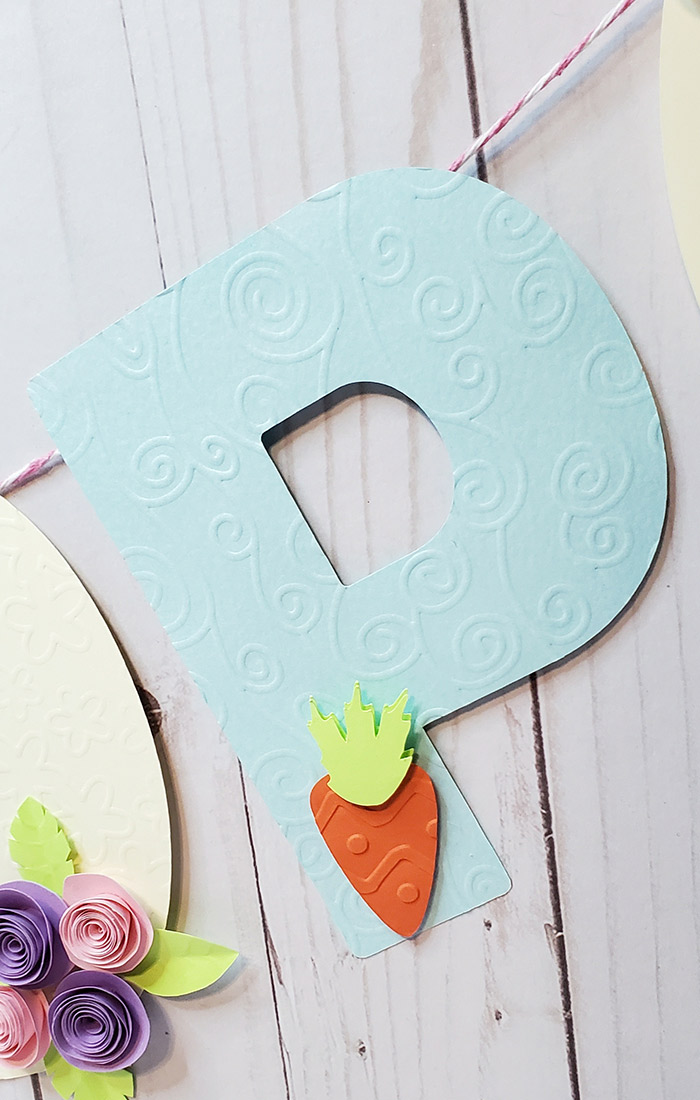
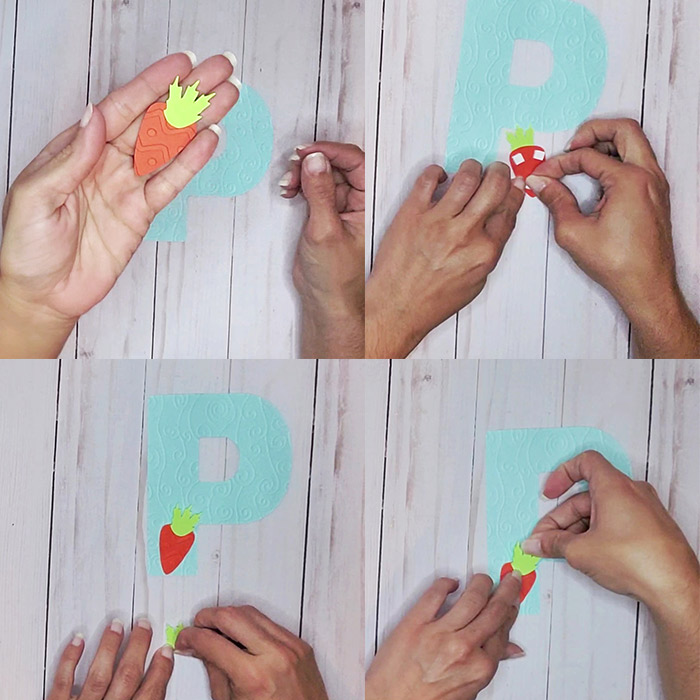
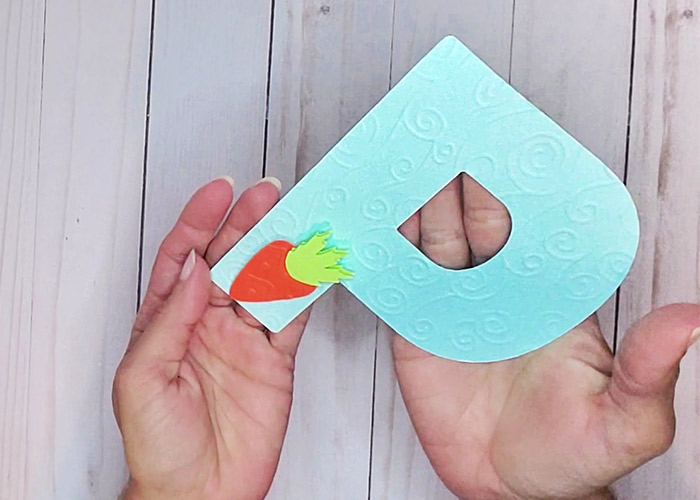
In this step take the letter P, the orange triangle, and the green leaves, build the carrot by gluing the green leaves to the triangle as shown in the photo, glue the carrot to the base of the letter P. I put another piece of leaves with foam mounting tape to give a 3D effect
Now we must make the pieces the way to hang them, I confess that at first, I thought to open a few holes to each piece with a hole opener as is normally done with banners, but … they were very beautiful and I did not want to do it, so I decided to glue some small pieces of cardboard to them as I show in the photos.
Finally, I passed the baker twine for each piece as shown in the photos and it was ready to hang. If you want you can use tape instead of baker twine and you can stick it with plastic tape to each piece, but I liked it better that way.
I love how it looks like!
I used my sizzix big shot to add texture to the shapes