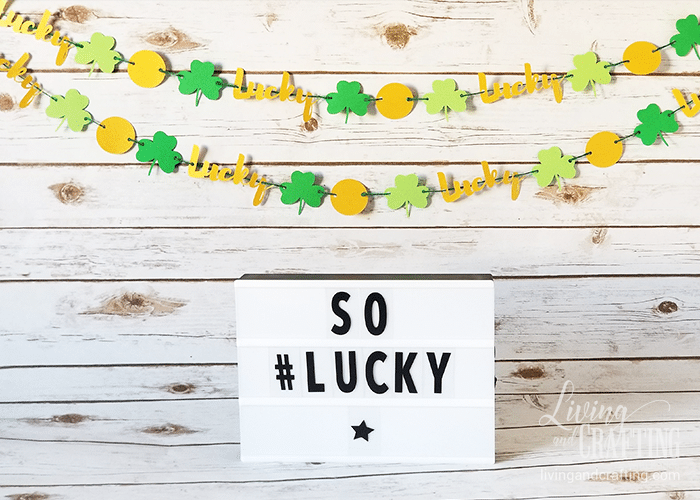
Hi!, there is not much left for St. Patrick’s Day and I´m sure you are thinking in decorating some space in your home, or if you are one of the people who celebrate this day with a party, this DIY Lucky St. Patrick’s Day Garland can help you.
Lucky St. Patrick’s Day Garland

This craft is easy and inexpensive to make. You can do it in different ways, either by cutting the pieces manually or using the Silhouette Cameo, if you have one (it will be faster); and when assembling it, you can do it by going through a ribbon to the pieces, or by sewing the pieces manually or with a sewing machine.
Let’s start with our Lucky St. Patrick’s Day Garland
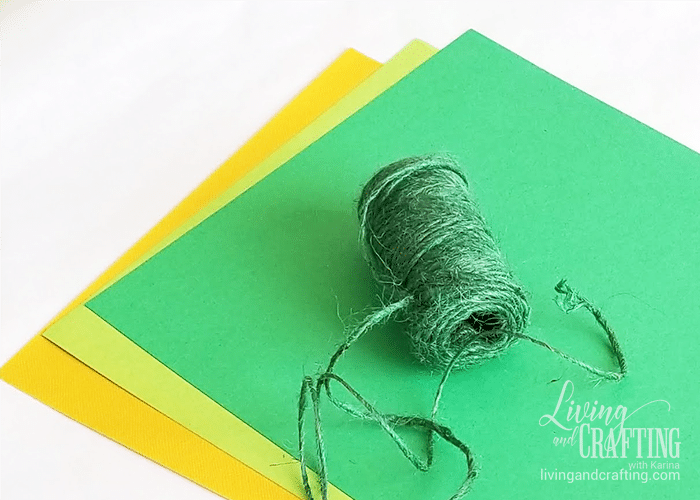
Supplies:
- Carstock (green, light green, yellow or gold)
- Jute twine, or twine, or ribbon
- Scissors or Silhouette Cameo
- Printer (if you do not have Silhouette Cameo)
- Patterns (Lucky St. Patrick’s Day Garland)
To start, cut the garland pieces:
If you have Silhouette Cameo, download Lucky St. Patrick’s Day Garland studio
If you do not have Silhouette Cameo, download Lucky St. Patrick’s Day Garland pdf
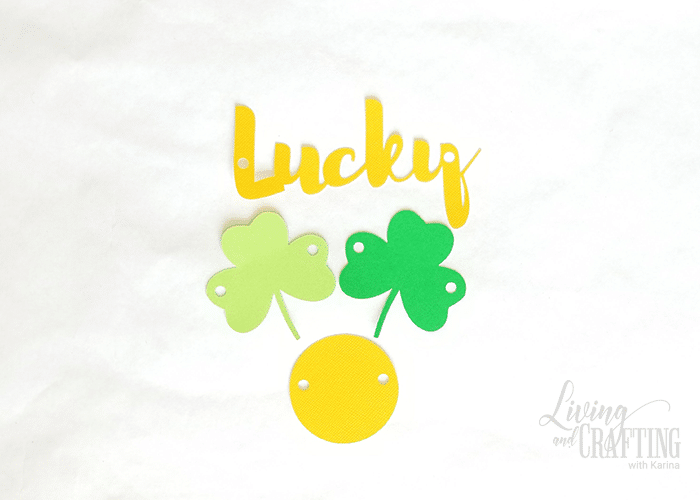
You must cut:
Shamrocks: 1 letter size green with cardstock and 1 letter size light green cardstock.
Lucky word: 1 letter size yellow or gold cardstock.
Circles: 1 letter size yellow or gold cardstock.
I used that amount, but if you want to make several garlands, or the wall where you place them is very wide then cut more.
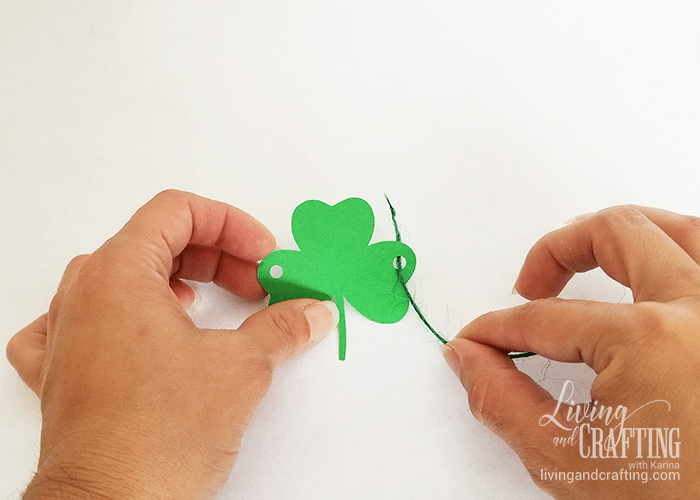
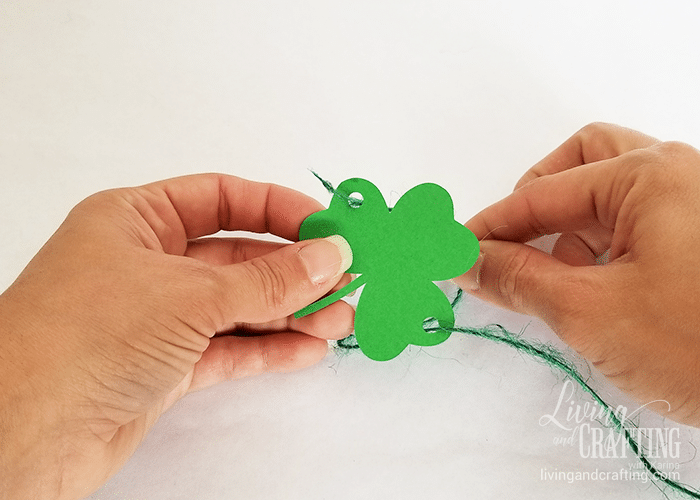
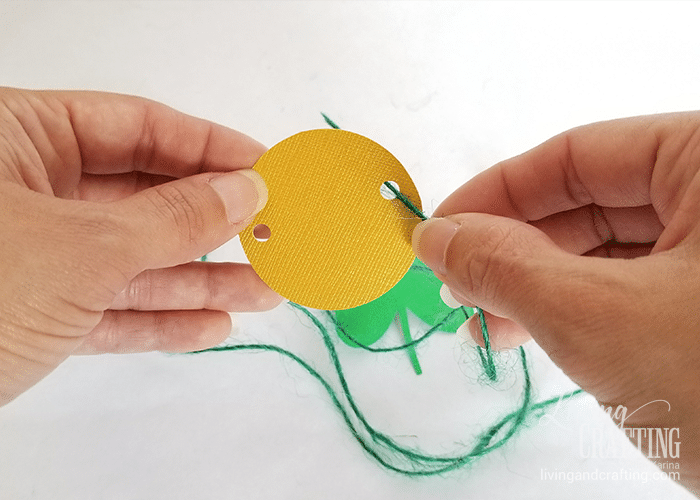
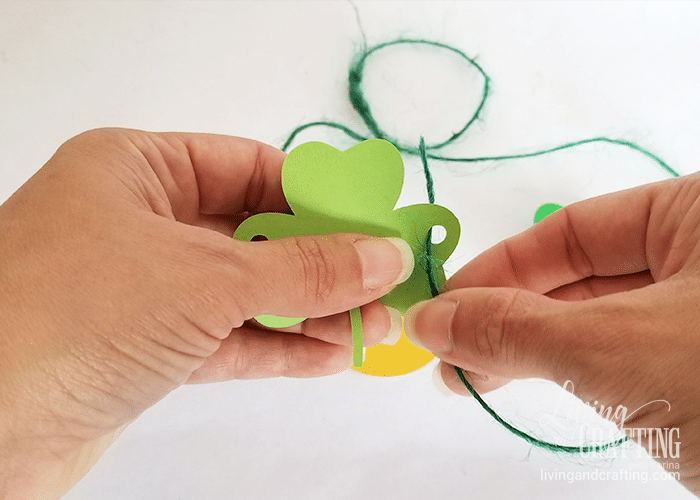
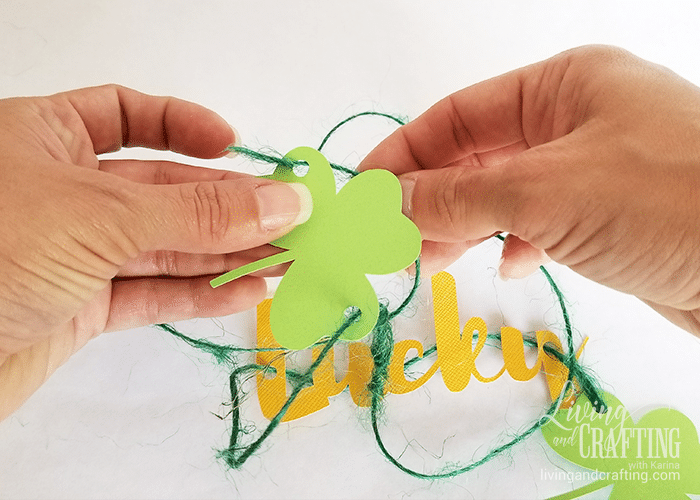
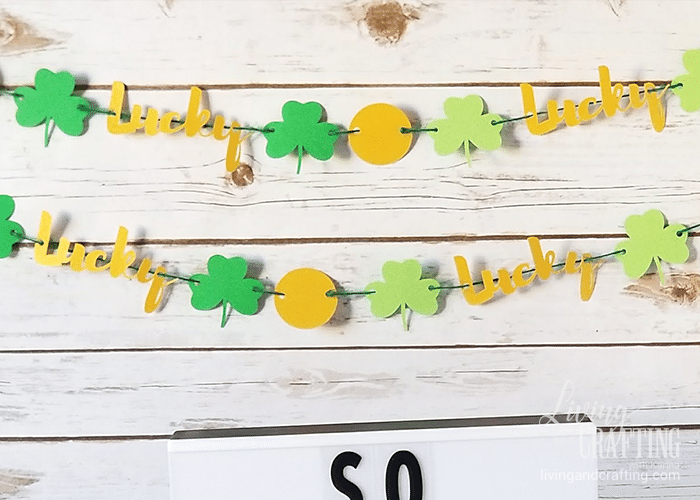
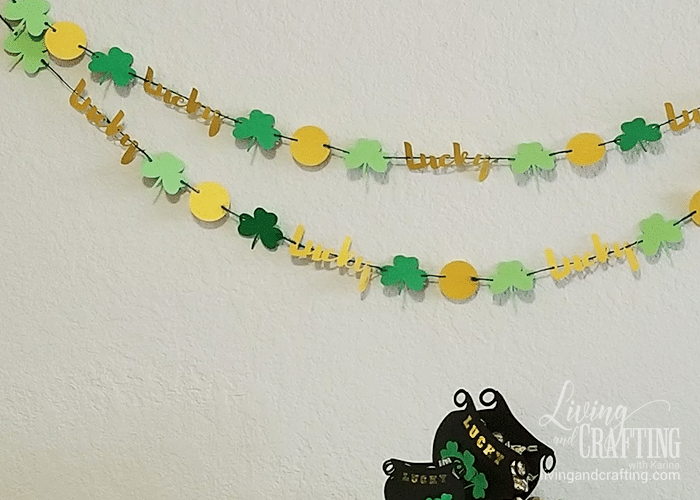
Once you have cut all the pieces, begins to assemble (I did it manually with green jute twine), take 1 green shamrock and pass the jute twine through the holes
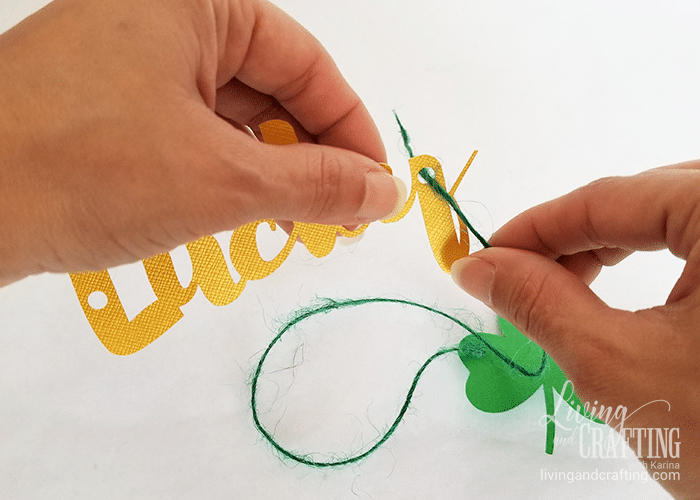
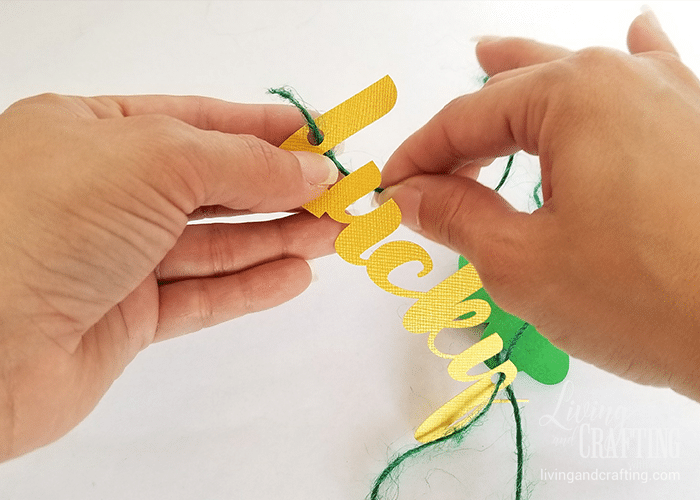
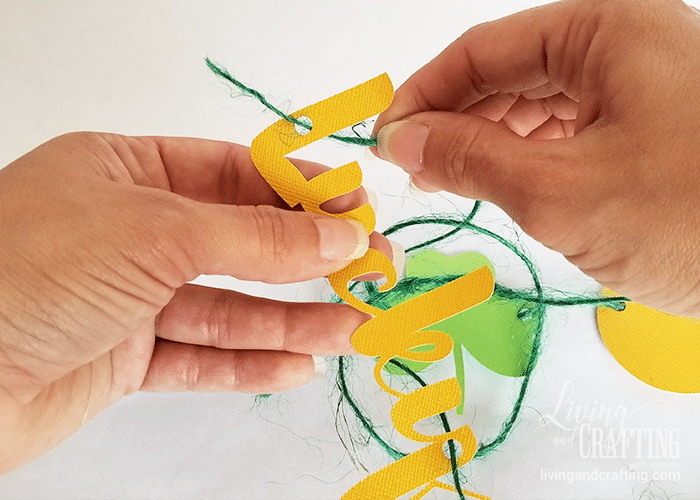
Take a lucky word and pass the jute twine through its holes (the twine always must be behind the piece)
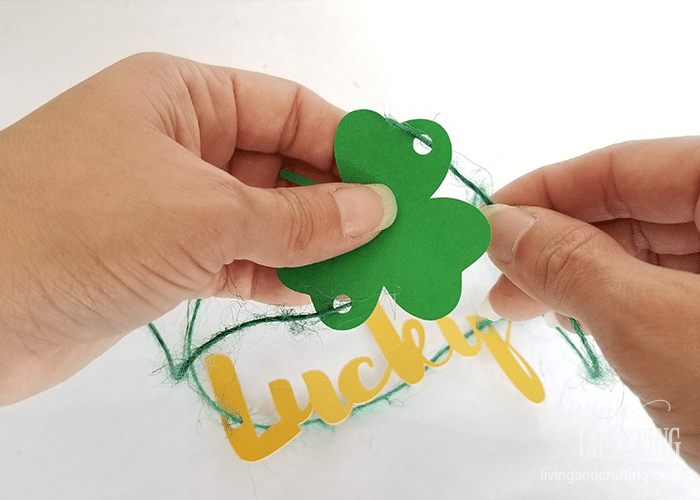
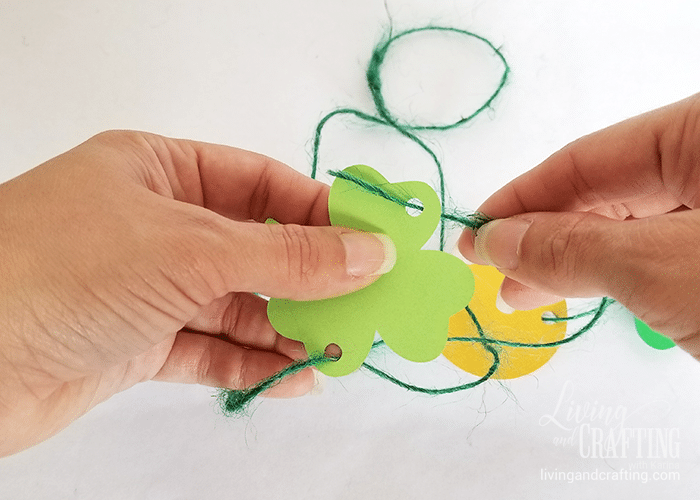
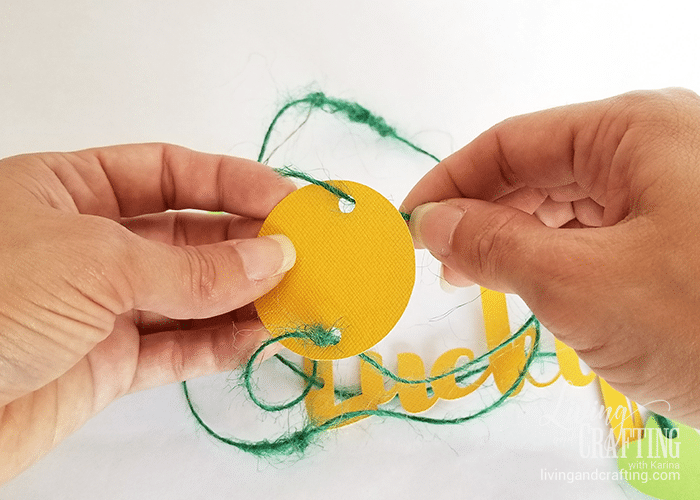
Take another green shamrock and pass the twine through it

Do the same with a yellow circle
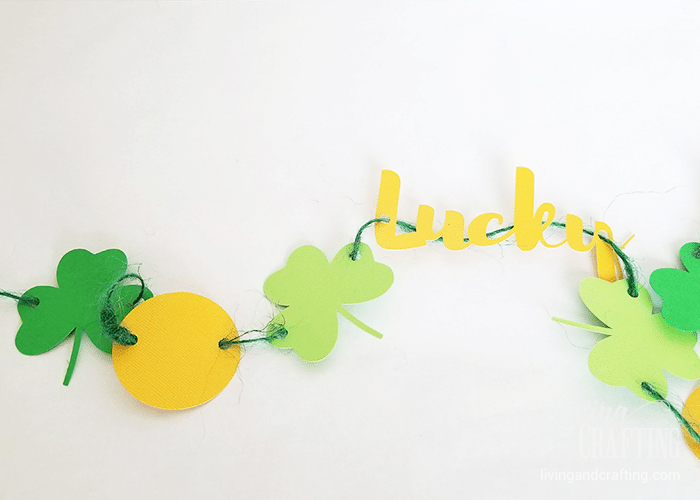
Now add a light green shamrock to the garland
It’s the turn of the Lucky word
Take another light green shamrock
And a yellow circle
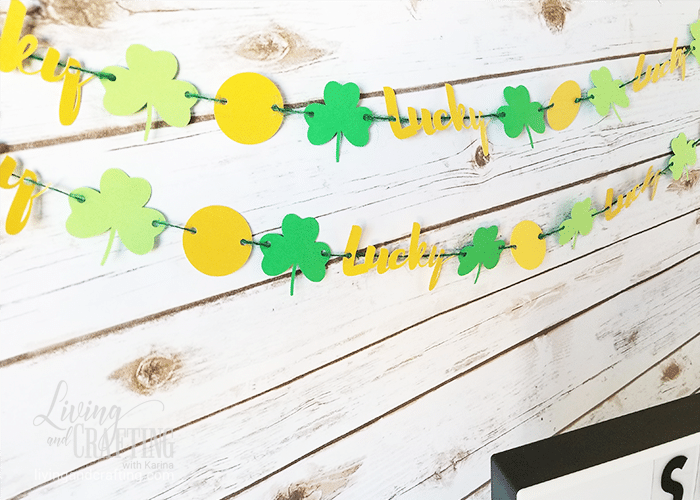
Now, repeat the previous steps, starting with the green shamrock until you have the length you want for your garland

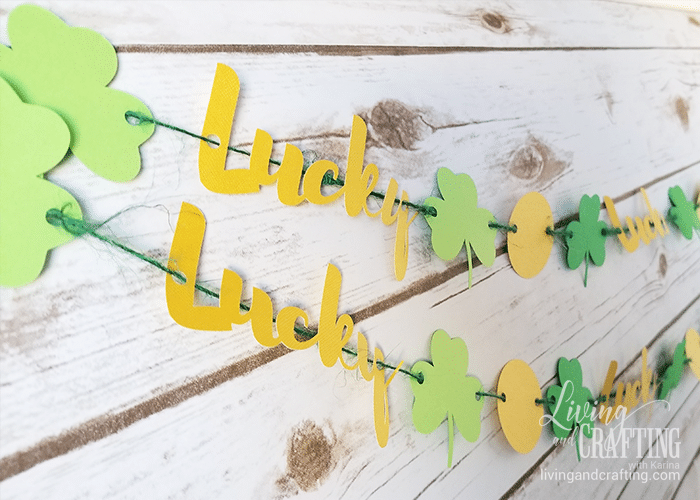
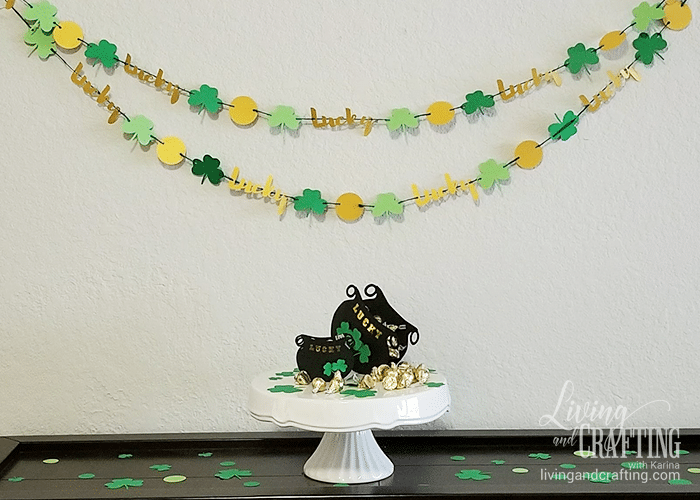
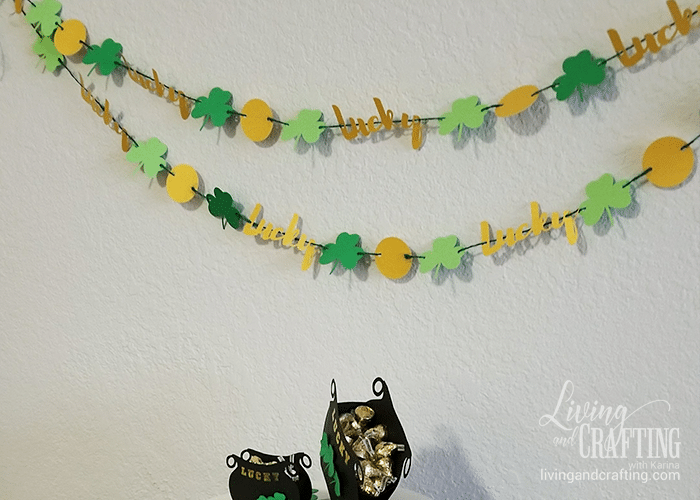
With the amount that I cut, 1 letter size cardstock of each piece, I made 2 garlands of approximately 54” long each, this is how they look

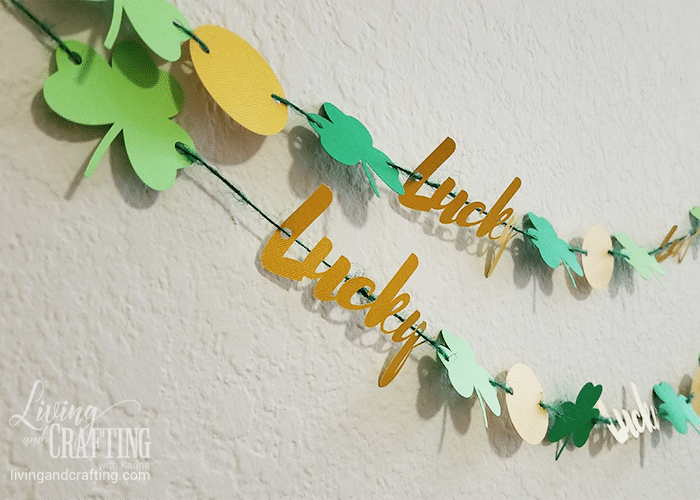
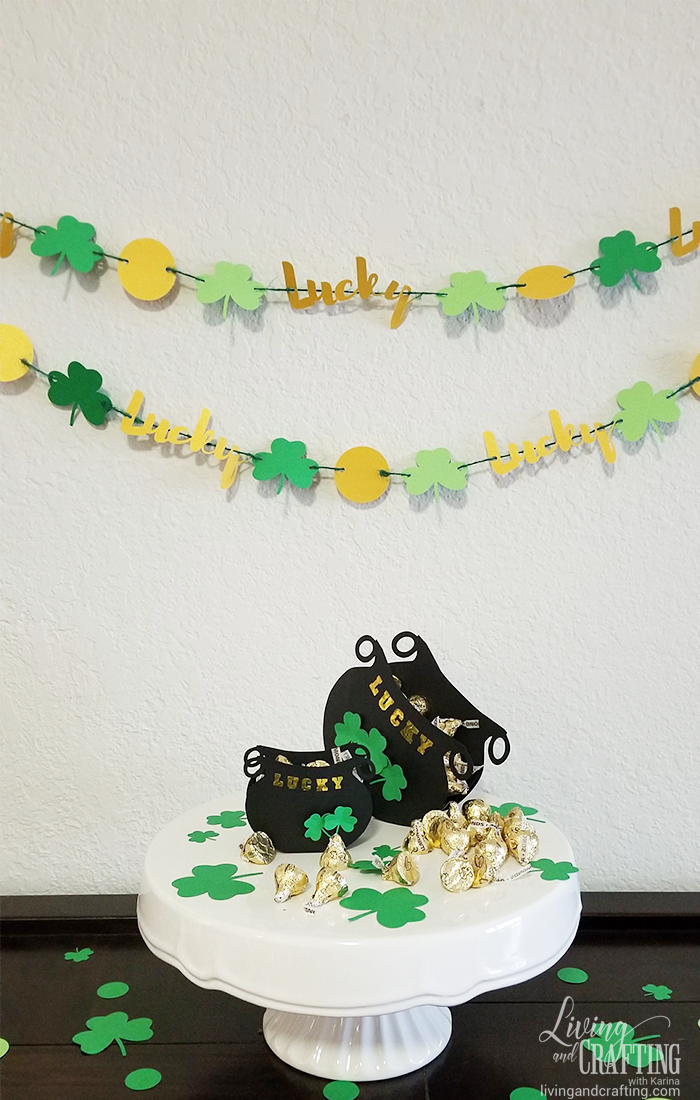
I hope this DIY Lucky St. Patrick’s Day Garland was useful, do not hesitate to leave a comment or any questions you have, and send a picture of your garland.
If you like it, you may be interested in these too
Kisses,
Kari