I come from a country where for children birthday party is equal to cake, piñata and candies, if any is missing the doubt is whether there was party (LOL). In this article I will explain how to make a Pokemon Piñata (remember that I am 2 male mom) but in another post we will do other piñatas.
Pokemon Piñata

The piñata is an object made of different materials, decorated with the theme of the party and filled with toys, candies, paper, finally surprises for all children. The piñata can be part of the decoration, but almost at the end of the party is hung from the ceiling (or suspended high) and the children sit on the floor around it and one by one takes its turn to try to knock down the piñata.
You ask yourself, how do they drop the piñata?, well there are different types of piñatas and ways to knock them down, there is a type of piñata that in the bottom brings tapes, at the time of laying down each child takes a tape and pulls it, the bottom the piñata is broken and all surprises fall.
Now, it is the most common way to break the piñata and it is with a stick, yes as you read with a stick, each child waits his turn and strikes the piñata until it breaks and drops everything inside.
Today I will explain you how to make a Pokemon Piñata of this type.
The materials you need are the following:
- Cardboard, they can be boxes or there is a roll of cardboard that they sell in Home Depot, for me the boxes are more economic and they are resistant.
- Stapler and staples.
- White or silicone glue.
- Red, black and white crepe paper.
- White silk paper.
- 2 plates of cardboard with white background.
- Wire.
- Scissors.
- Rule.
- White cardboard.
- Red paint.
- Duct tape.
Process:
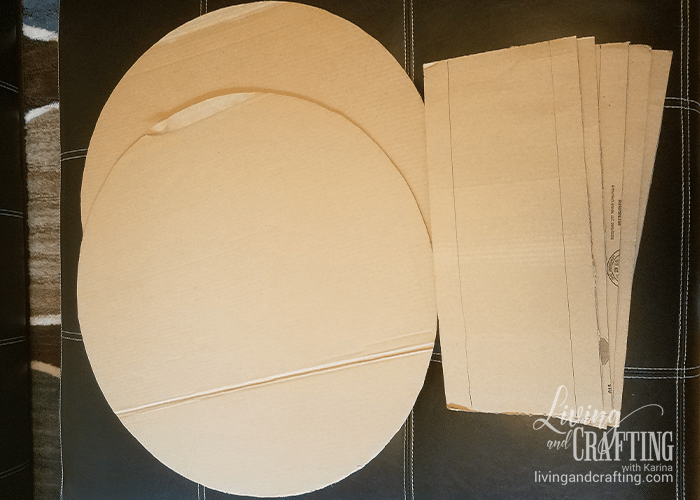
- Mark 2 circles in cardboard boxes, the size depends on the amount of children going to the party and the amount of filling you have or if you want to decorate.
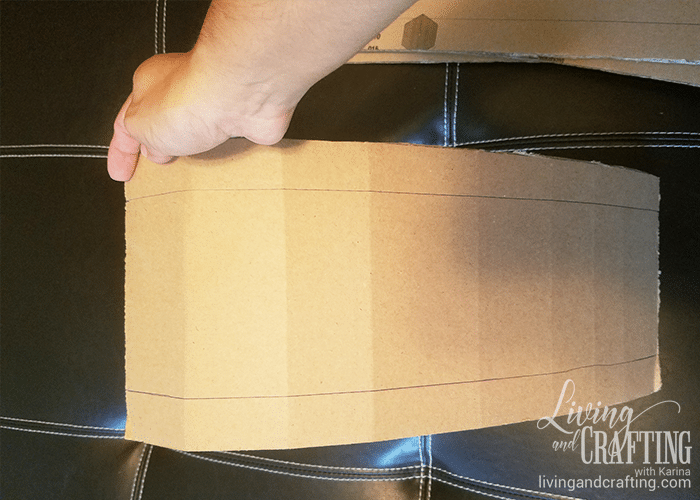
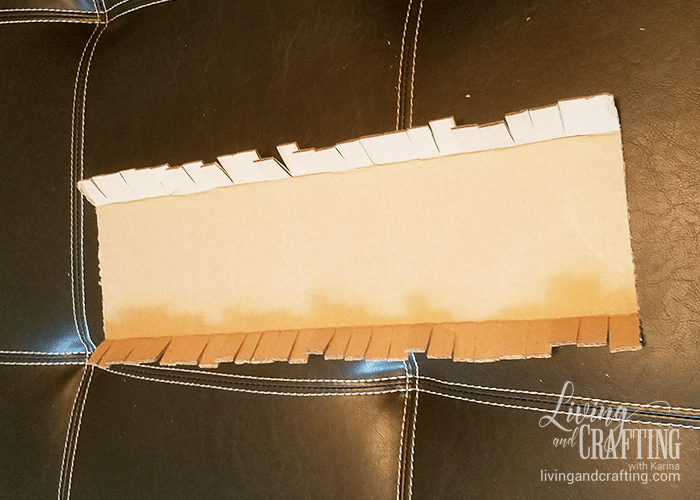
- Mark 5½” strips on cardboard.
- Cut circles and strips.
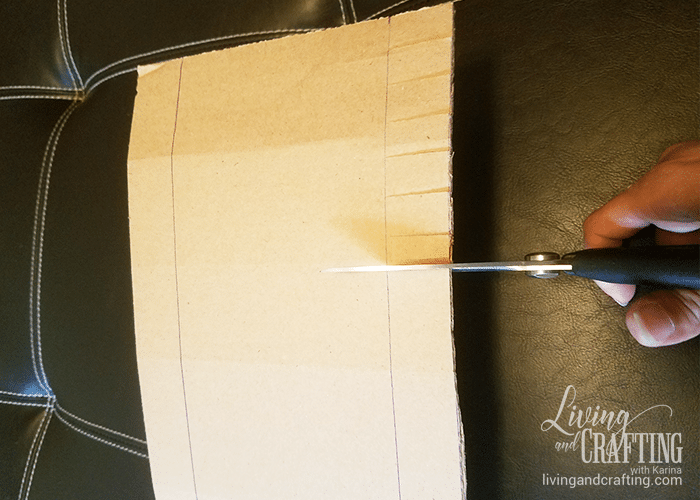
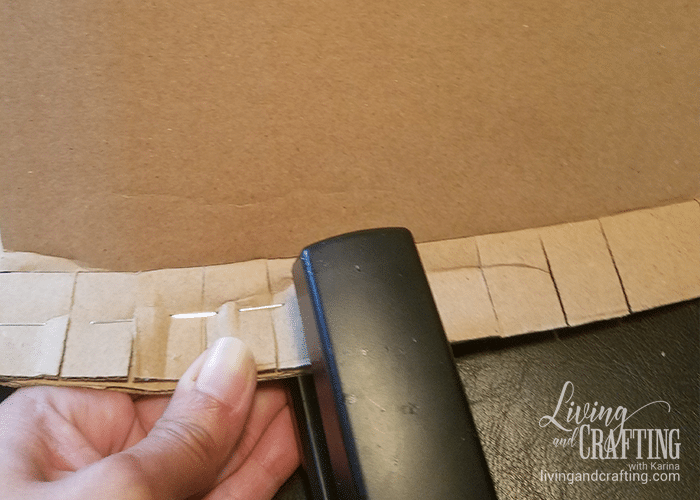
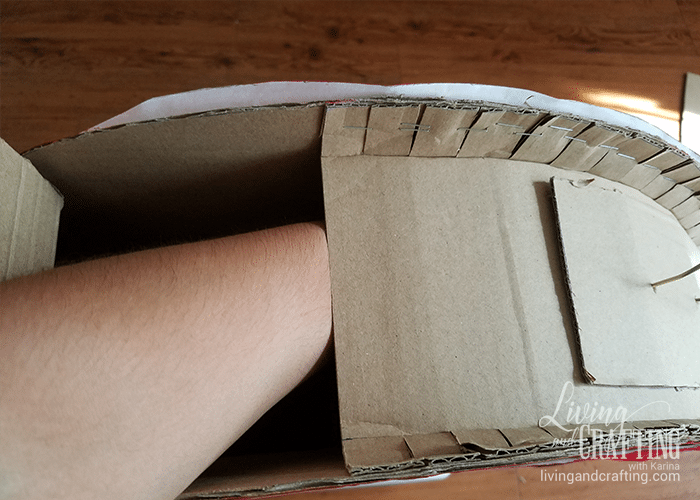
4. On each side of the cardboard strips measures 0.75 “and draws a line.
5. Cut in a bit from the edge to the line.
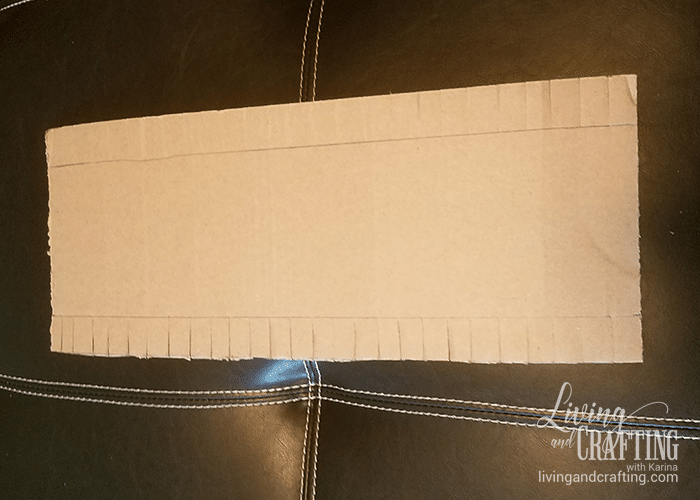
6. Fold up the edges you cut.
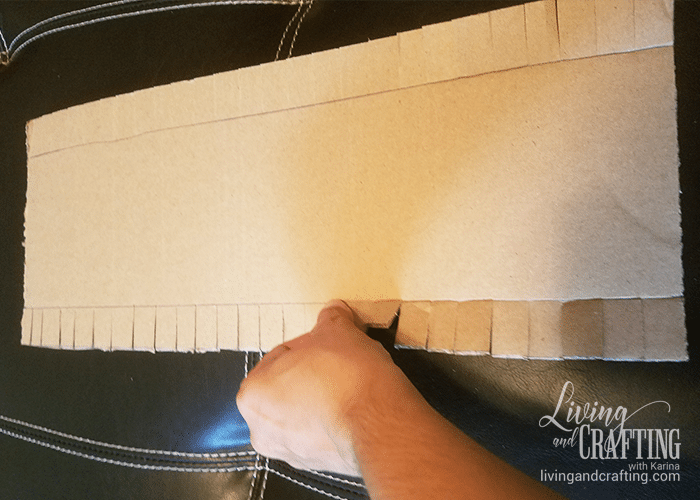
There must be something like this
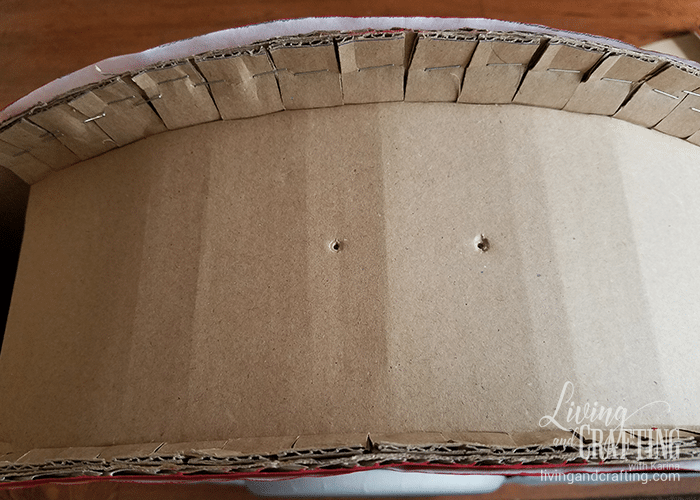
7. Join one of the circles to the strips with the stapler.
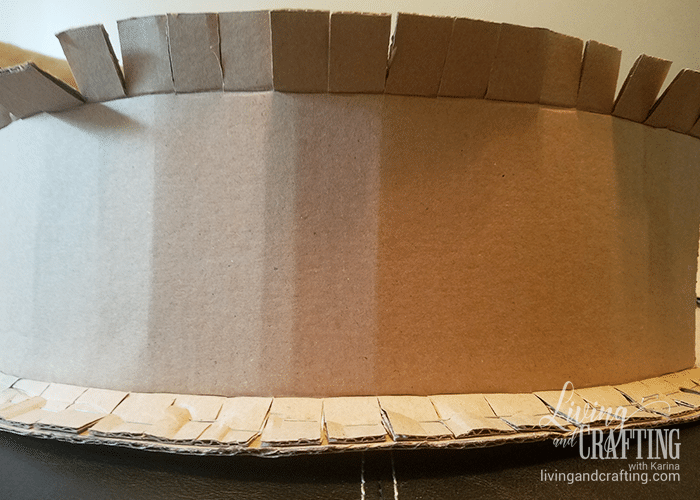
When you almost reach the end, you must leave a part without fixing, this will be the hole where you will put the surprises.
8. Repeat step 7 with the second circle.

9. Take as a pattern the piñata marks 2 circles on the white cardboard and cut them
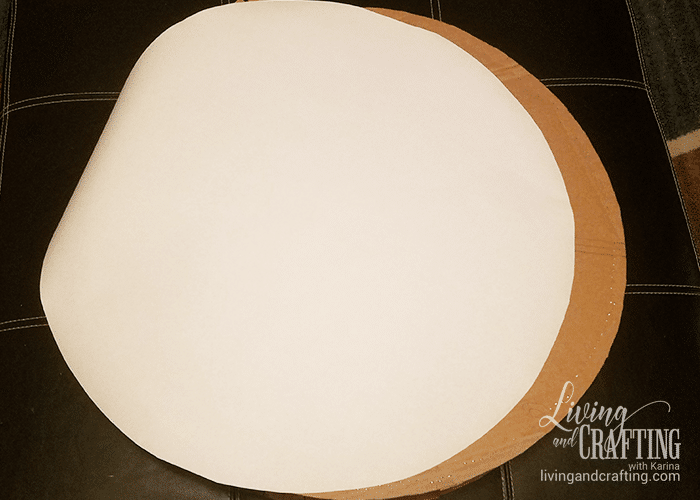
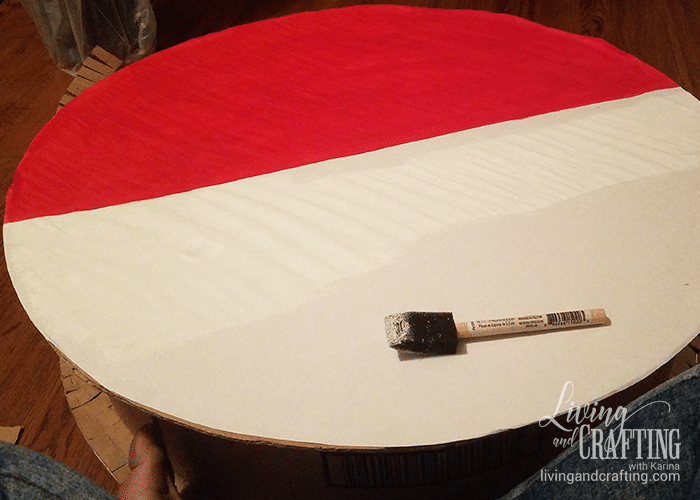
10. Glue a white circle on each side of the piñata.

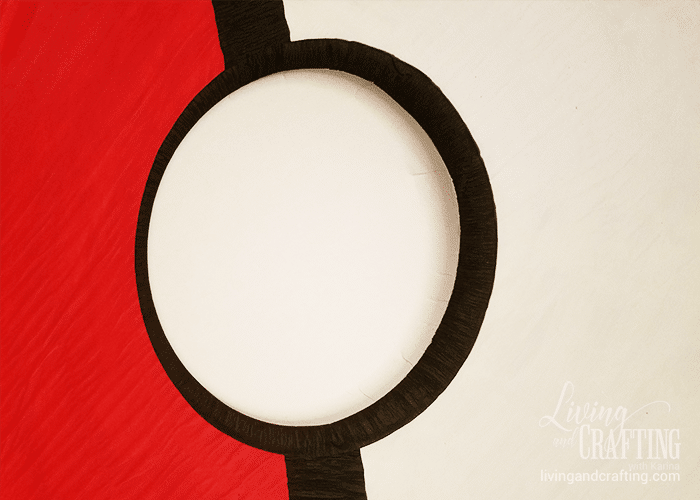
11. Paint red the upper half of the piñata and white the other half.
12. Place a strip of black crepe paper in the middle of the piñata, covering the union of the red and white colors (remember that you are making a pokeball, always keep an image of what you are doing at hand to look at the details )
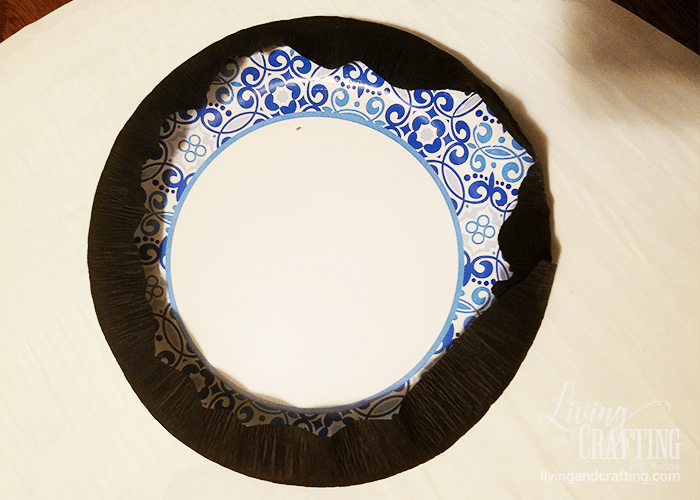
13. For the center of the pokeball, use a cardboard plate (the size depends on the size of the piñata), you can use a circle of white cardboard, but the plate gives the relief that carries that circle in the middle of the pokeball. Cover the edge of the plate with black crepe paper
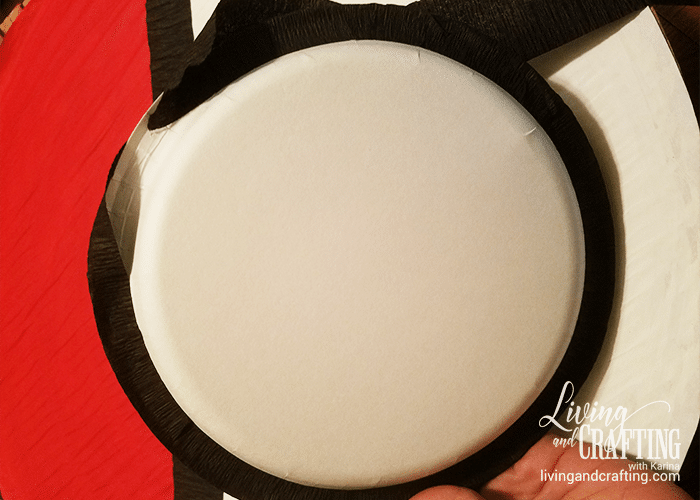
14. Glue the plate to the center of the piñata on the black ribbon.
You see how almost you already have the piñata!

15. Repeat steps 10 through 14 with the other side of the piñata
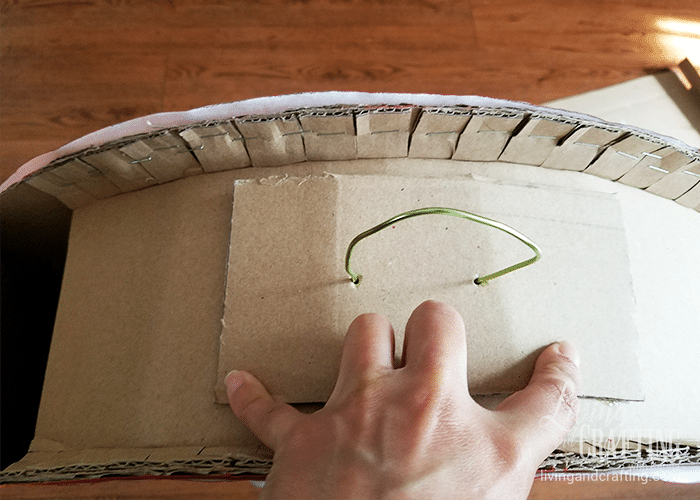
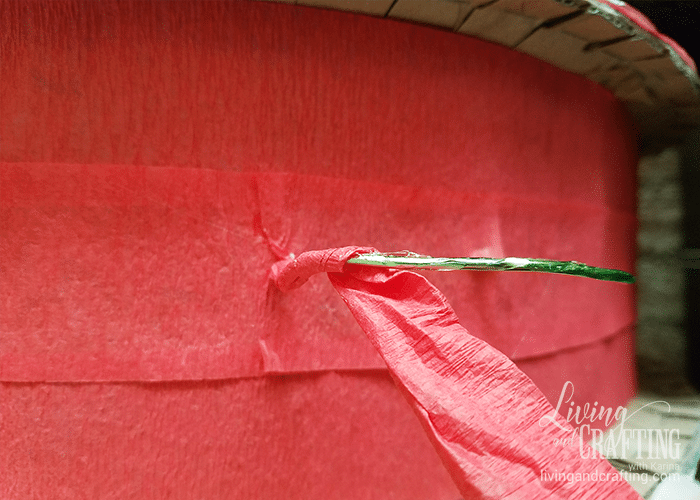
16. To place the wire where you are going to hang up the piñata, you must open 2 small holes in the top in the middle of the piñata.
17. Cut a cardboard and in the middle make 2 holes with the same distance of the piñata and place the wire
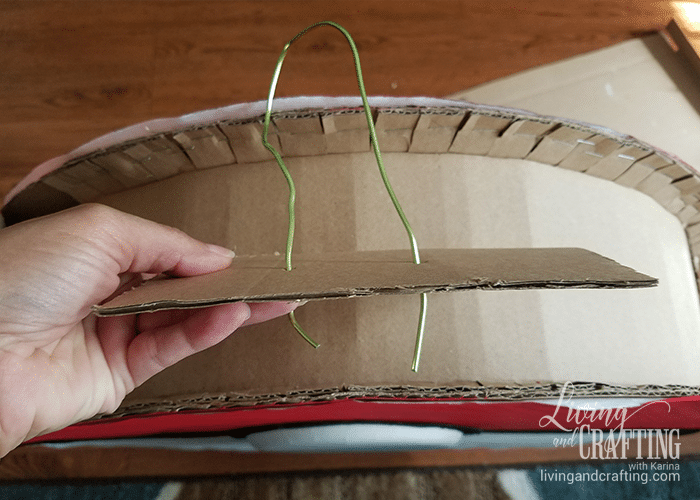
18. Put glue on the back of this piece and insert the tips of the wire through holes of the piñata
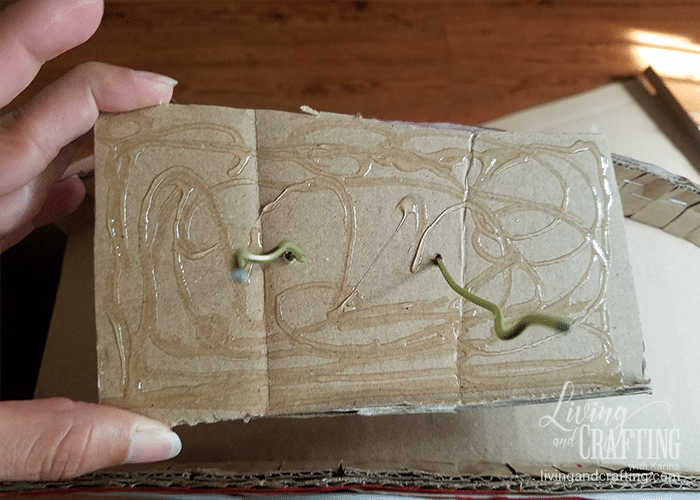
19. Fix the carton and hold until it clicks, then twists inside the wire to be fixed.
Once fixed it will look like this
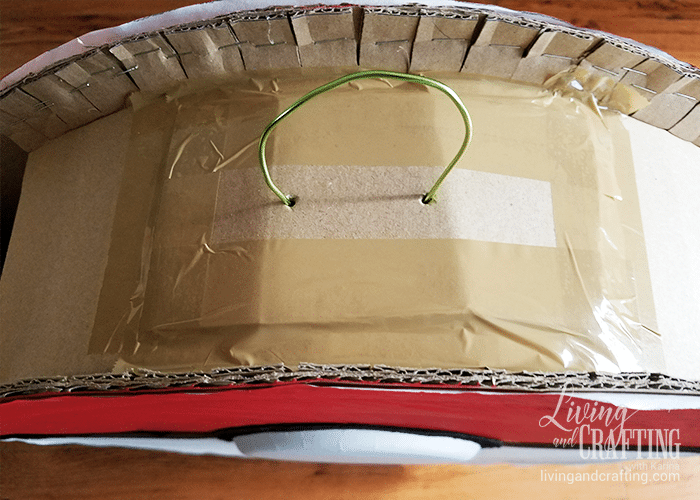
20. Place wrapping tape around the piece you just attached to ensure that it does not come off with the weight.
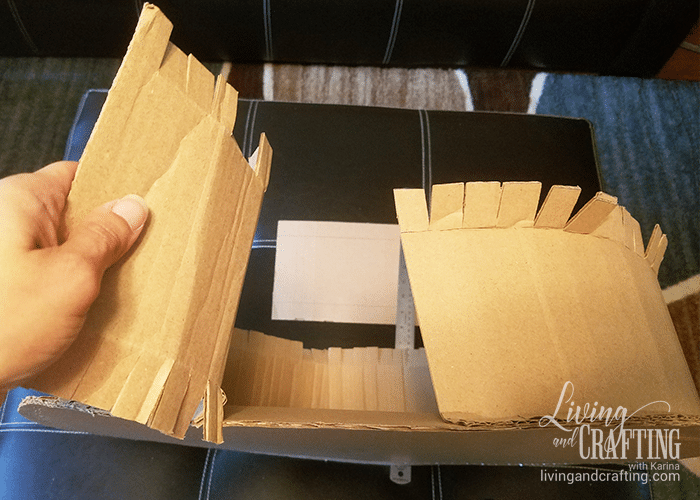
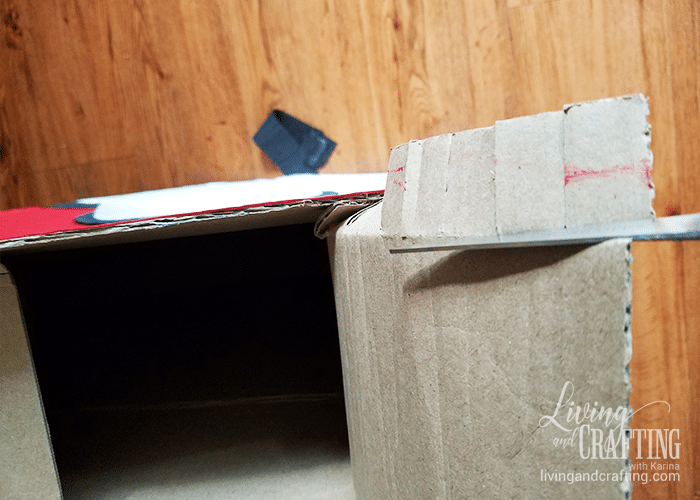
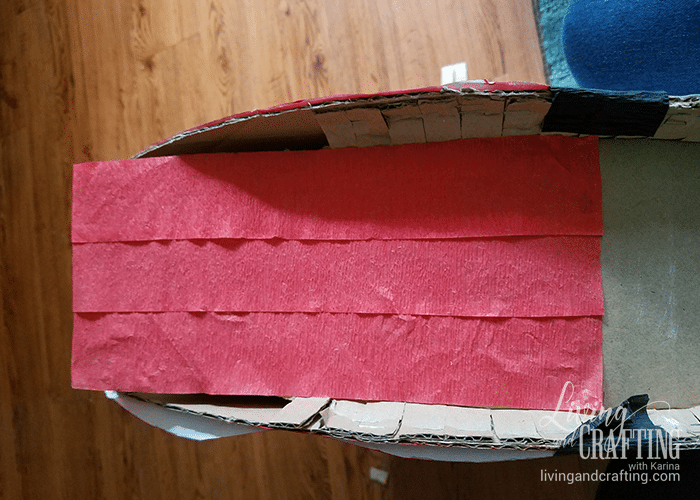
21. Cut the sides of the strip of cardboard that you did not staple and where you will fill the piñata
22. Cover the sides of the piñata, the red half with red crepe paper
You must line the wire
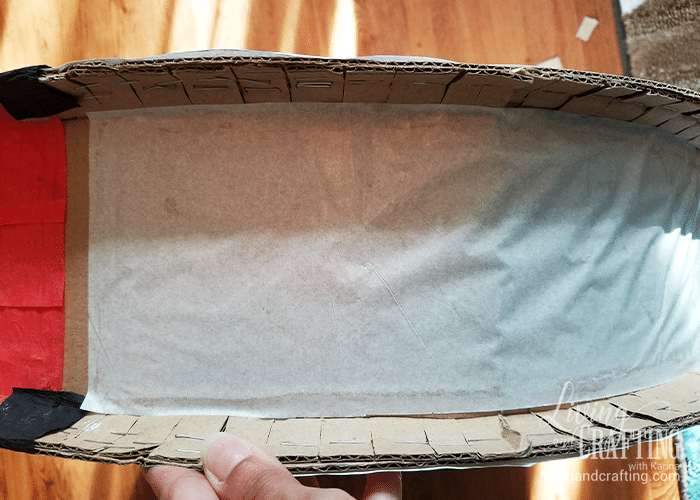
In my case I did not get white crepe paper, so I covered the white part with white tissue paper.
In the part of the union of colors lay black crepe paper
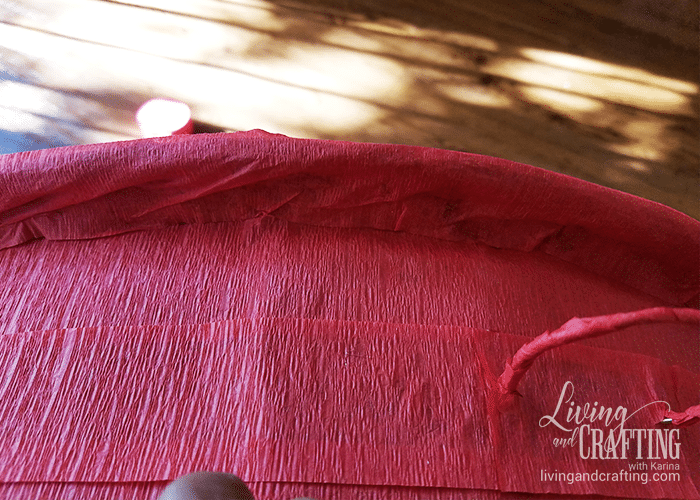
23. The edge of the piñata you should cover it with the papers because you see the union of the cardboard

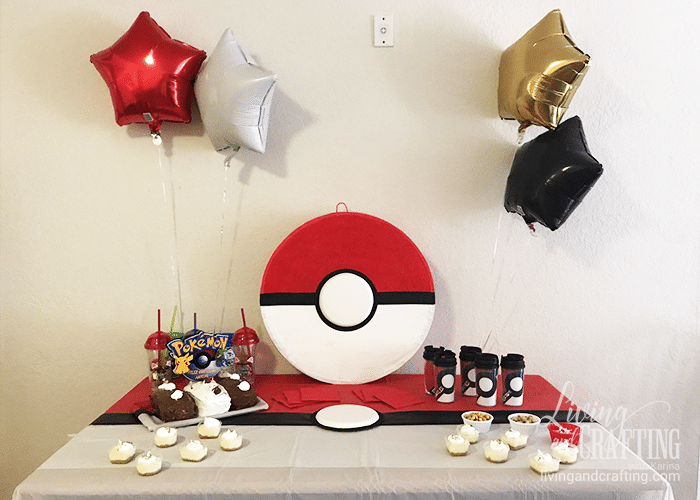
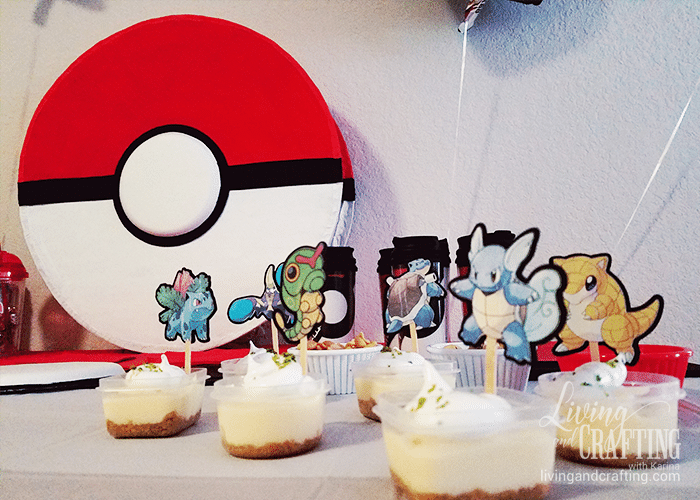
You’ve finally finished the Pokemon Piñata

You just have to enjoy filling and breaking it.
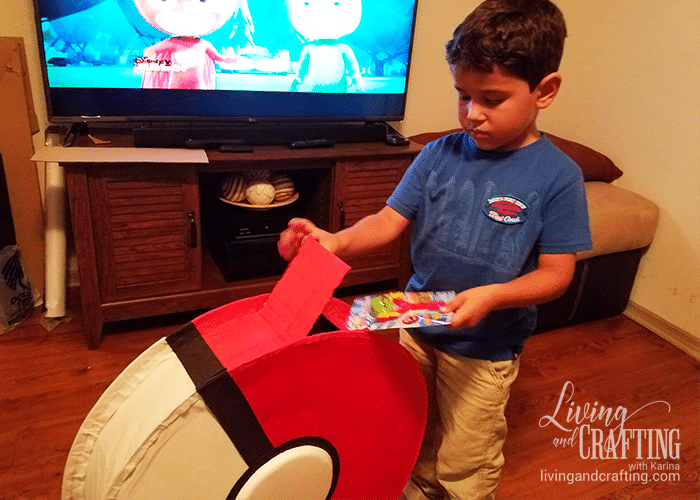
I used it as part of the decoration and when It was time to broke it I removed it.
I hope this DIY was useful and has given you ideas for future piñatas, leave your comments, questions and photos of your Pokemon Piñata!
If you like this project, you might also like this too:
Bye Kisses!
Karina