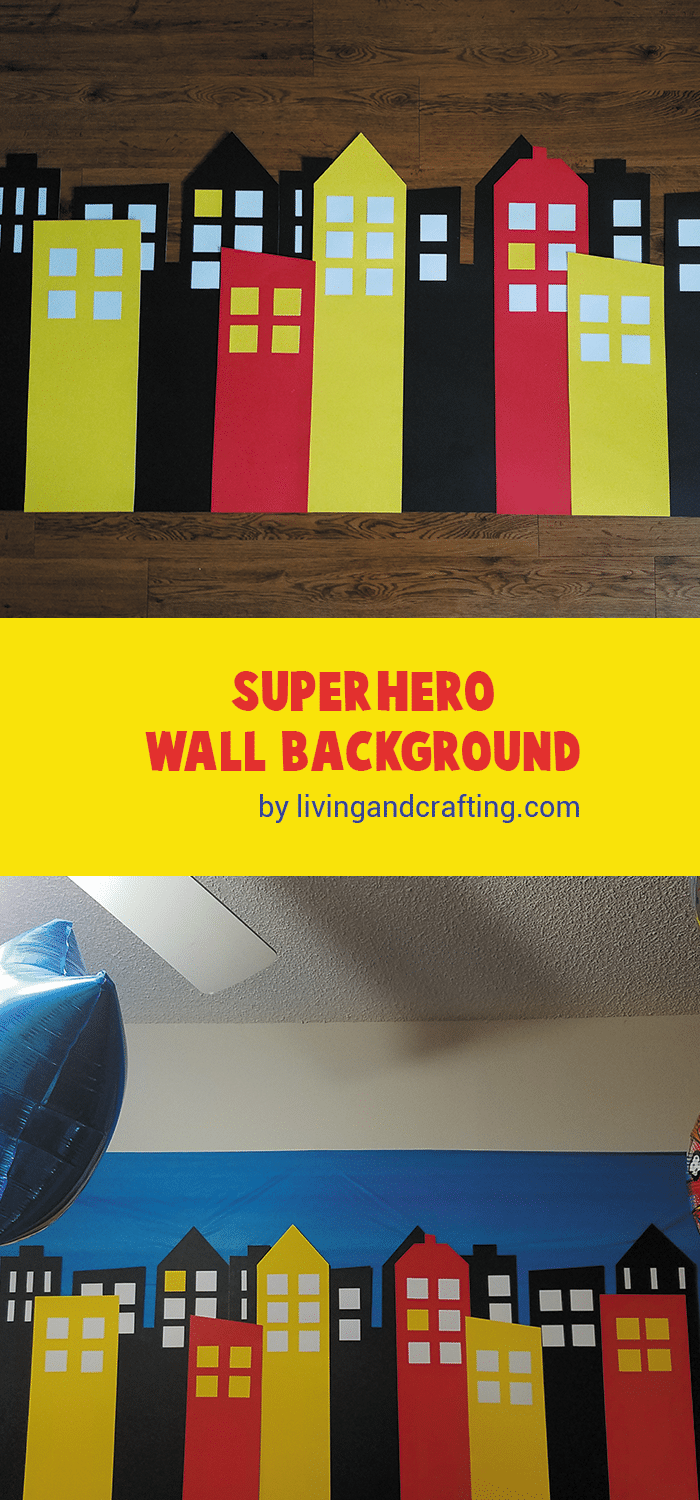
Who has not dreamed of being a super hero at some point of our lives? I think we’ve all done it, being women or men, I think that’s why it’s such a common birthday theme. Because of that, today we’re going to make a Super Hero Wall Background that you can use to decorate a super hero party or use it to take the photos to your little super heroes.
Super Hero Wall Background
How to make a super hero wall background
You will need:
- 3 sheets of black cardstock (I got them in dollar tree at $ 0.69 each)
- 1 sheet of yellow cardboard
- 1 sheet of red cardboard
- Glue
- Rule
- Pencil
- White cardstock
- Xacto or scissors
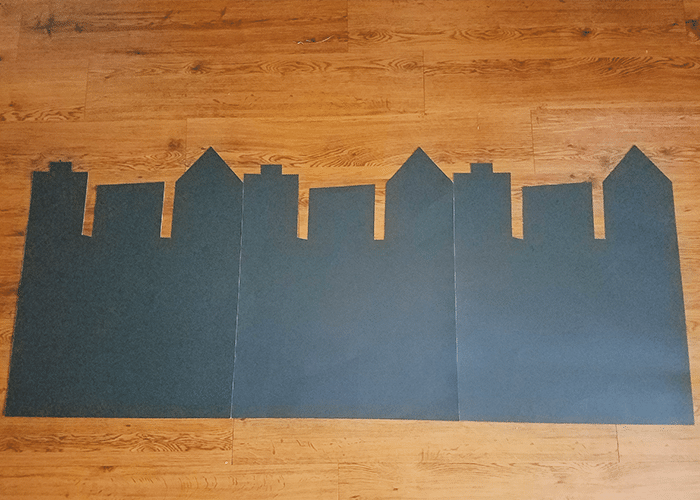
On the black card, with the help of the ruler, mark 1 rectangle 7 “then leave a space of 1” approximately and re-mark another rectangle 7 “, until the end of the card, if the last rectangle is a little smaller does not matter.
To make the roofs of buildings, in the photo I show you how I did them, but you can do your as you like, it is important that they are in different sizes and shapes, remember that you are simulating a big city.
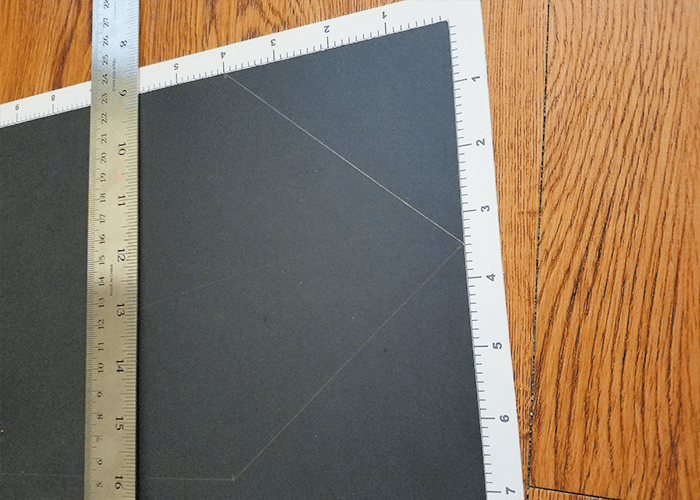
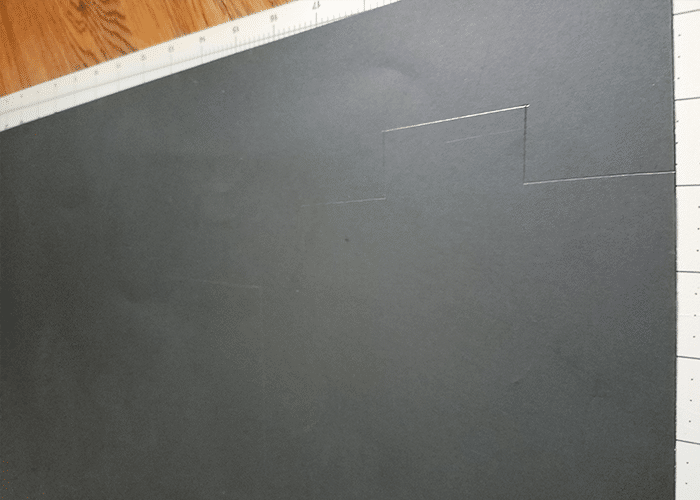
This is how It look like after trimming the shape
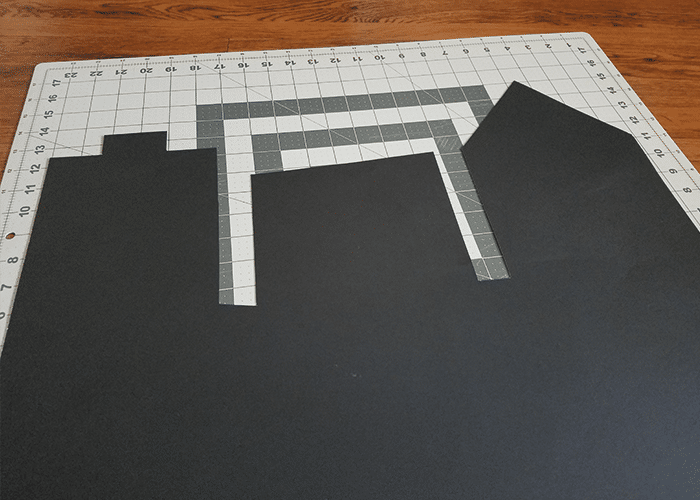
As there are 3 cardboard you have 2 options, mark a new pattern of buildings in the 2 remaining cardboard or … what I did to save time, take the first you already cut as a pattern for the remaining.
When you have the 3 black cards cut out you will have something like this
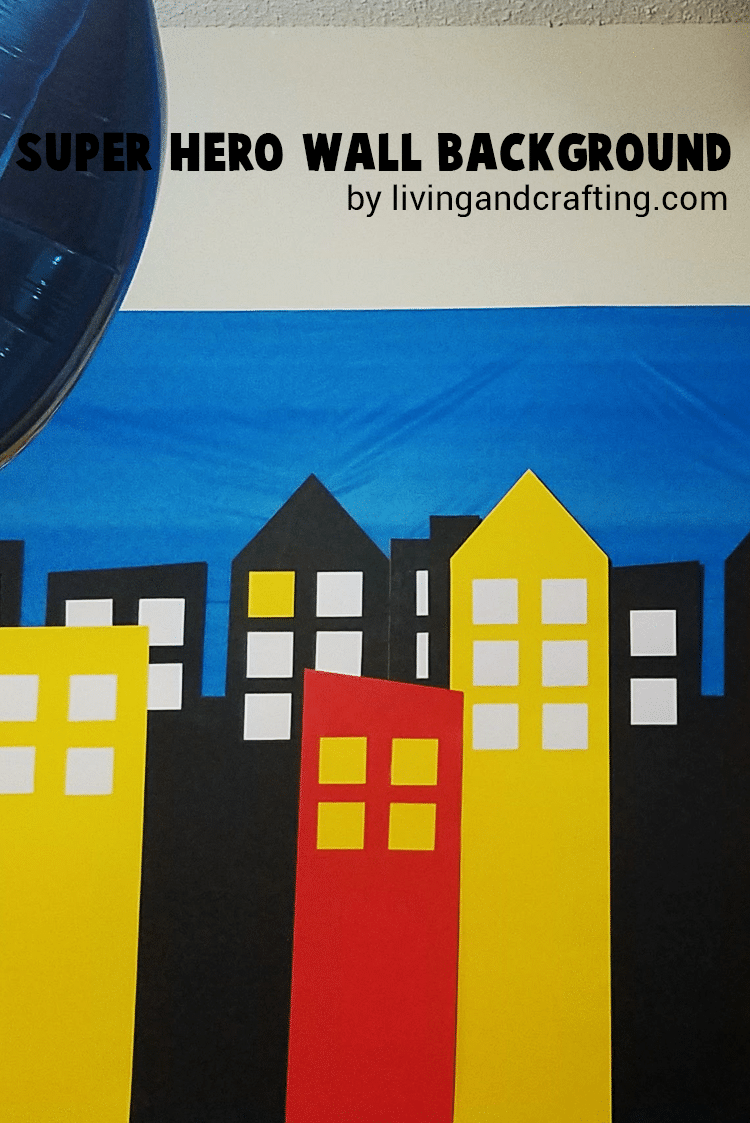
To make the background more striking, you add a few buildings in color, cut some rectangles 7 “wide on the yellow and red cards, then cut out some smaller ones than black buildings and other beams of the same size. I cut 3 yellows and 3 reds, then gave them the shape with asymmetric roofs.
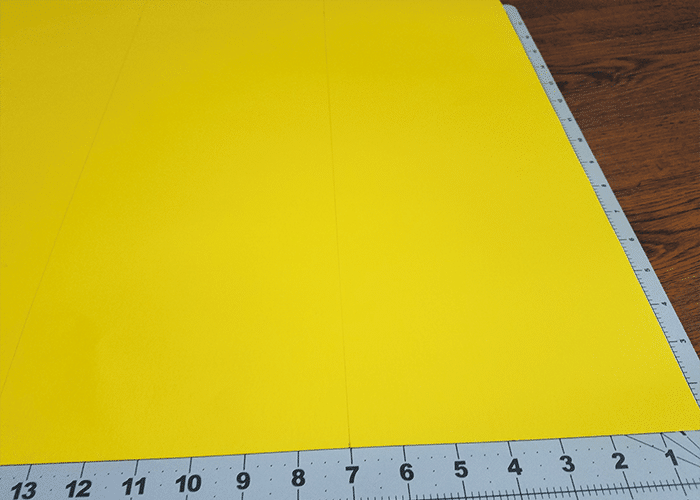
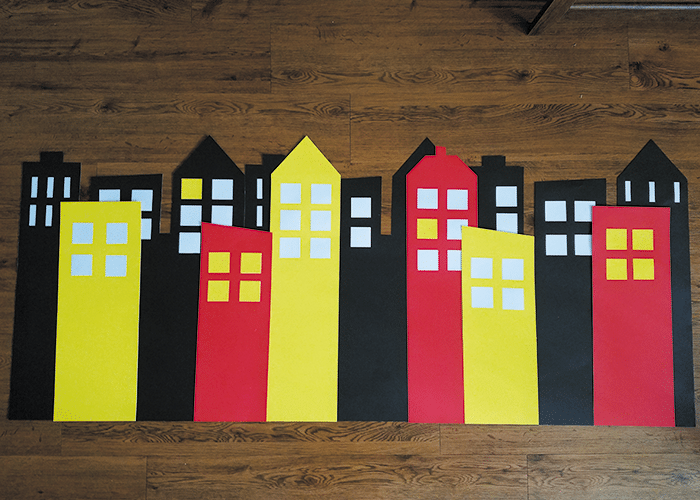
Finally cut small squares and thin rectangles that simulate the windows of buildings. Place the colored buildings over the blacks and glue the windows.
My background stayed like this
And on the birthday looked like that
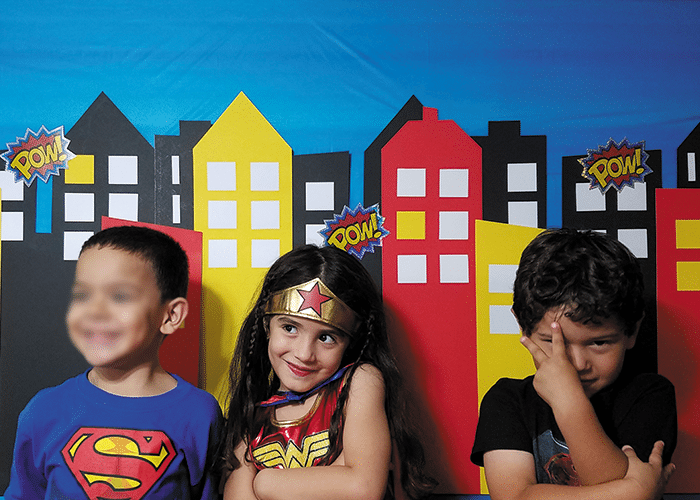
Remember that the size depends onyou, if you like it bigger use more cardboards. Another variation is using boxes and paint them, this will give more strength to your background.
I hope this post is useful, do not hesitate to leave your comment and the photo of your project. Thanks for reading.
Bye Kisses!
Karina
