Hi!, When I think about spring, first thing that comes to my mind are the flowers and colors, but there is one that is typical of this season, the tulip, that’s why today I have for you this tutorial for Tulip Paper Flower , so you can decorate some place in your home with this flower, or add it to another project for this spring as I will do, so you can come back for my next post and see how nice it looks on my next spring project.
DIY Spring Tulip Paper Flower

How to make this Tulip Paper Flower
Supplies:
- Cardstock (white, yellow, green, other colors)
- Hot Silicon or glue
- Silhouette Cameo Machine or Scissors
- Straws
- Marker or pencil
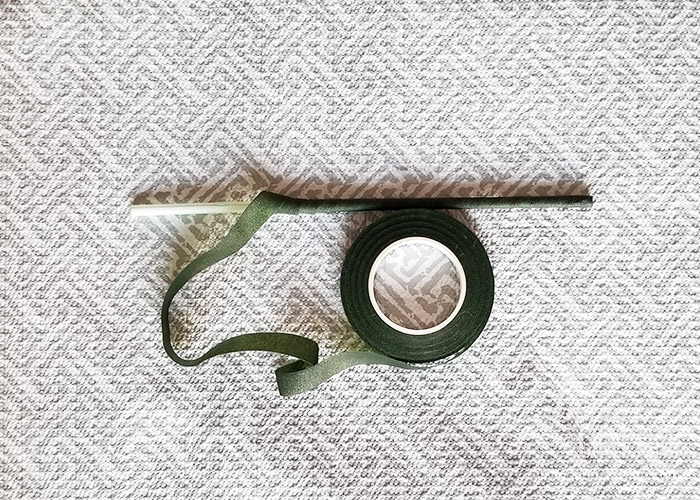
- Floral ribbon
- Tulip Paper Flower pattern, download all files here
The first thing to do, is cut all the pieces you need to make this Tulip Paper Flower, I always leave two links to download the files, the .studio that is used with the Silhouette Cameo, and the .pdf for those who do not have it and want to enjoy making papercrafts:
- If you have Silhouette Cameo, download the following file Tulip Paper Flowers STUDIO and cut it
- If you do not have Silhouette Cameo, download this file Tulip Paper Flowers PDF, print it and cut it
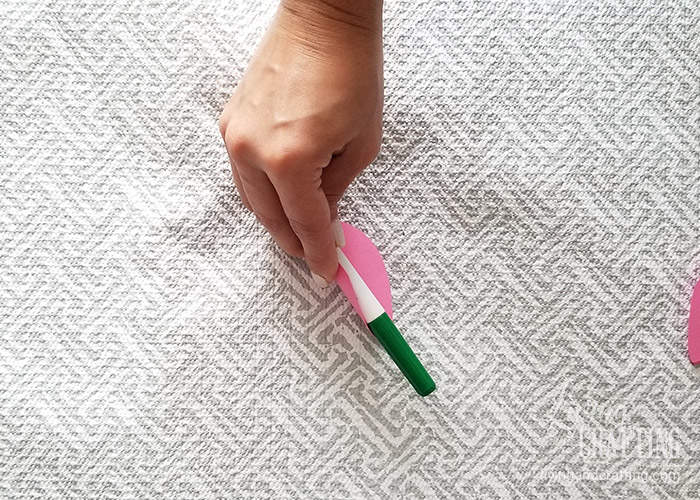
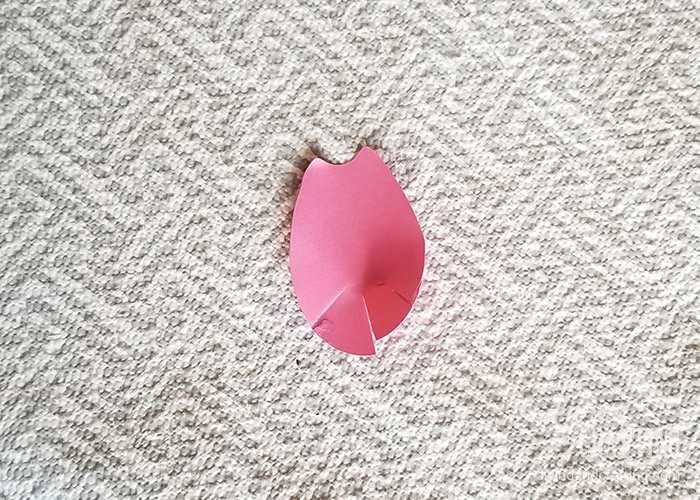
Once you have cut all the pieces, take the petals and fold each side gently with the marker or pencil as the photo shows
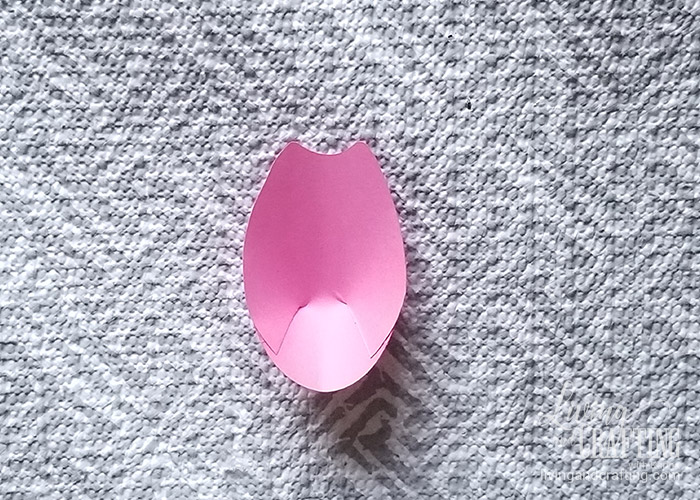
Then, gently fold the petals in half and make a cut as shown
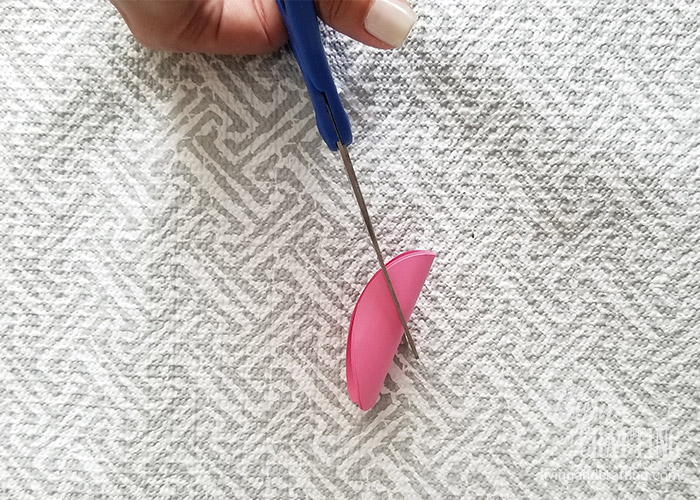
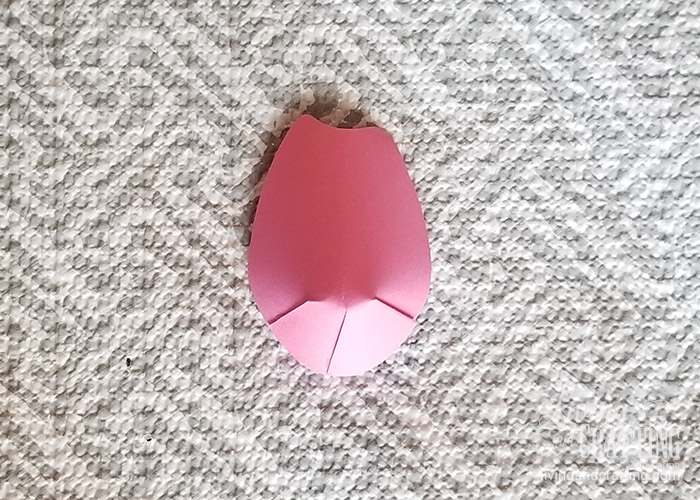
Take 3 of the petals and cut them about ½”, down in the middle, these are the petals for the center of the Tulip Paper Flower
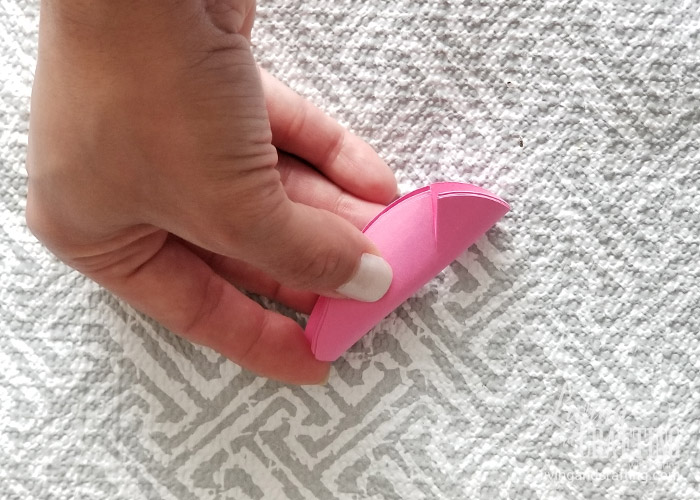
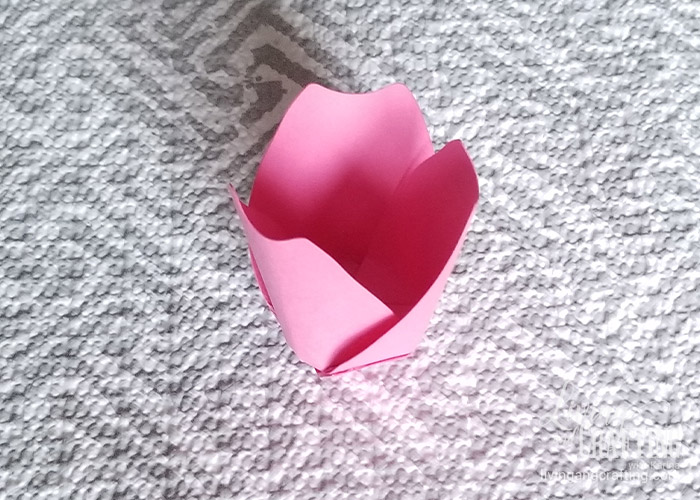
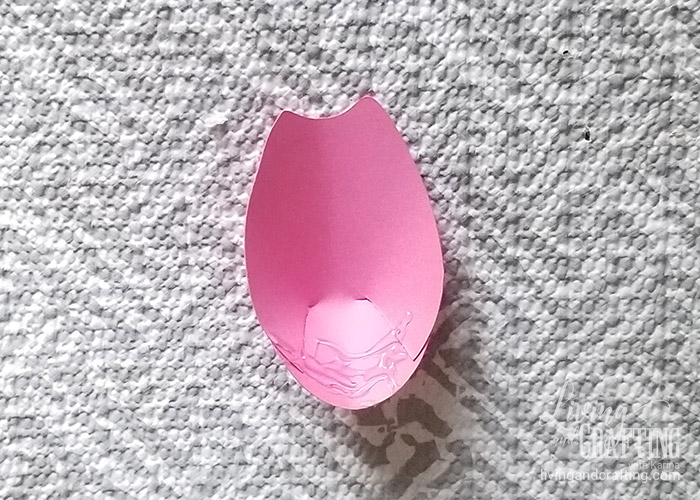
Put a little bit of glue on each cut and stick one side on the other as shown in the photo
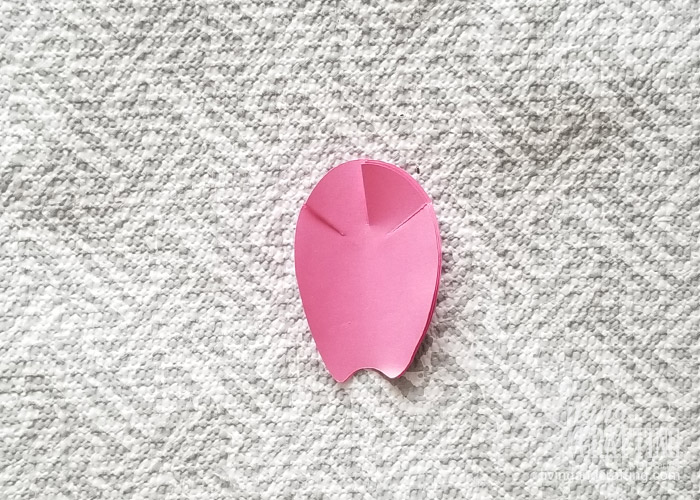
Put some glue on the bottom right side of one petal and glue another petal
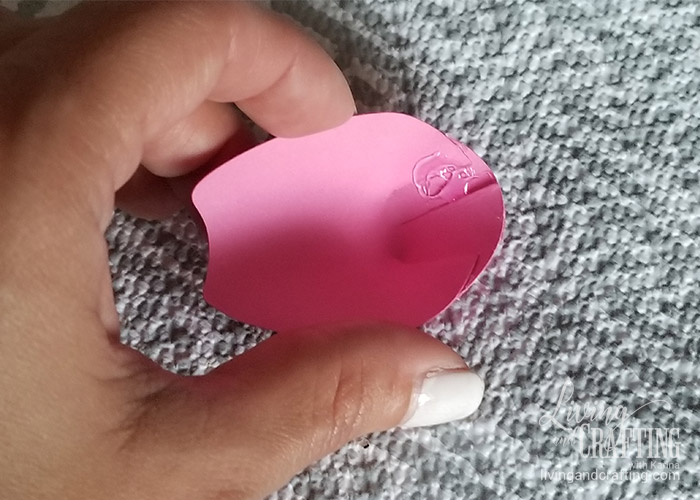
Now put some glue on the bottom of each petal and glue the third petal (the bottom of the Tulip Paper Flower should be closed)
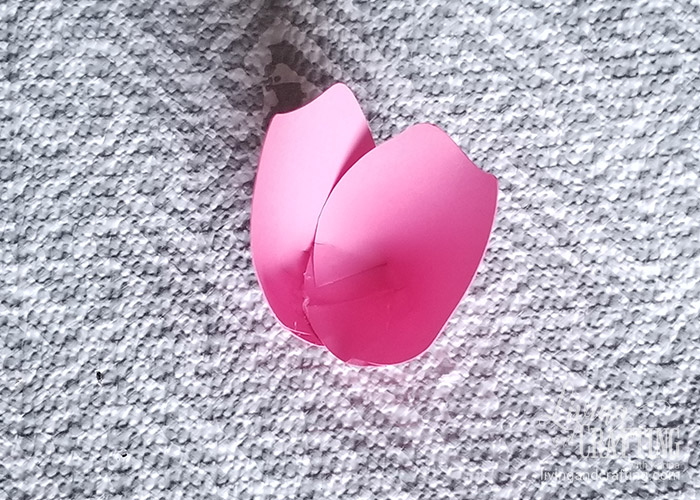
Take the 3 remaining petals and put some glue on the cuts you made, stick one side of the cut on the other as shown in the photo
Put glue on the bottom of the petal and glue it to the piece of the first three petals between 2 of them
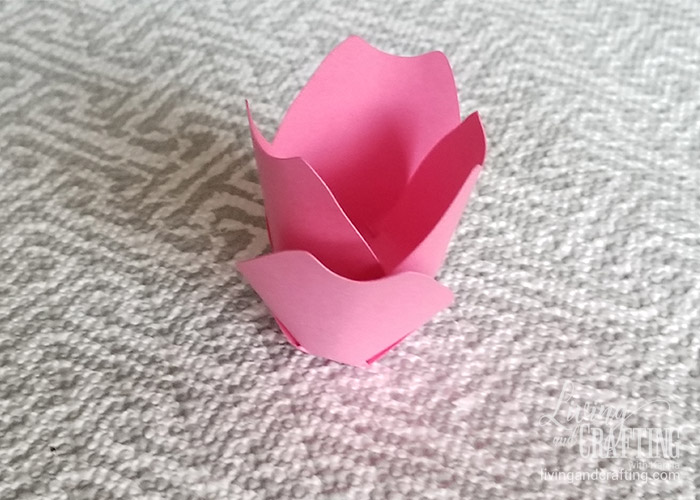
Repeat the previous step with the remaining 2 petals

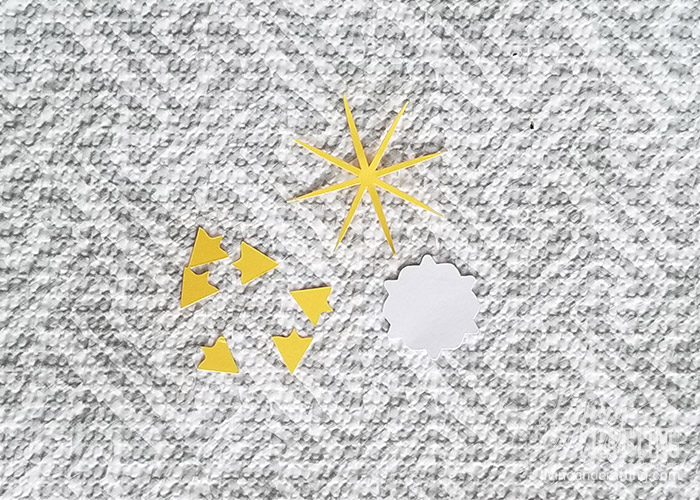
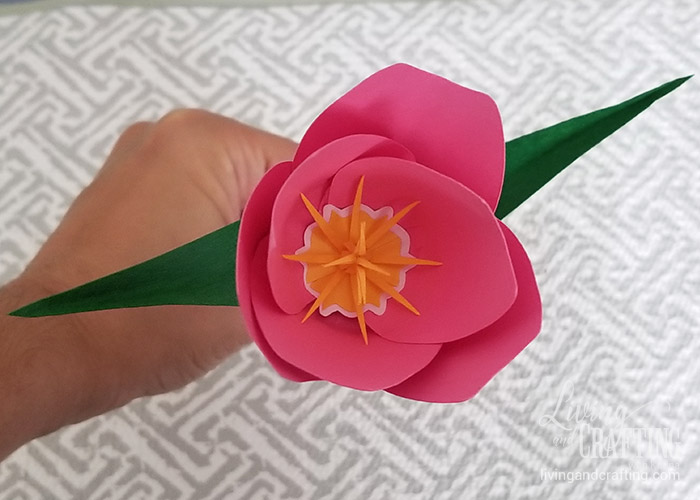
Take the pieces for the center of the flower, glue the small yellow pieces on the white one, as the photo shows
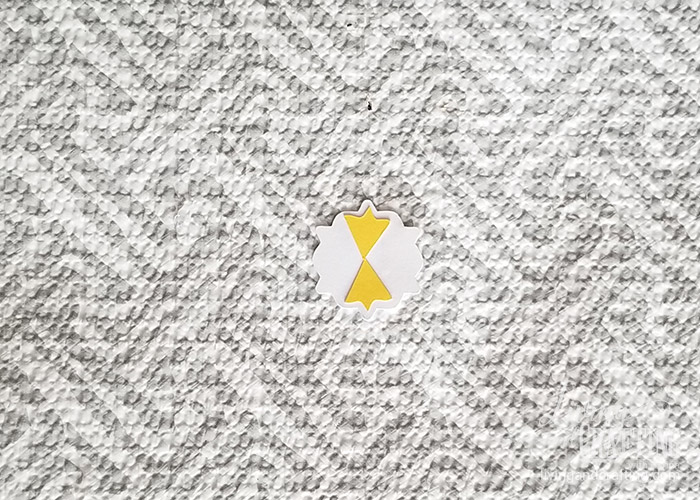
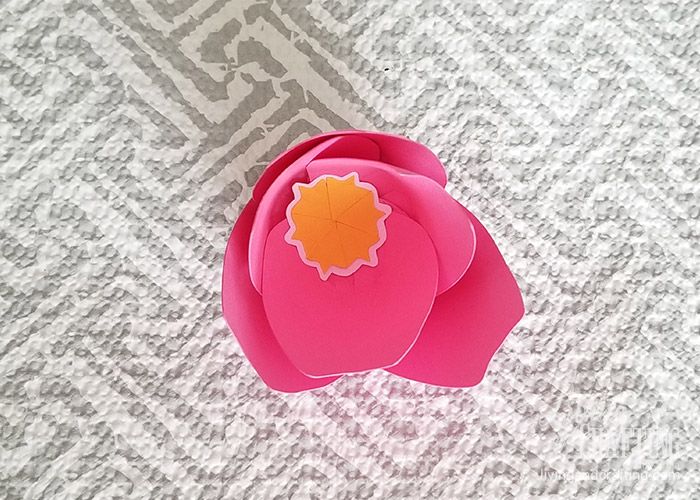
Glue the piece to the center of the Tulip Paper Flower
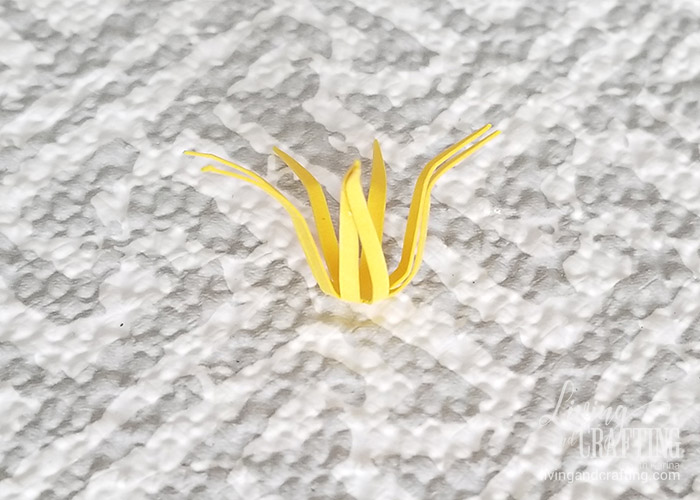
Take one of the yellow pieces of 8 points and glue it to the center of the flower
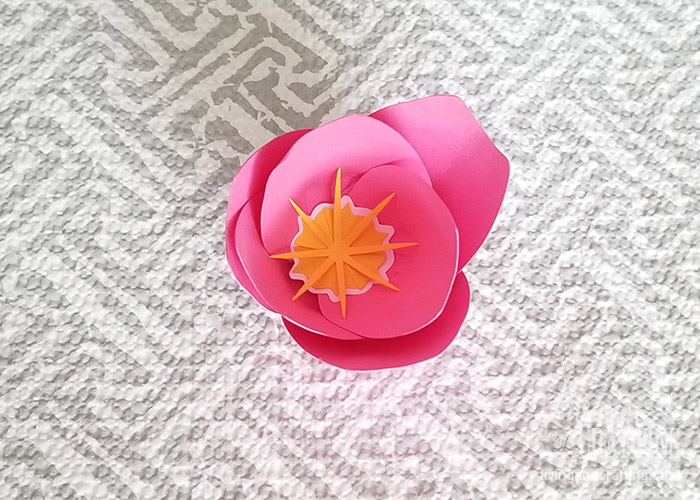
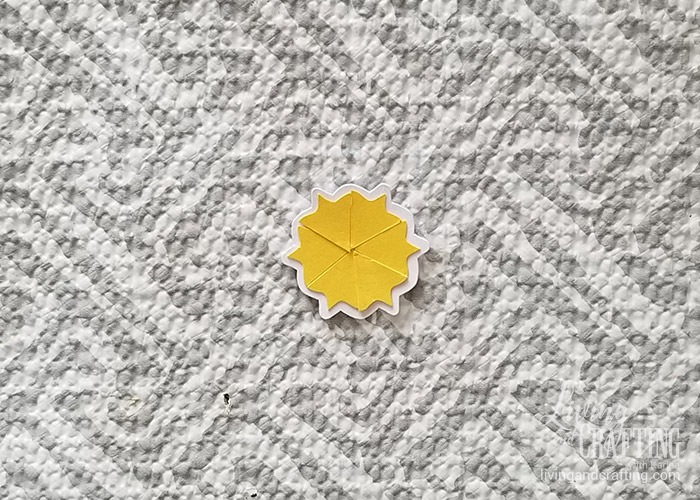
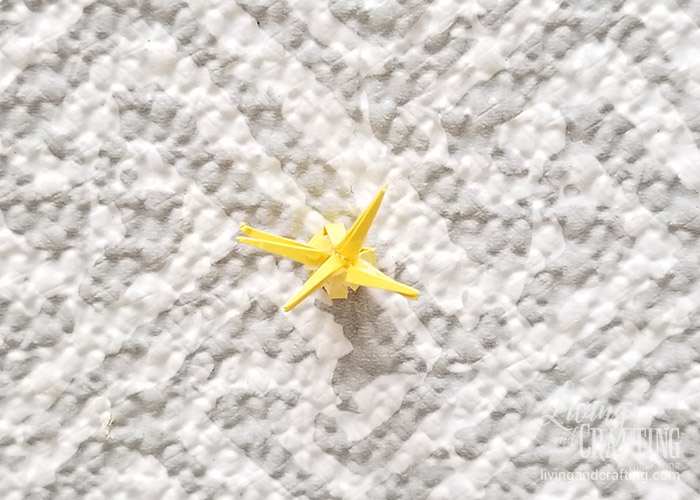
To the other yellow piece you must glue its points in pairs as shown in the photo
Glue all the points towards the center, you should have a piece like the following
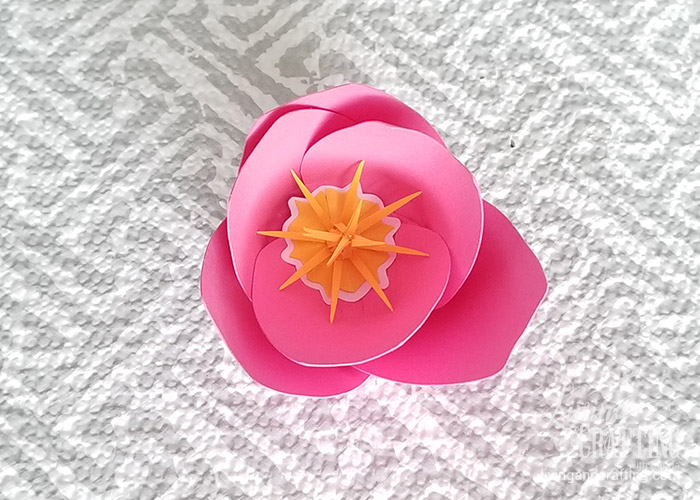
Glue it to the center of the flower
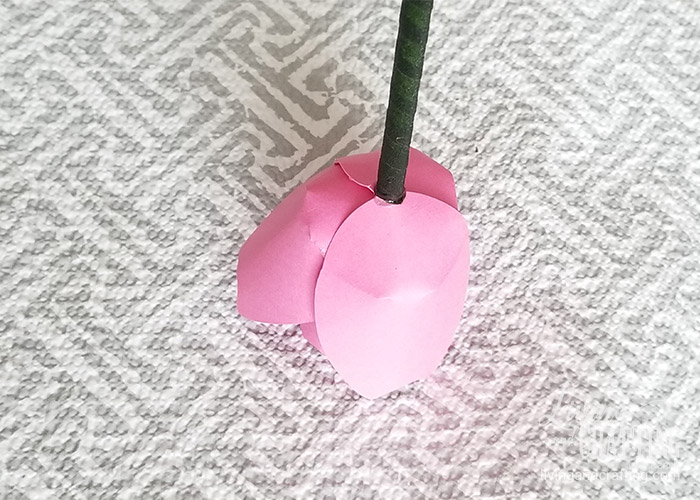
Now, take a straw and wrap it with floral ribbon
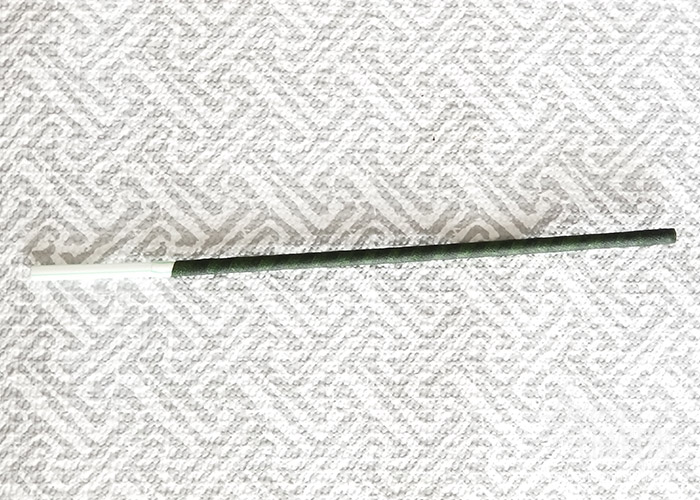
Once wrapped, put some glue on one of the edges
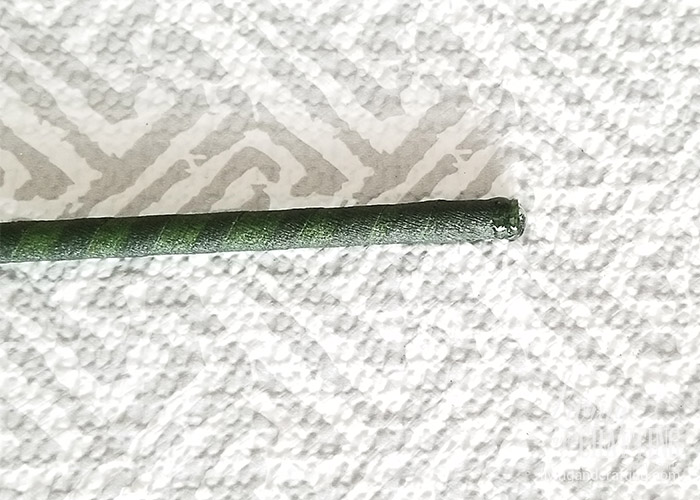
Glue it on the bottom of the Tulip Paper Flower, that will be the stem
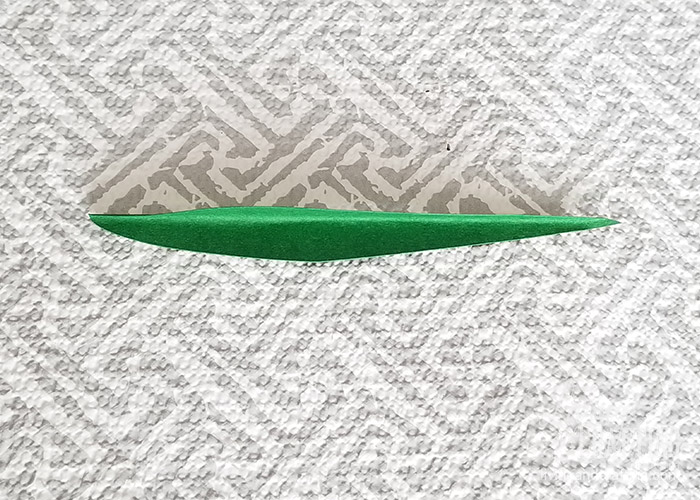
Now, take 2 leaves and glue them to the stem of the Tulip Paper Flower as shown in the photo
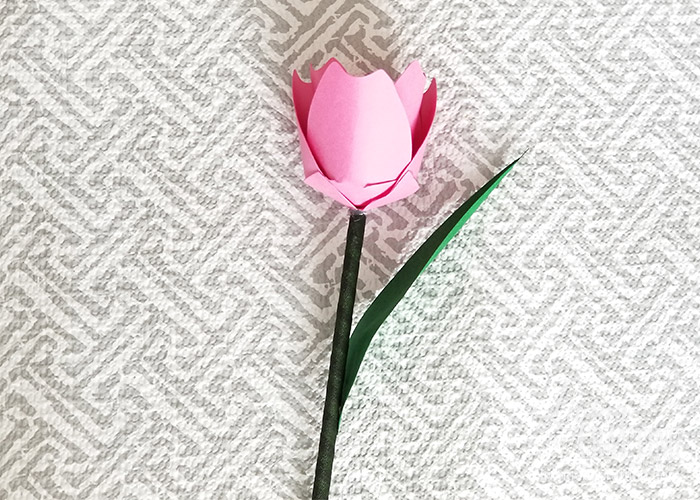
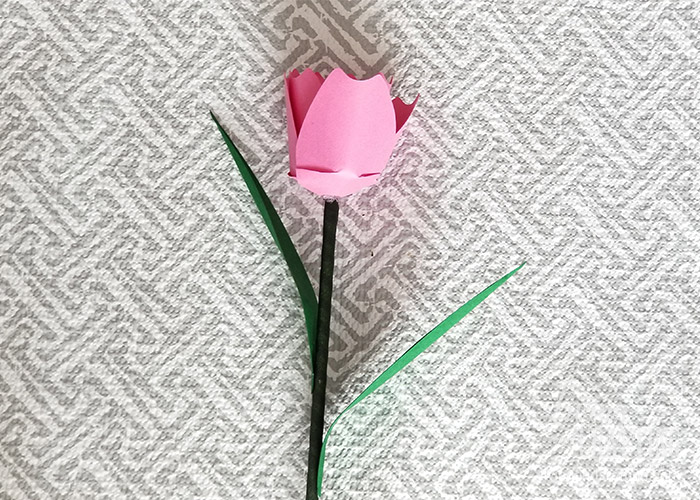
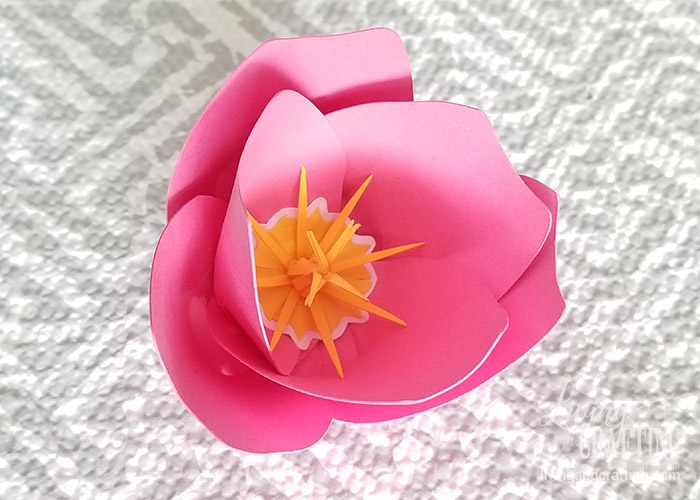
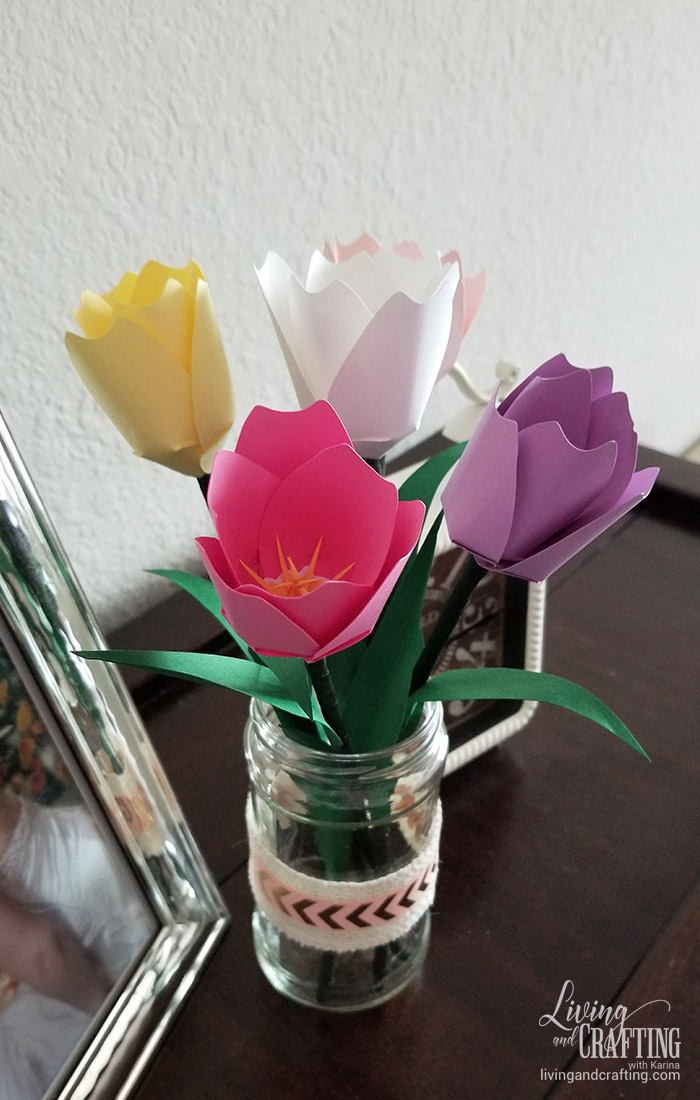
You already have your Tulip Paper Flower
Now you can make other colors or the same to make a flower arrangement, what do you think about mine


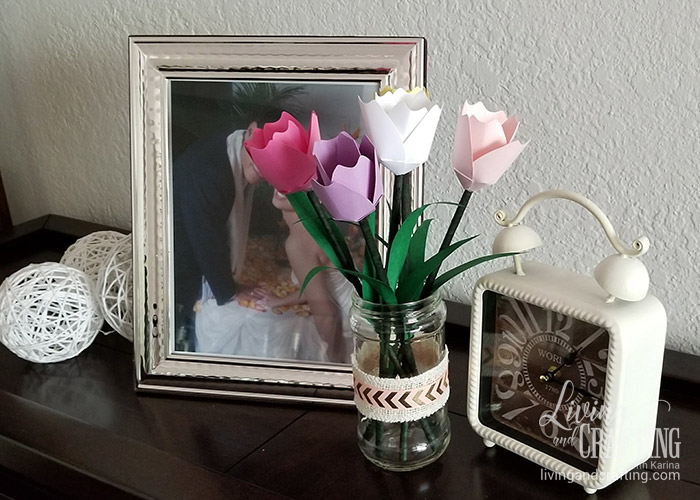
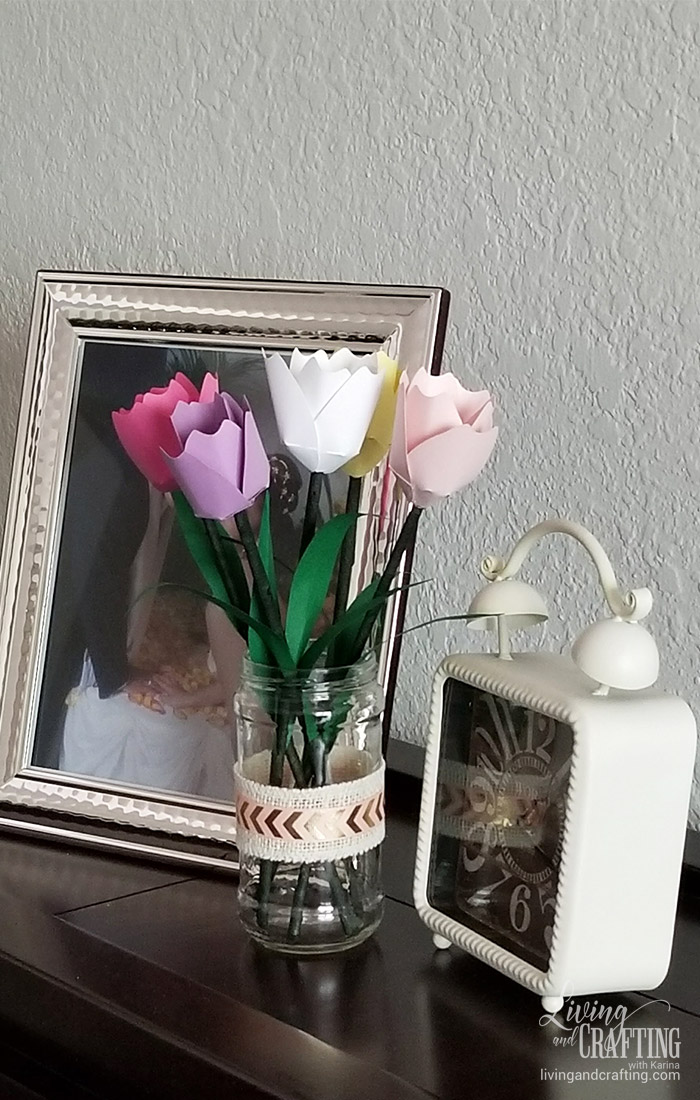
I hope this Tulip Paper Flower will inspire you for future spring projects, do not hesitate to leave your comment and photos of your Tulip Paper Flower.
If you like this Tulip Paper Flower, you will like these pojects too


Kisses,
Kari


Hermosos los tulipanes!! Comenzaré a practicar, para luego hacer las gerberas!!!
Gracias!, te enamorarás de las flores de papel 😉
After reading your blog post I browsed your website a bit and noticed you are not ranking nearly as well in the search engine as you could be. I possess a handful of blogs myself and I think you should take a look at speed rank SEO. You will find it a very good tool that can help you rank on the top of search engine, just search speed rank SEO on google. Keep up the quality posts
Thank you very much, I really appreciate your advice!