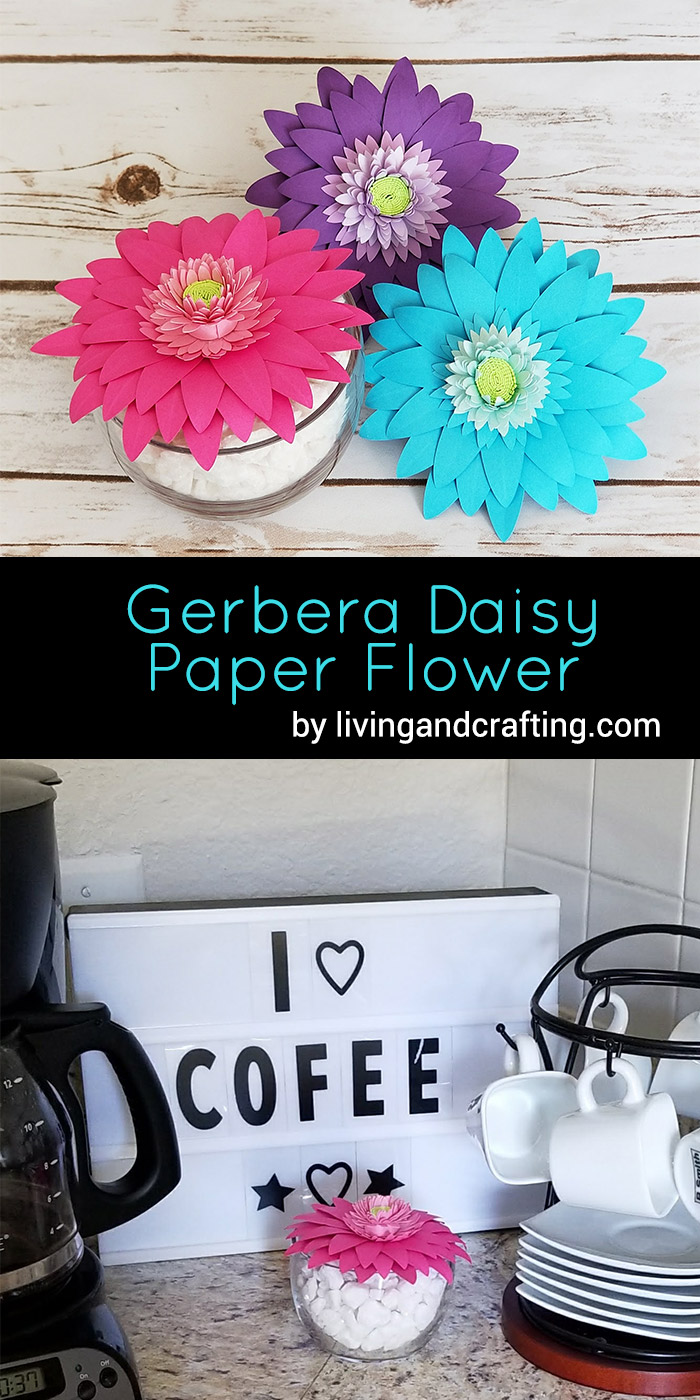
Hi !, I must admit that I love flowers, their delicacy, their beauty, their colors!, each has something that makes it special, but one of my favorites is the gerbera daisy, and belive it or not, I had never made a paper one before, so with spring approaching, I started working on these cuties. Today I’m sharing with you how to make this Gerbera Daisy Paper Flower, so you can fill your home with spring colors.
Gerbera Daisy Paper Flower
How to make this Gerbera Daisy Paper Flower?
Supplies:
- Pink Cardstock (I used hot pink, pink, light pink)
- Neon green cardstock (for the center of the gerbera)
- Hot silicone or glue
- Scissors or Silhouette Cameo cutting machine
- Gerbera Daisy Paper Flower pattern (GerberaDaisyPaperFlower )
Let’s do it!
To start:
- If you have Silhouette Cameo, download these files (GerberaDaisyPaperFlower)
- If you do not have Silhouette Cameo download these files (GerberaDaisyPaperFlower) and cut the pieces
I used my Silhouette Cameo to cut the pieces I needed, in the photo I show you how much of each one you should cut
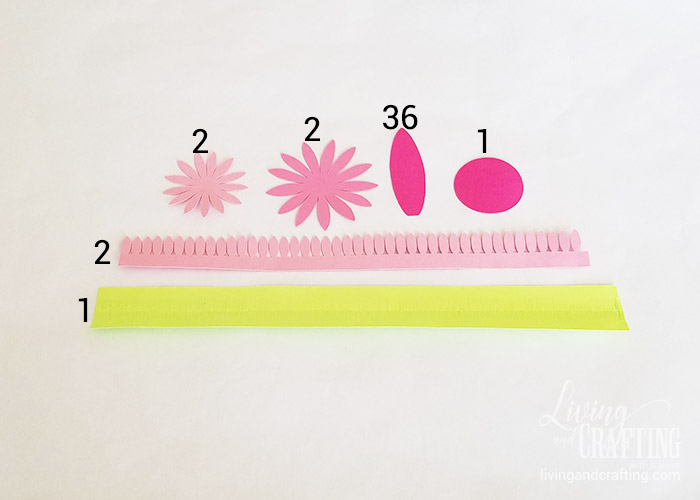
What I love about gerberas is their colors, so I leave to your creativity whatever colors you want to use or if you want to make it in one color; for my Gerbera Daisy Paper Flower I cut the petals in hot pink, the big center in pink, and the small centers in light pink, finally the center of the flower I cut in neon green.
When you have all the pieces cut, start by folding each petal in half (tip: I was folding in groups of three)
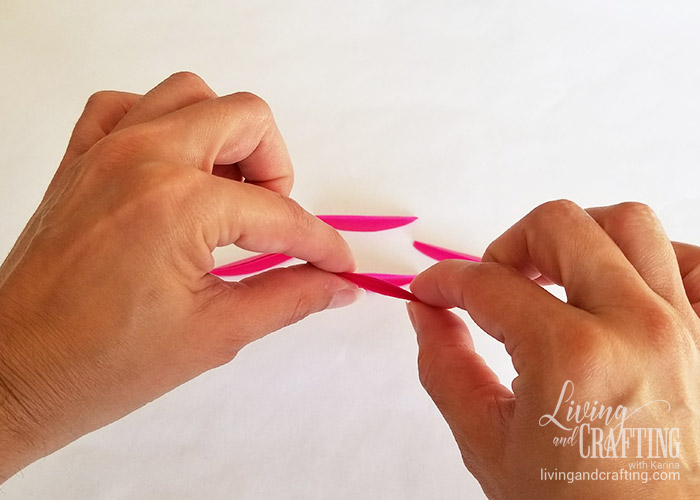
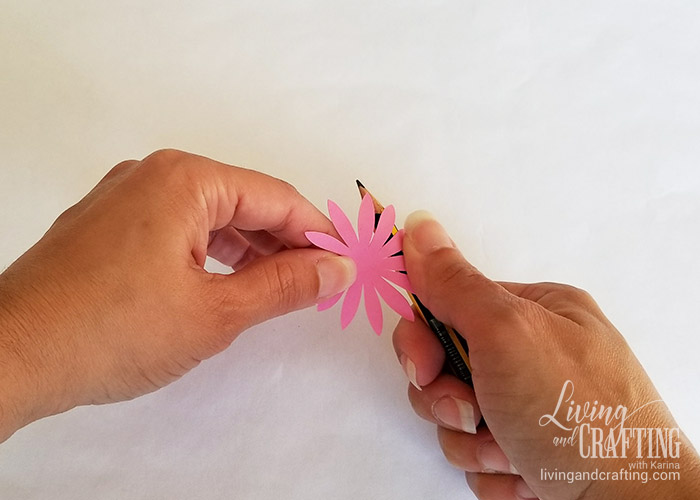
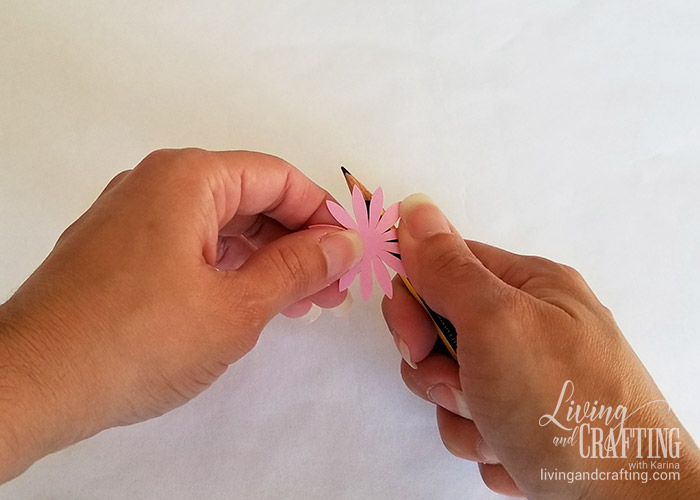
Then with a pencil bend the tip of each petal slightly outwards.
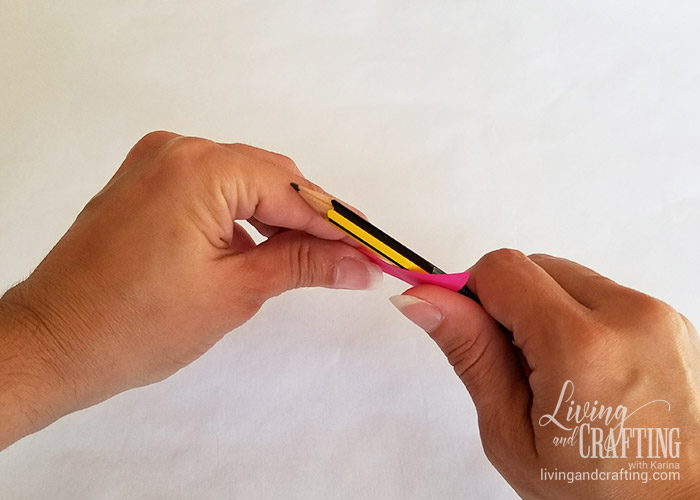
Do the same with the center of the flowers
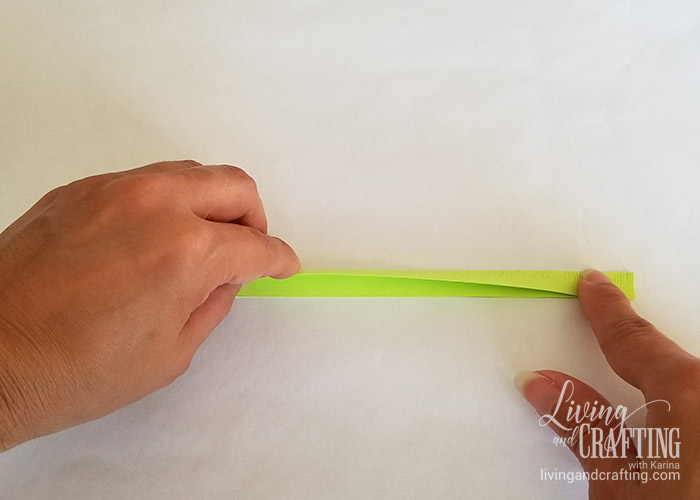
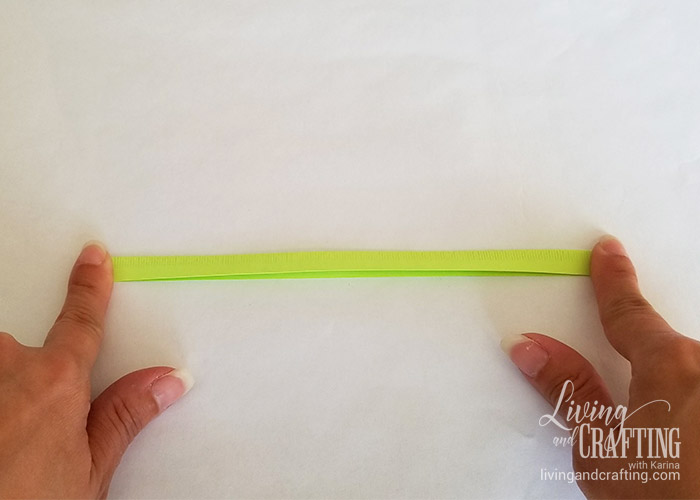
Take the neon green piece and fold it in half horizontally, and stick its edges
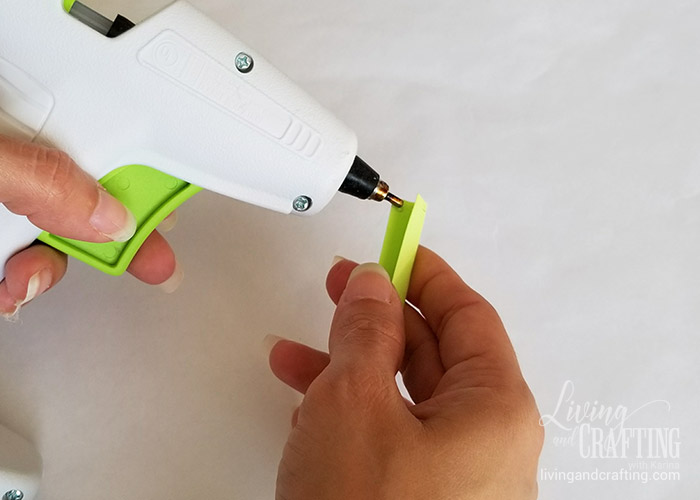
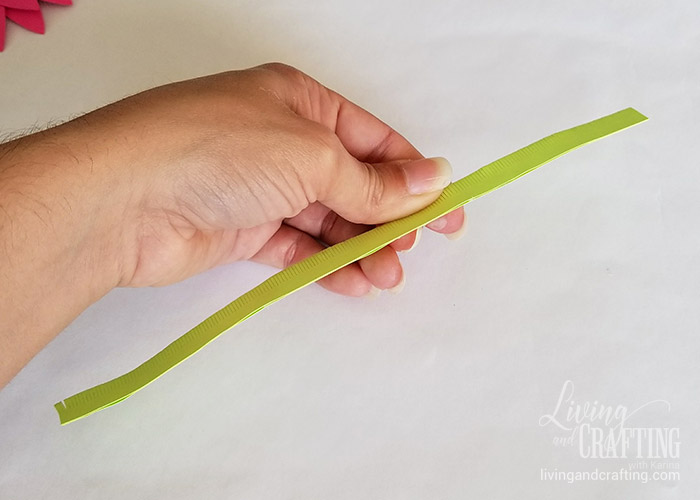
Make 3 batches with 12 petals each. Take the first batch and glue 4 petals to the circle as shown in the photo
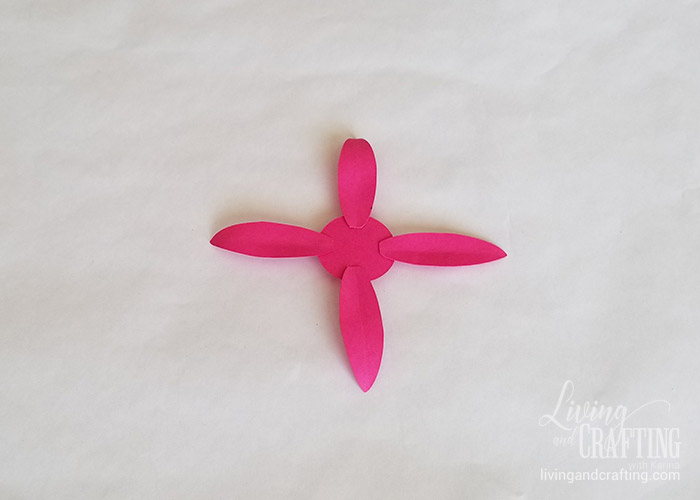
The following petals glue them as follow
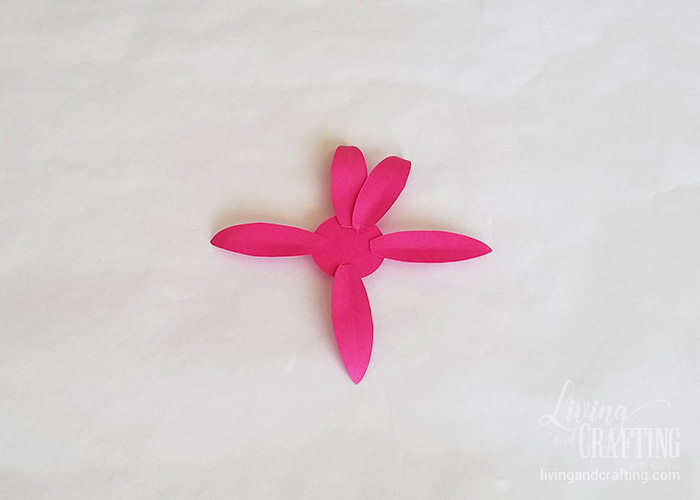
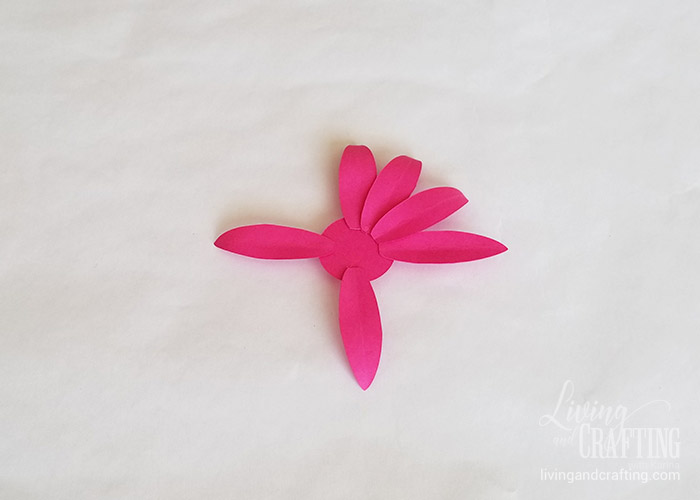
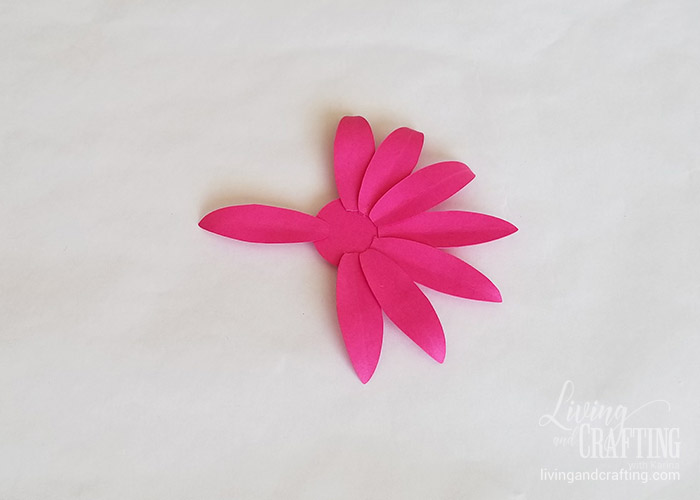
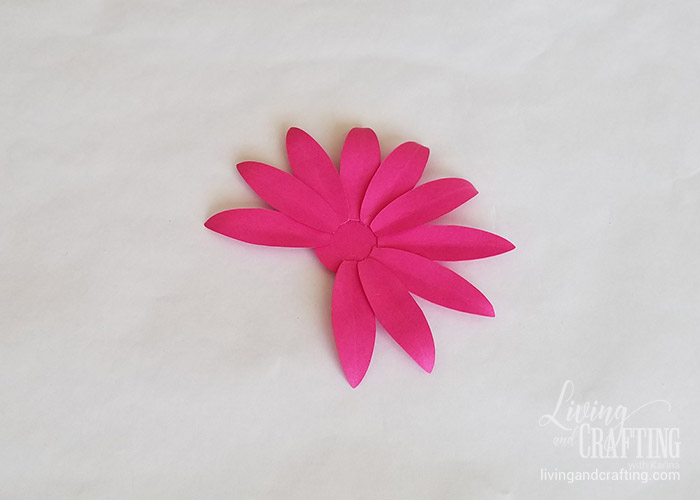
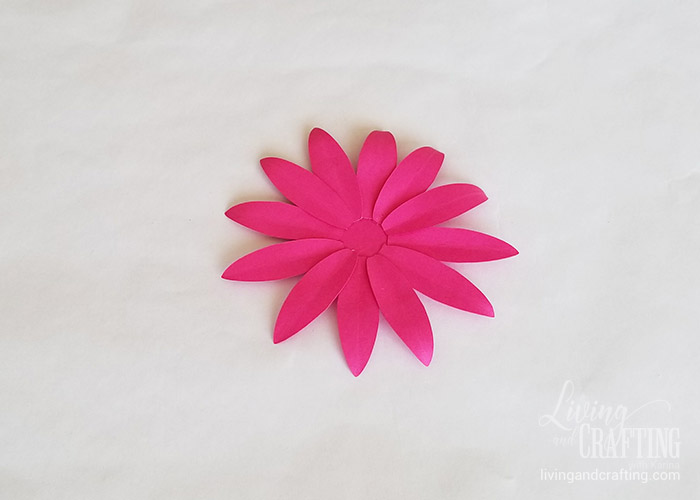
Start a second layer by gluing each petal on top of the first layer between 2 petals, but slightly more toward the center
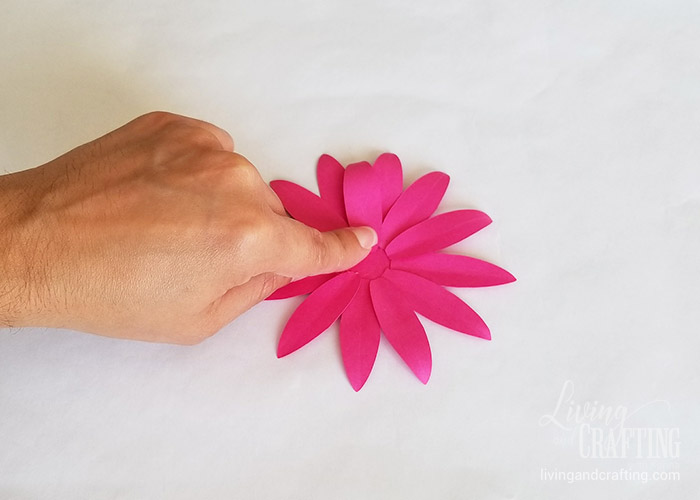
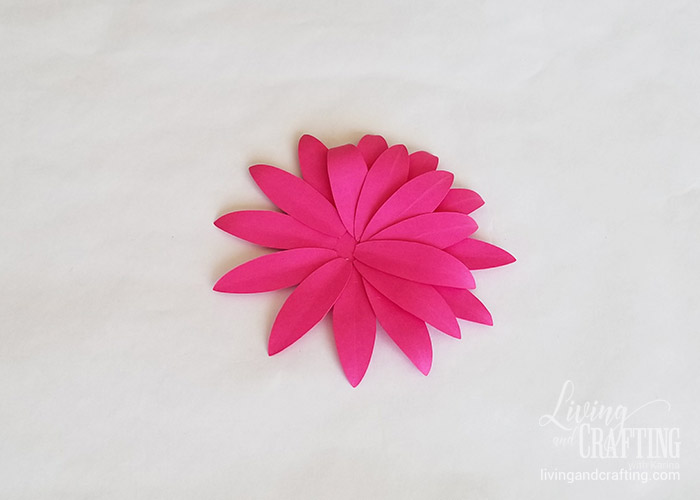
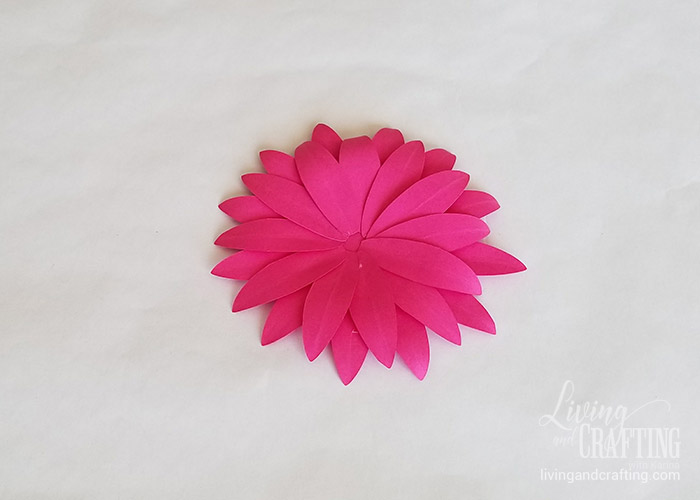
Repeat the previous steps with the third layer of petals
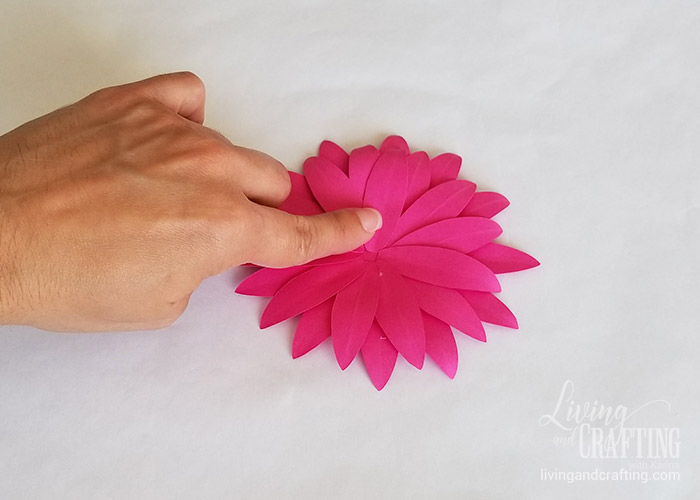
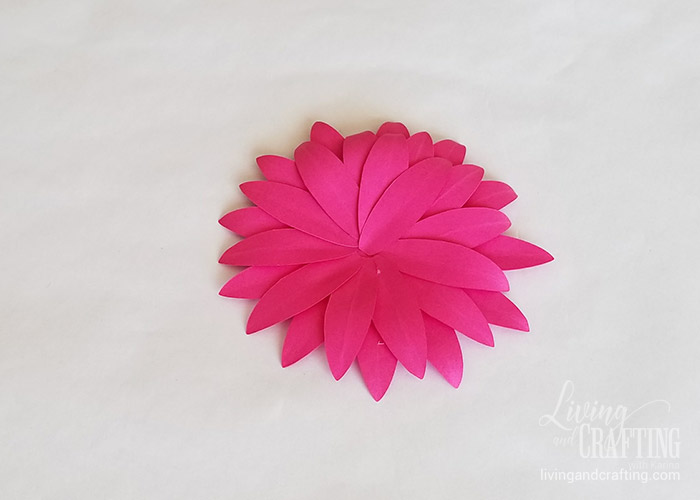
This is how your Gerbera Daisy Paper Flower should look after gluing the 36 petals
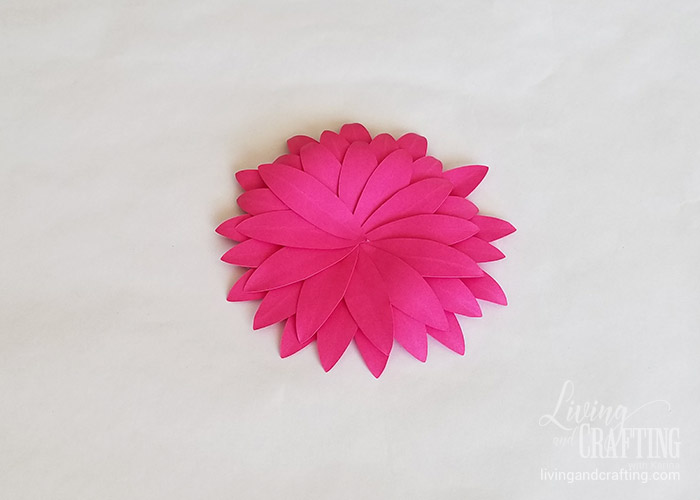
Take the 2 largest center pieces (pink) and glue them in the center of the Gerbera Daisy Paper Flower
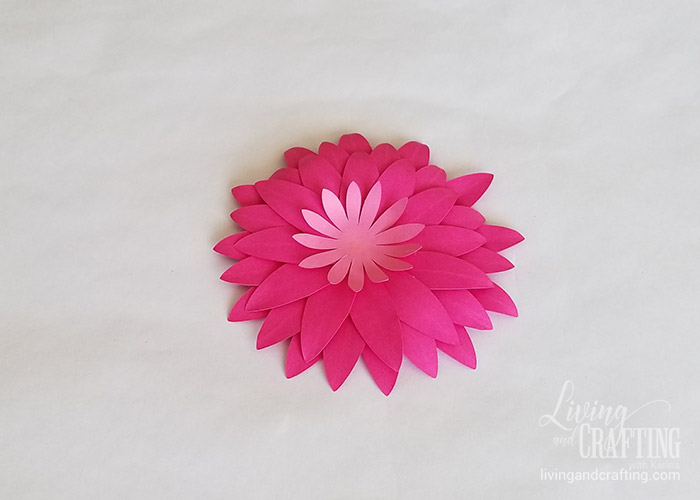
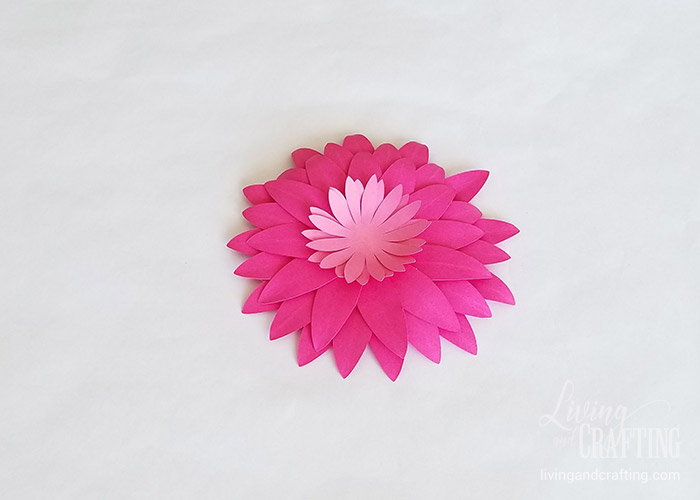
Now take the smallest ones (light pink) and stick them to the center
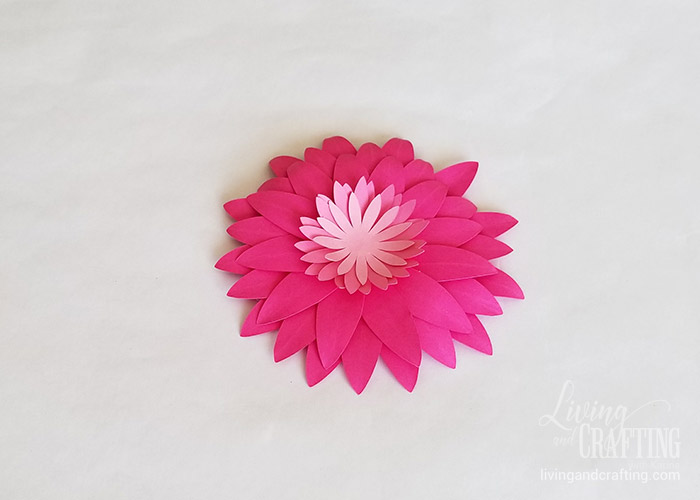
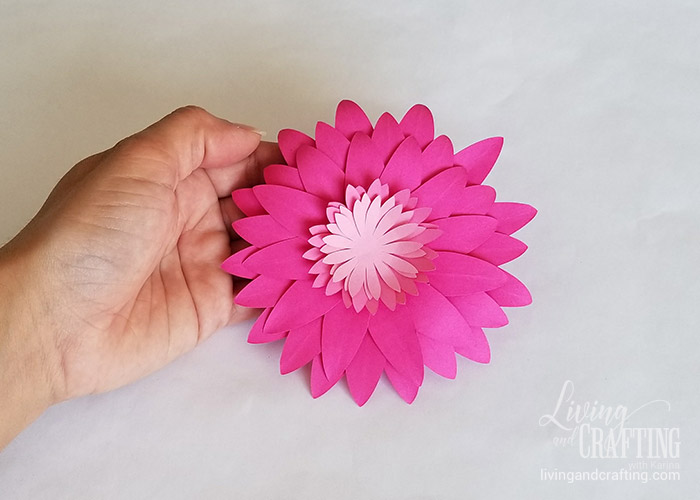
We’re almost finished, take the neon green piece, and wrap it in itself as shown in the picture (you must go putting glue on the base to be fixed)
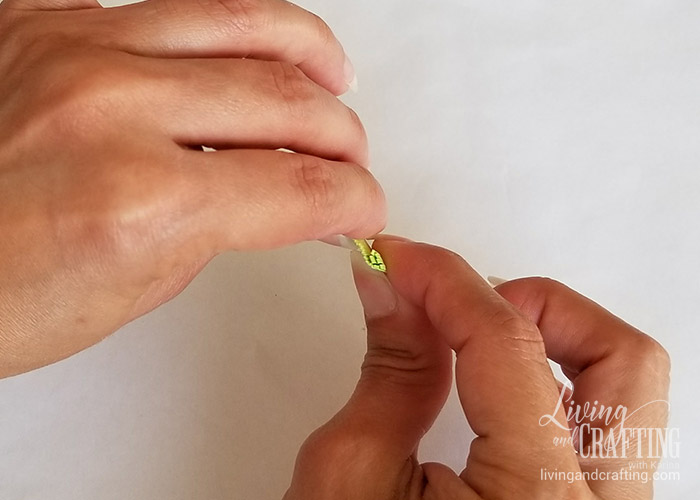
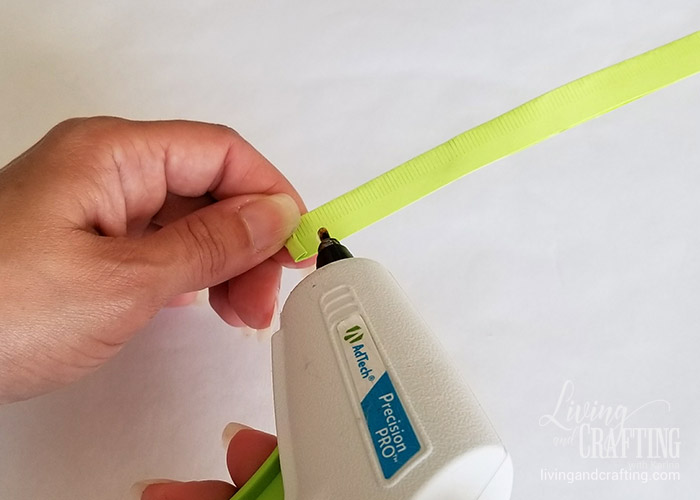
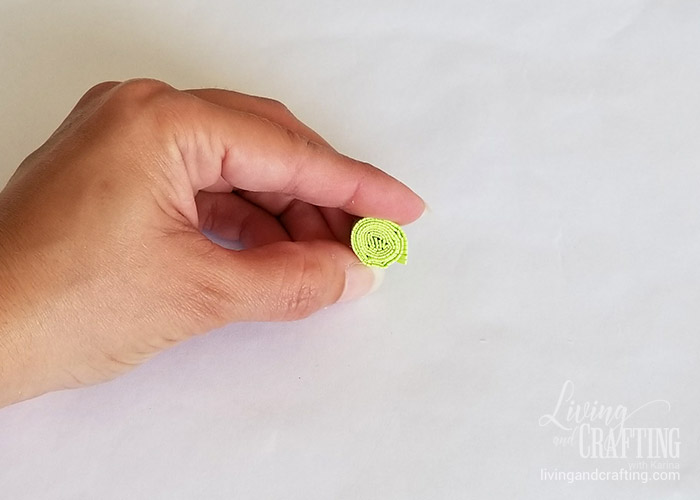
Take one of the long light pink pieces, and glue it around the green piece
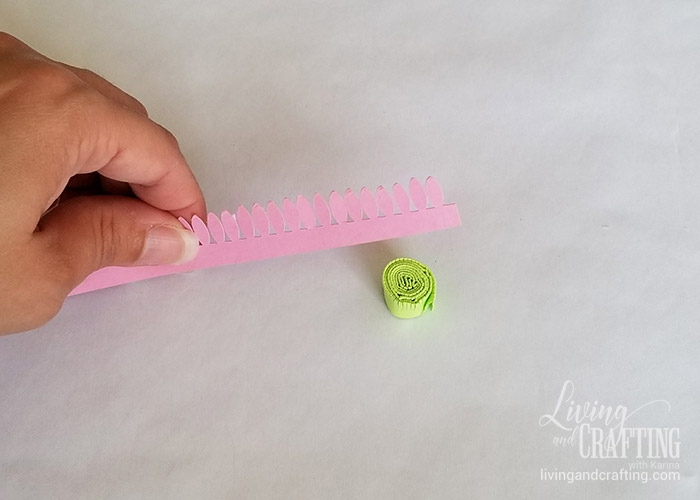
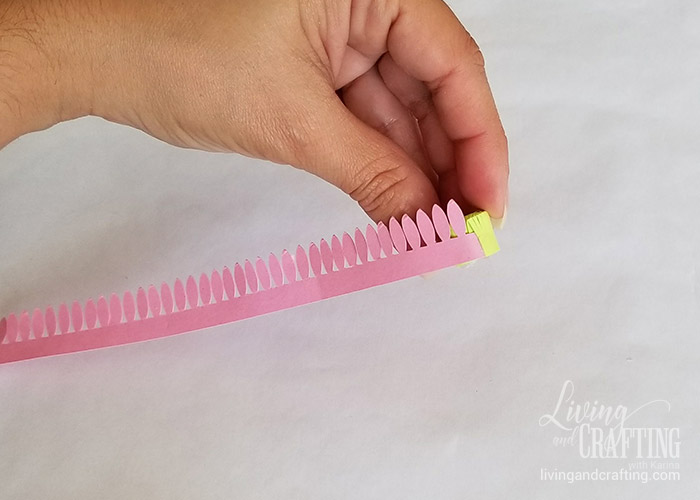
Wrap it in the same way as you did with green neon
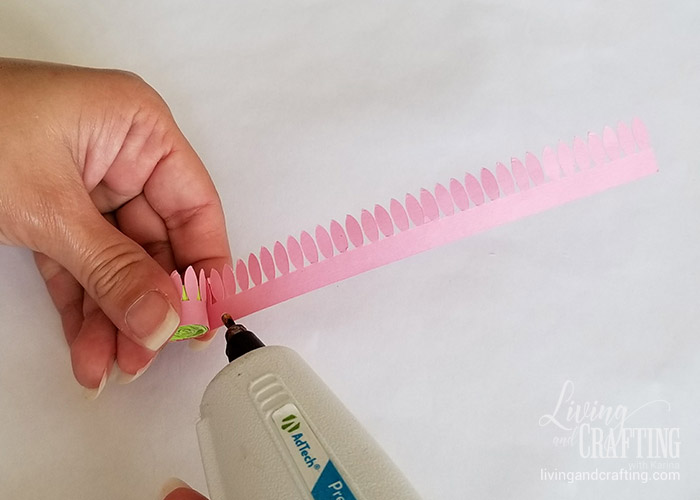
Take the other light pink piece, and repeat the previous step
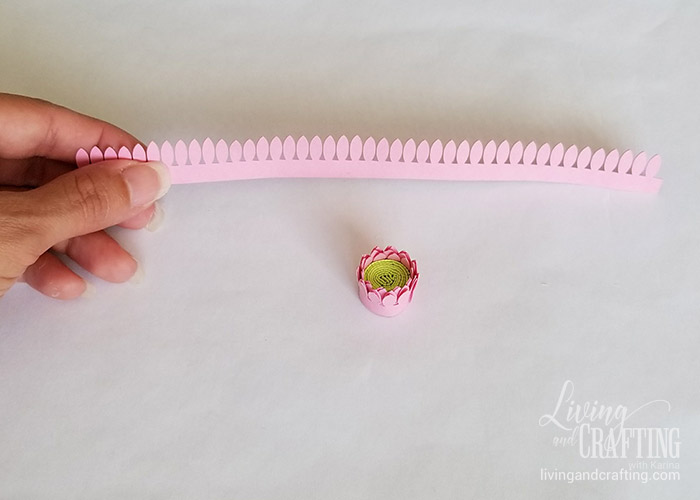
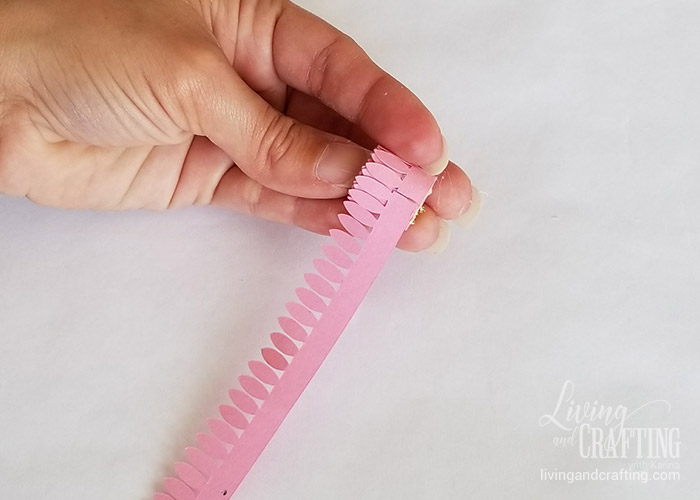
Now you have a piece like this
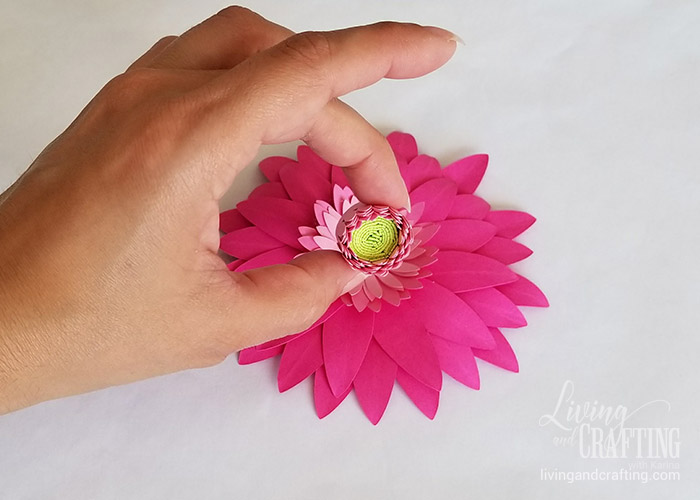
Put glue on the back of the piece and stick it to the Gerbera Daisy Paper Flower. Open with your fingers the small petals that are outside, those that are closer to the center of the flower leave them as they are
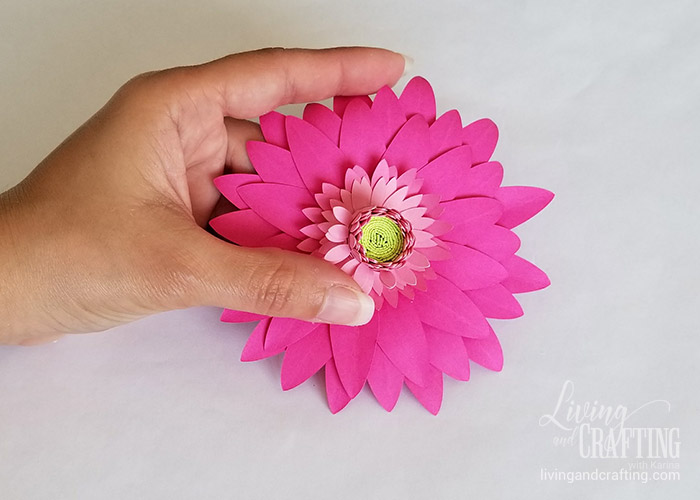
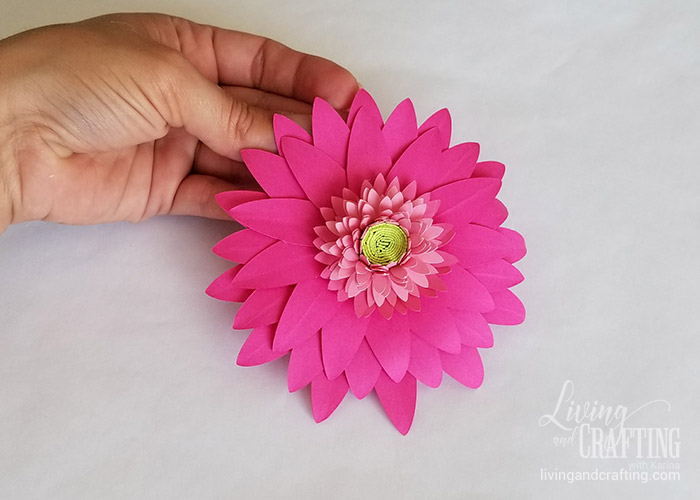
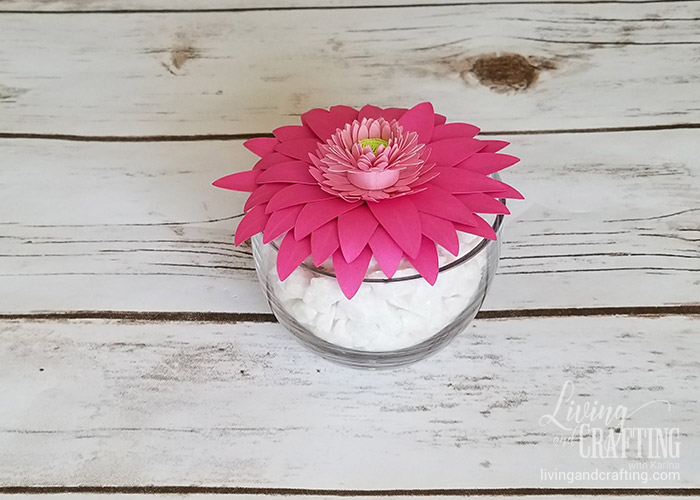
Now, You have a nice and colorful Gerbera Daisy Paper Flower, mine looks like this
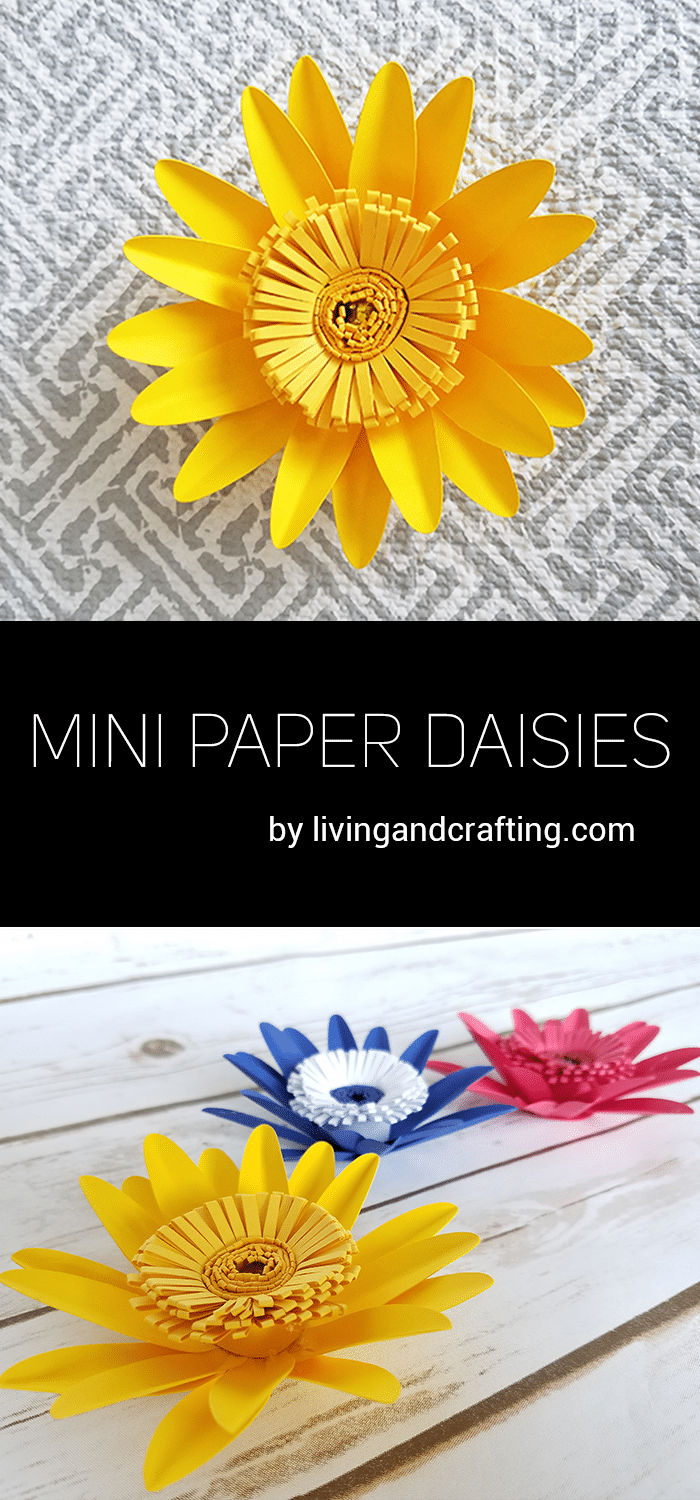
How about these other color combinations?
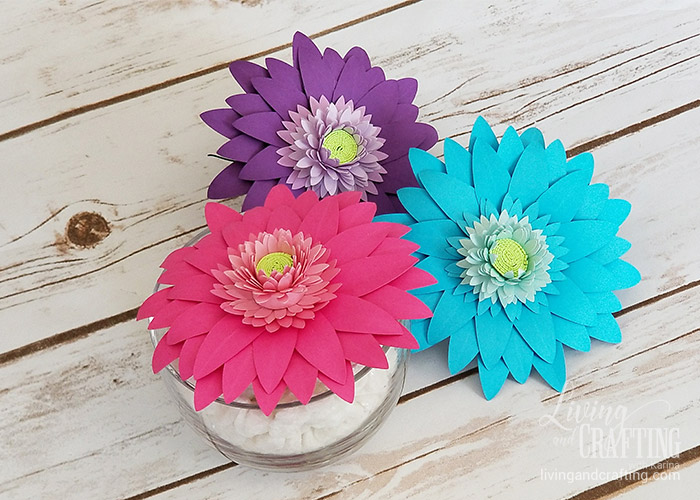
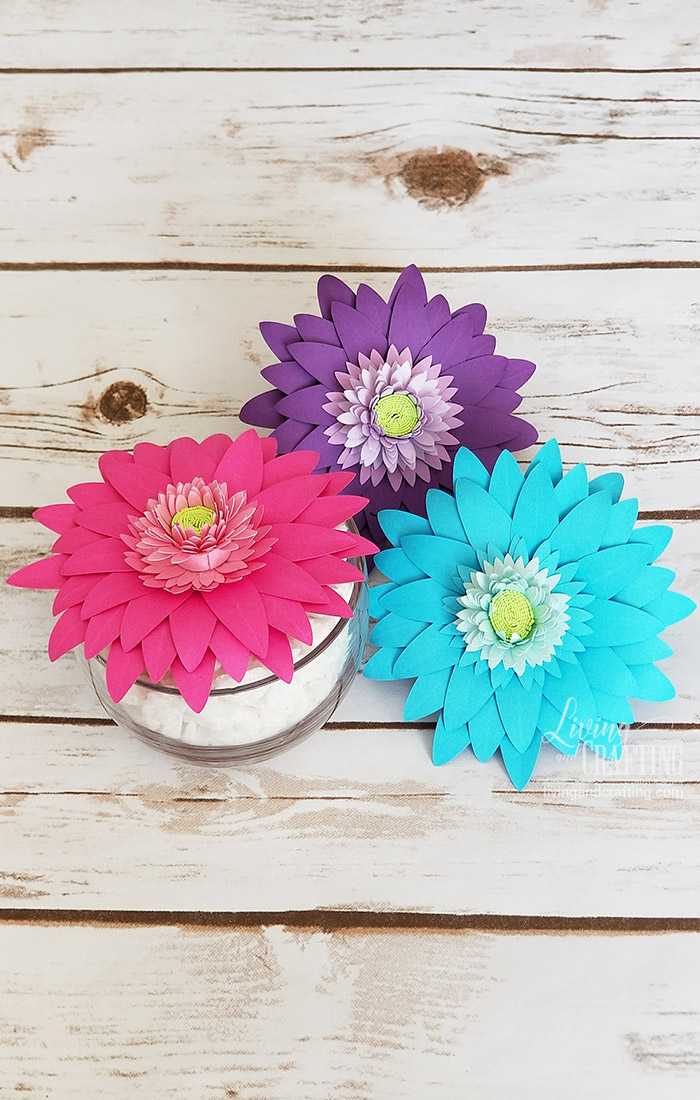
I assure you that this Gerbera Daisy Paper Flower will add a touch of color to any corner of your home
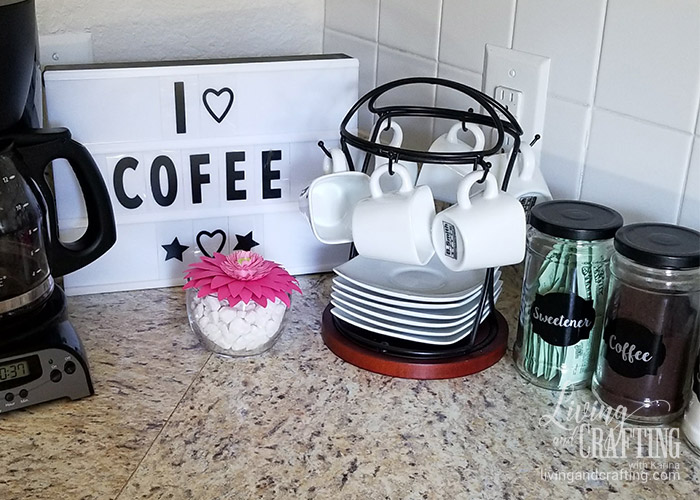
I hope that this DIY will be an inspiration for your craft projects, do not hesitate to leave your comment and the photo of your Gerbera Daisy Paper Flower .
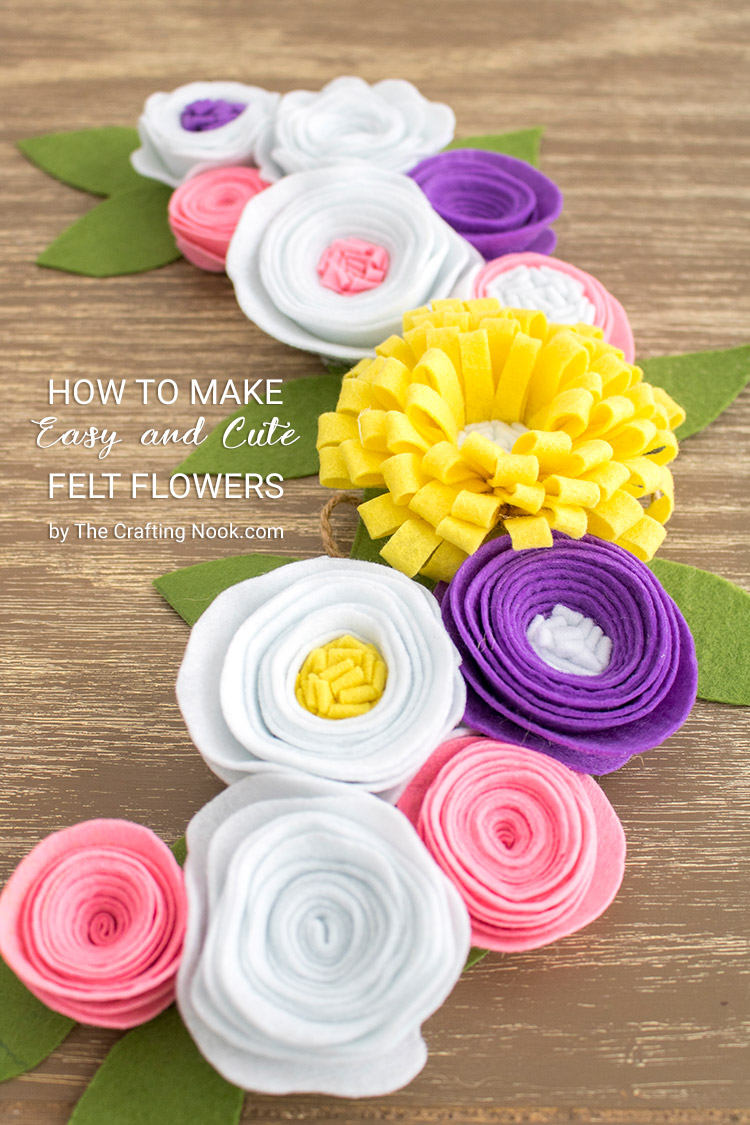
If you want to see another easy way to make flowers, check out my friend Cami from The Crafting Nook for a cute felt flowers!
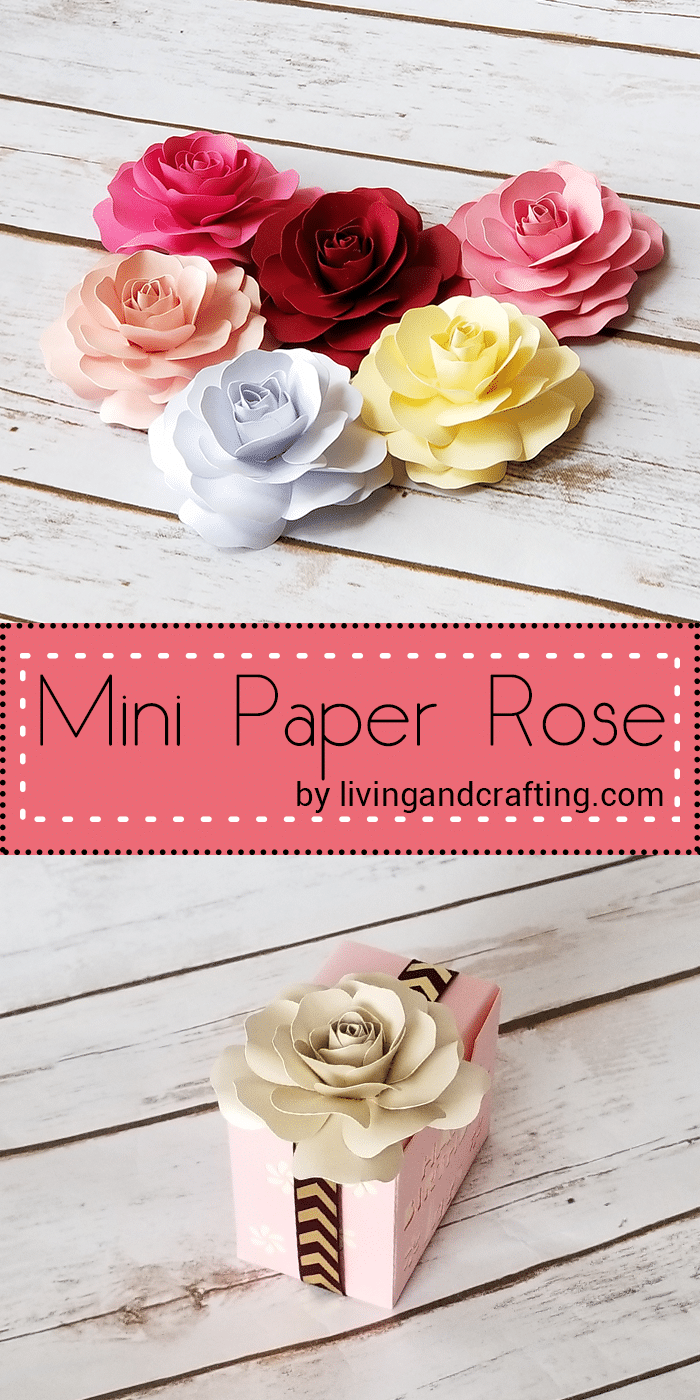
If you like paper flowers, you might also like:
Kisses,
Kari


I was reading some of your posts on this site and I think this internet site is very instructive! Keep on putting up.
Thank you so much.
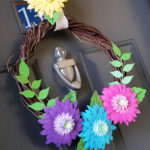
I LOVE UR GEBERA DAISY PAPER FLOWER, I MADE THE FLOWERS AND PUT THEN ON A WREATH, WERE DO I POST MY WREATH SO I CAN SHARE WITH U AND THANK U FOR THE TEMPLET I JUST LOVE IT
Hi Mary! I’m glad to know you made your wreath, my you can tag me on Instagram @livingandcraftingblog, I would be delighted to see your gerberas. Thank you!
XoXo