Hi!, If there is something that can remind us about the love we feel towards other people, are the photos!, Yeah photos!, those that keep beautiful memories of unique moments, lived with those people we love. And what better time to use them decorating our home on this Valentine’s Day with this Love Burlap Photo Garland. It is easy and quick to make, in about 30-45 minutes you can show those beautiful moments with the people you love, or if you prefer, you can make an original Valentine’s gift with it.
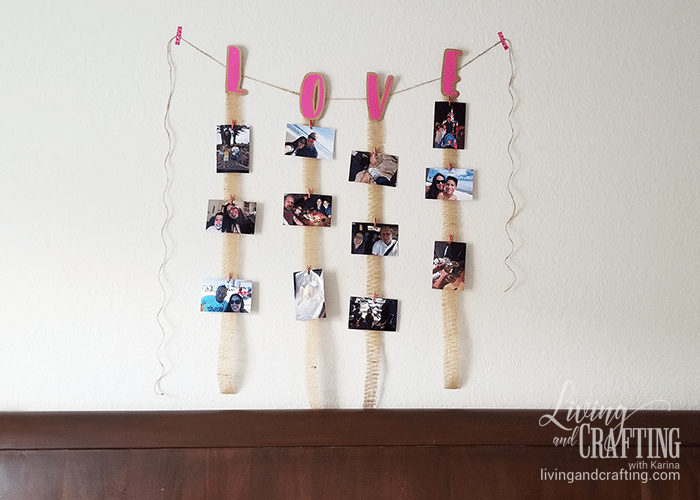
Love Burlap Photo Garland

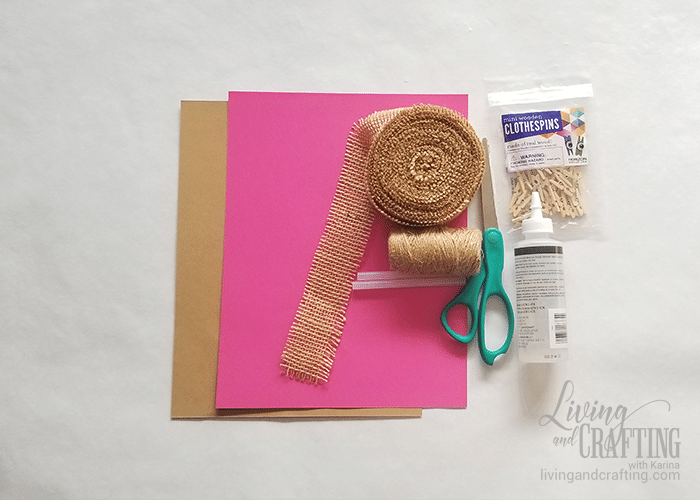
To make this Love Burlap Photo Garland you will need:
- Cardstock (2 colors)
- Burlap ribbon
- Jute twine
- Mini clothes pins
- Markers (optional)
- Glue or hot silicone
- Scissors
- Love template (download here)
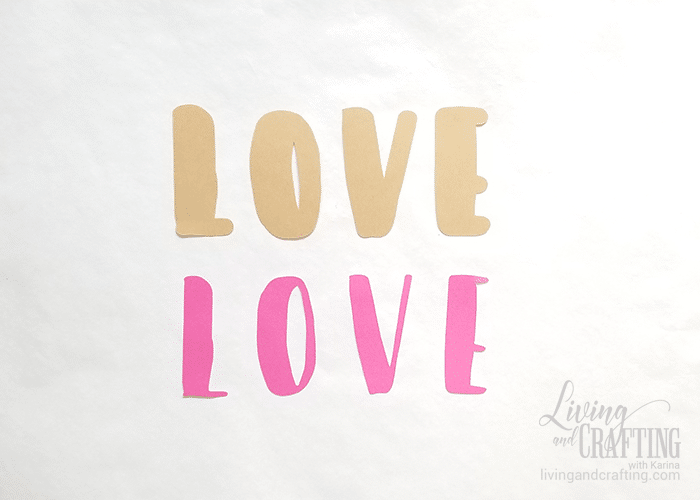
To start, you must cut the word LOVE, and its back on cardstocks of different colors, download here the necessary files (.pdf to print and .studio3 for silhouette cameo)
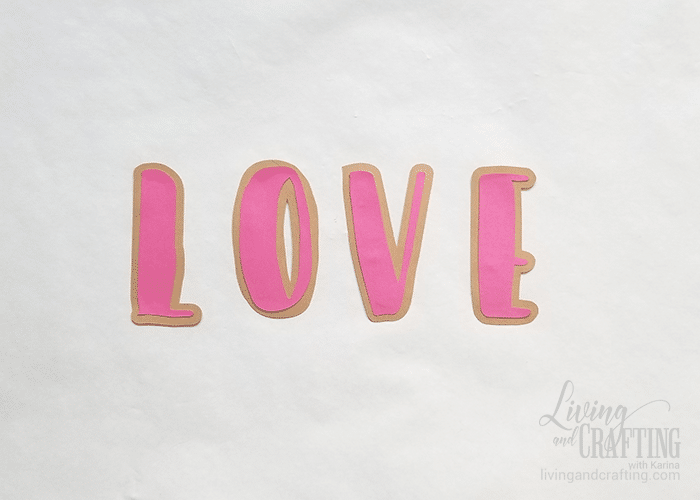
Paste each letter to its back
I chose the word LOVE, but you can use the one you like the most: HUGS, KISSES, XOXO, BE MINE, I LOVE YOU.
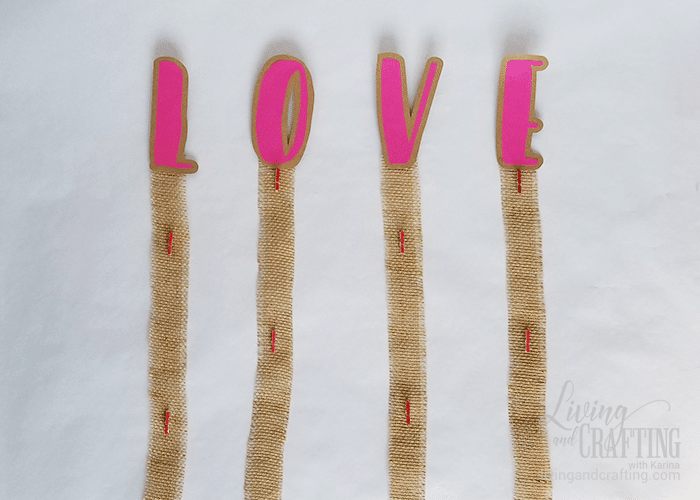
Cut 4 about 31 ½ “long burlap ribbon strips, and glue it to the back of each letter, then glue a mini clothe pin to the back center of each one

Optional: with a marker, paint each mini clothe pin. I paint some pink and others red

Glue 3 mini clothe pins to each burlap ribbon, the first one will glue it to 3 1/2¨ from the end of the letters L and V, the following ones with 8¨ of distance between each one. For the letters O and E , the first clothe pin is glued just below of each letter.

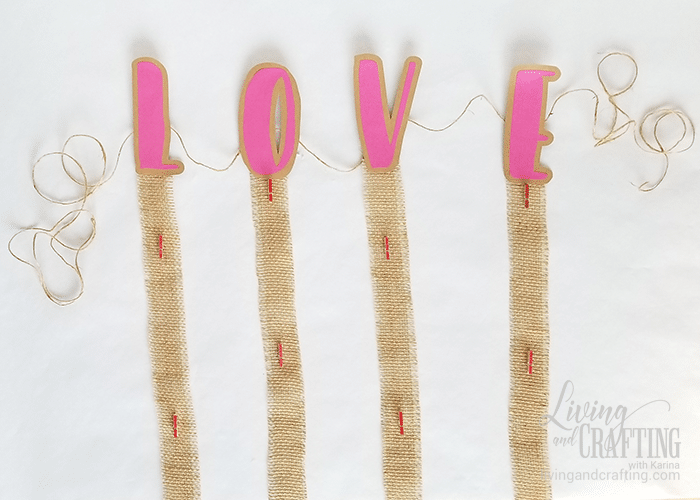
Cut an approximately 79¨ of jute twine strip, or measure the distance of the place where you will place your Love Burlap Photo Garland. Hang each letter with its mini clothe pin to jute twine
Place in each mini clothe pin a photo with that person you love


You already have your Love Burlap Photo Garland ready, it only remains to hang it in that special corner of your home
I hope this Love Burlap Photo Garland has inspired you. If you like it, you may be interested in these too