Hello!, have you already decorated the front door of your home for this spring?, remember that this is the welcome and first impression we give to our guests, in addition to how nice and different our home looks when the front door is decorated; So, taking advantage of the colorful spring, today, I have a tutorial for you to make a beautiful Rustic Spring Wreath.
Rustic Spring Wreath

Once you have all the supplies, you will see how fast and easy it is to make your Rustic Spring Wreath
- Rustic Wreath (Dollar Tree)
- Burlap Ribbon (Michaels)
- Floral Wire (Michaels)
- Hot Silicon or glue
- Scissors
- Gerbera Daisy Paper Flowers
- Leaves patterns
- Green cardstock
To start, you need the gerberas to decorate your Rustic Spring Wreath; In my previous post I prepared a tutorial for Gerbera Daisy Paper Flowers, there you will find the patterns and the step by step how to do them. You will also need some leaves to place around the gerberas:
- If you have a Silhouette Cameo machine, download the following file leaves.studio3 and cut it on green cardstock.
- If you do not have a Silhouette Cameo machine, download this file leaves.pdf, print it and cut it on green cardstock.
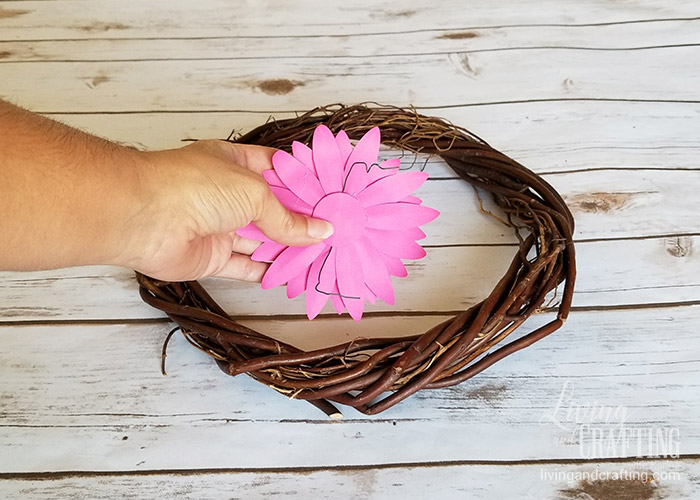
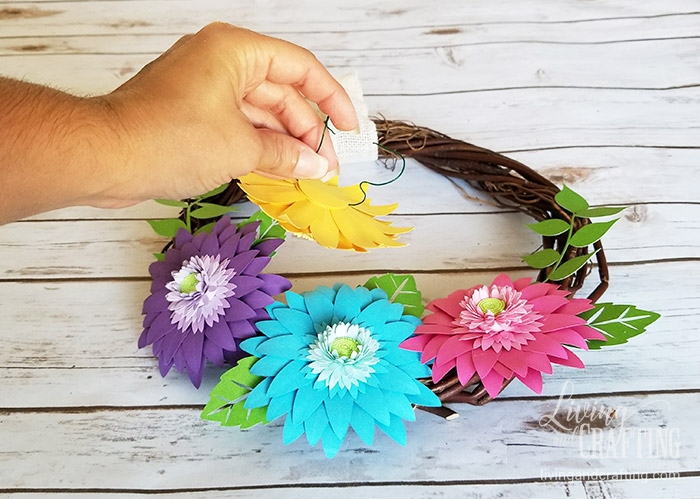
Once you have the gerberas (I used 4 different colors), take a piece of floral wire (enough to tie the flower to the wreath) and glue it to the gerbera as shown in the photo
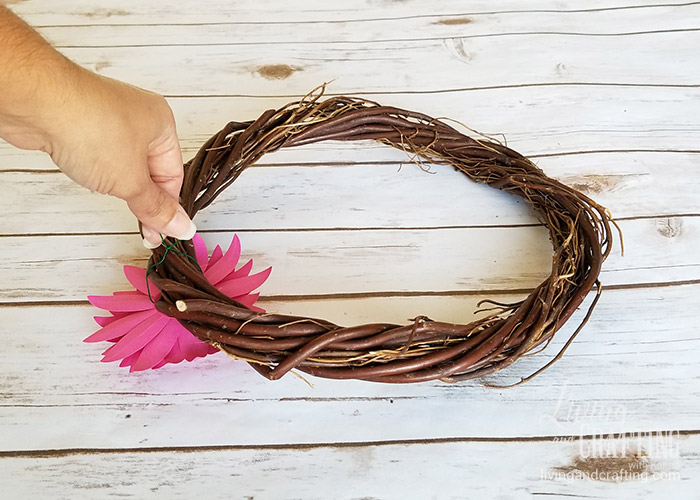
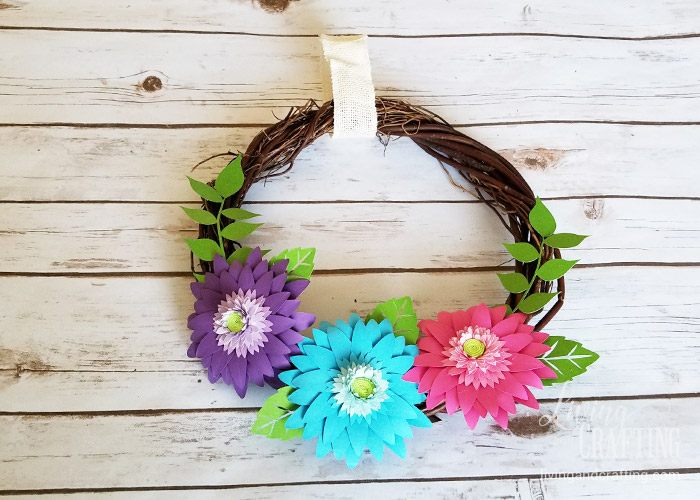
Tie 3 gerberas at the bottom of the wreath
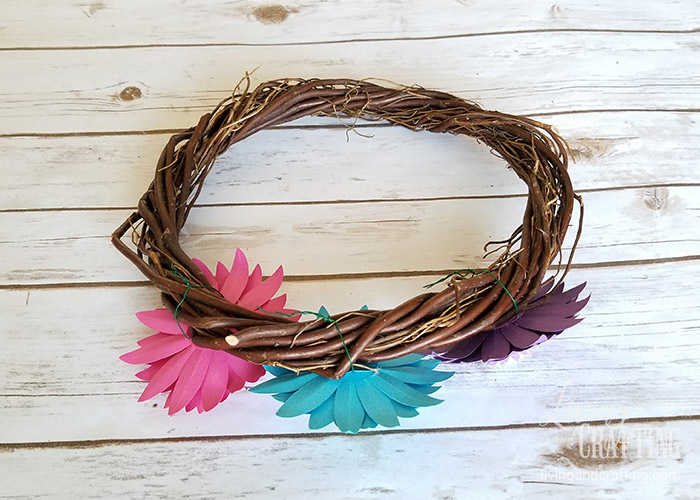
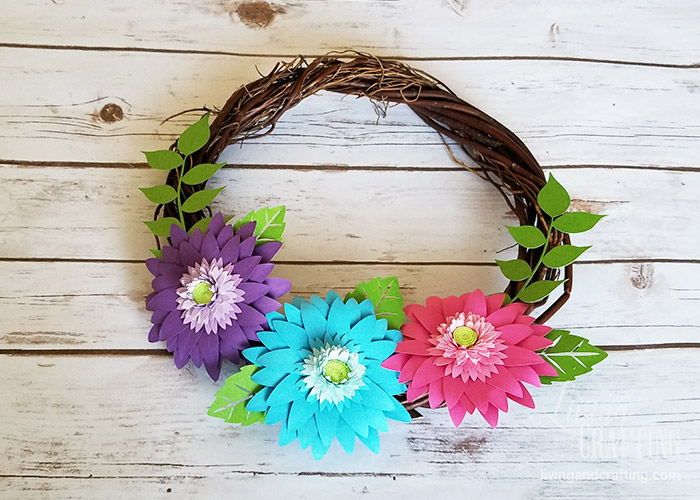
Glue the branches you cut one on each side of the gerberas as shown
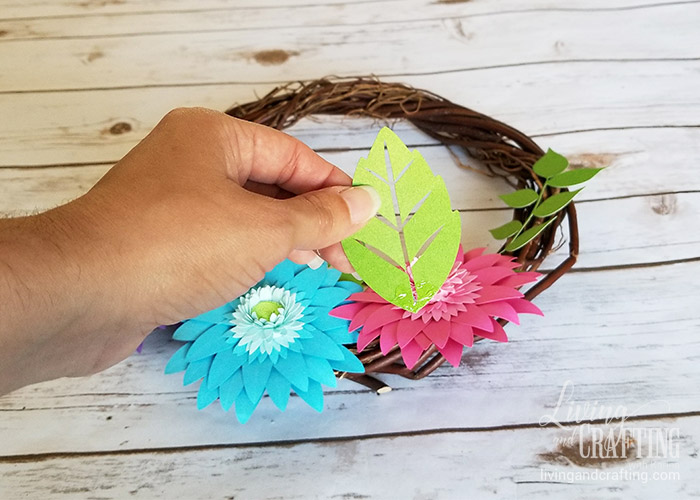
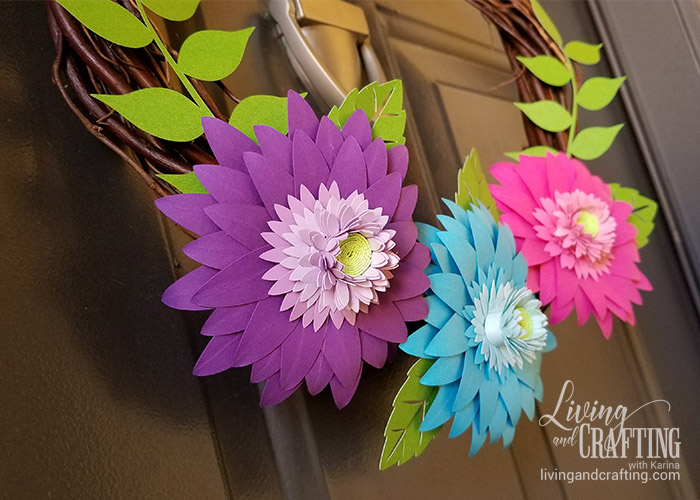
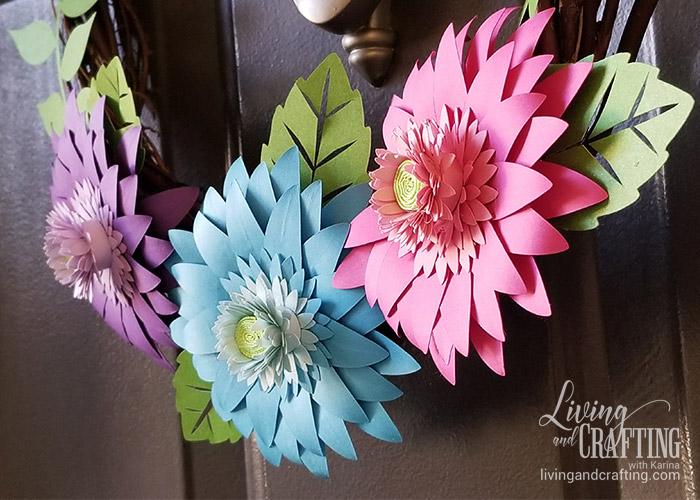
Now, take leaves and glue them to the gerberas in this way
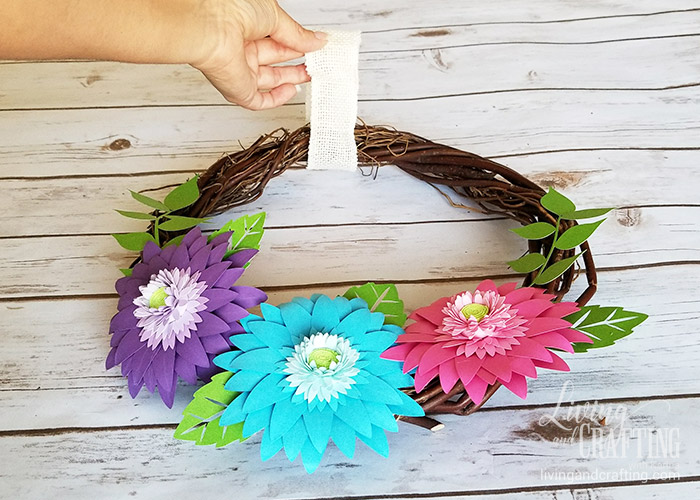
Take the burlap ribbon and cut a piece that when you fold it in half have the length you want to hang your Rustic Spring Wreath
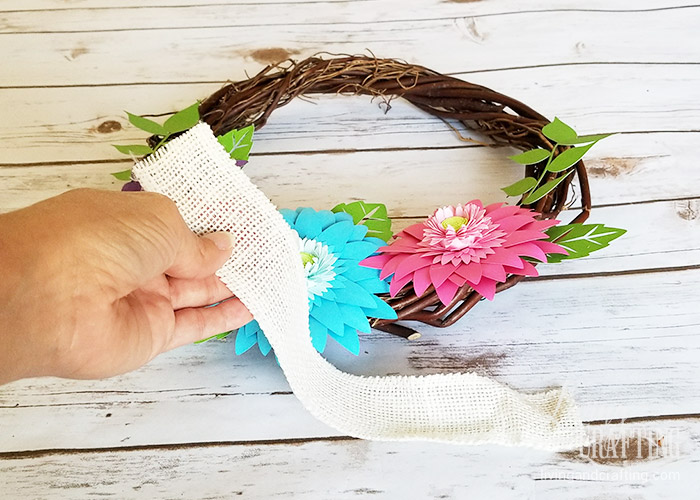
Pass it through the wreath and glue the ends
Now take the last gerbera and tie it with the floral wire to the burlap ribbon
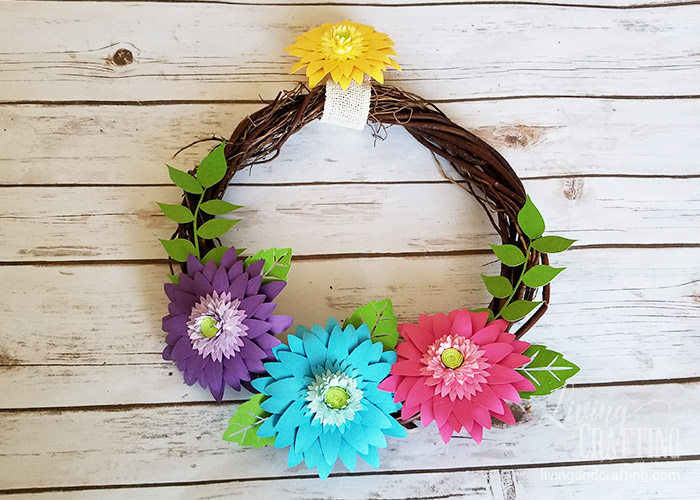
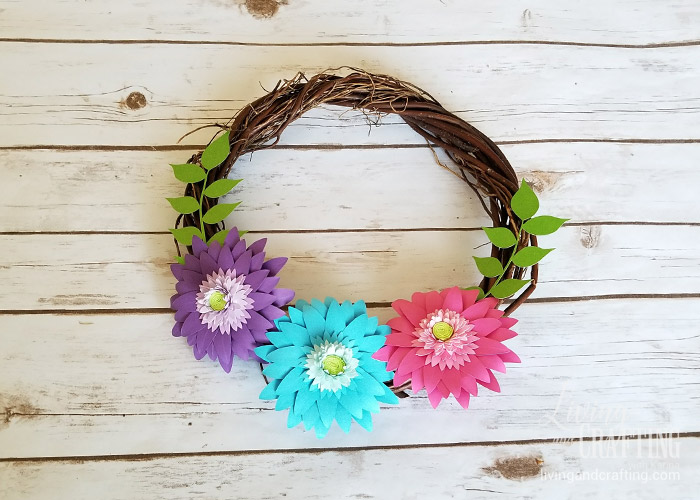
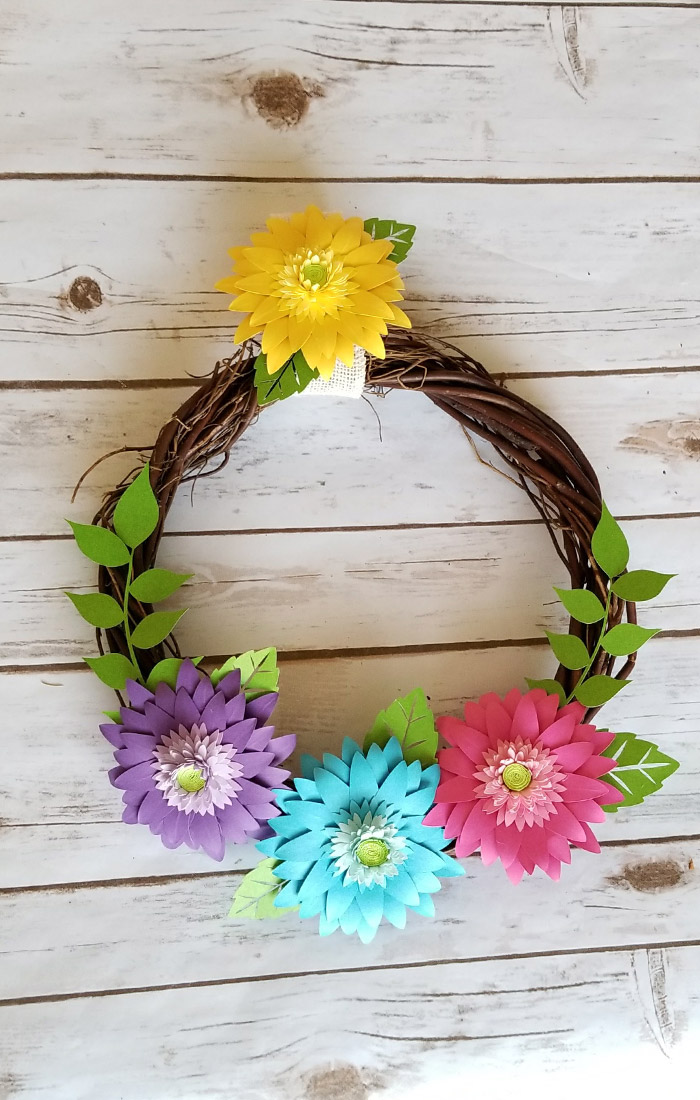
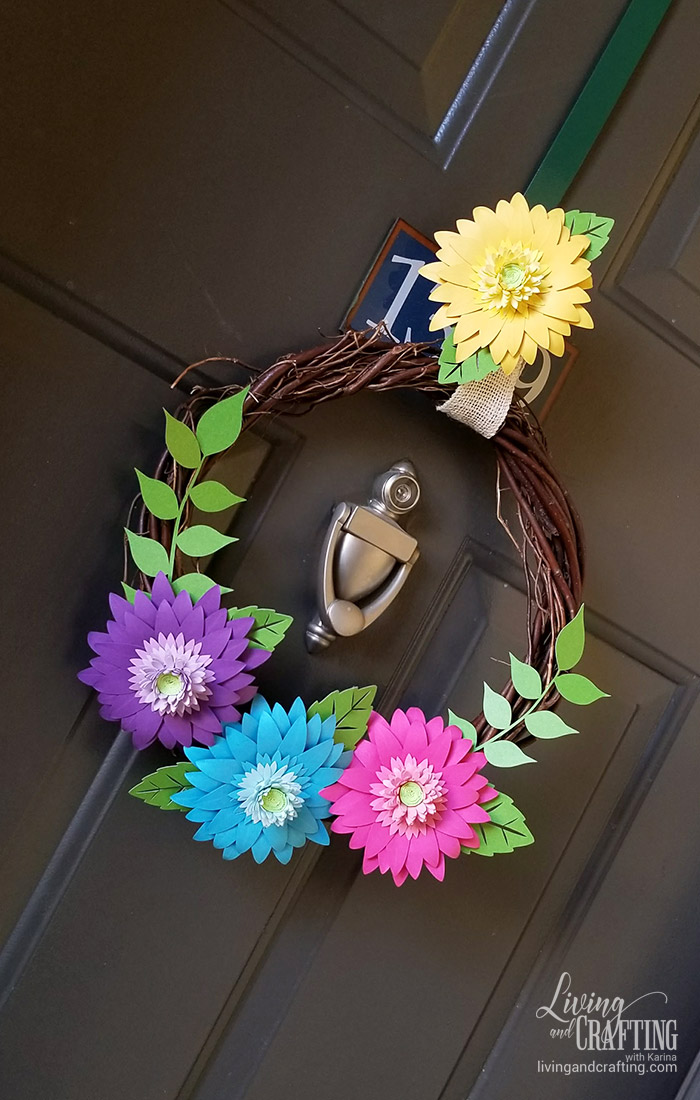
You already have your Rustic Spring Wreath, mine looks like this
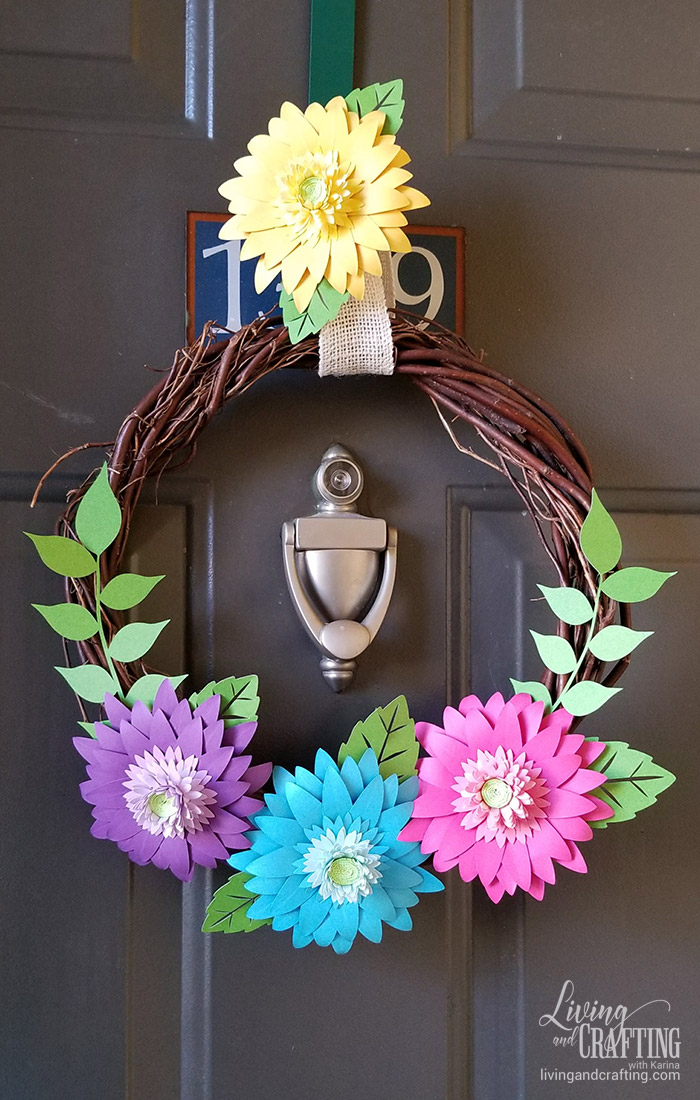
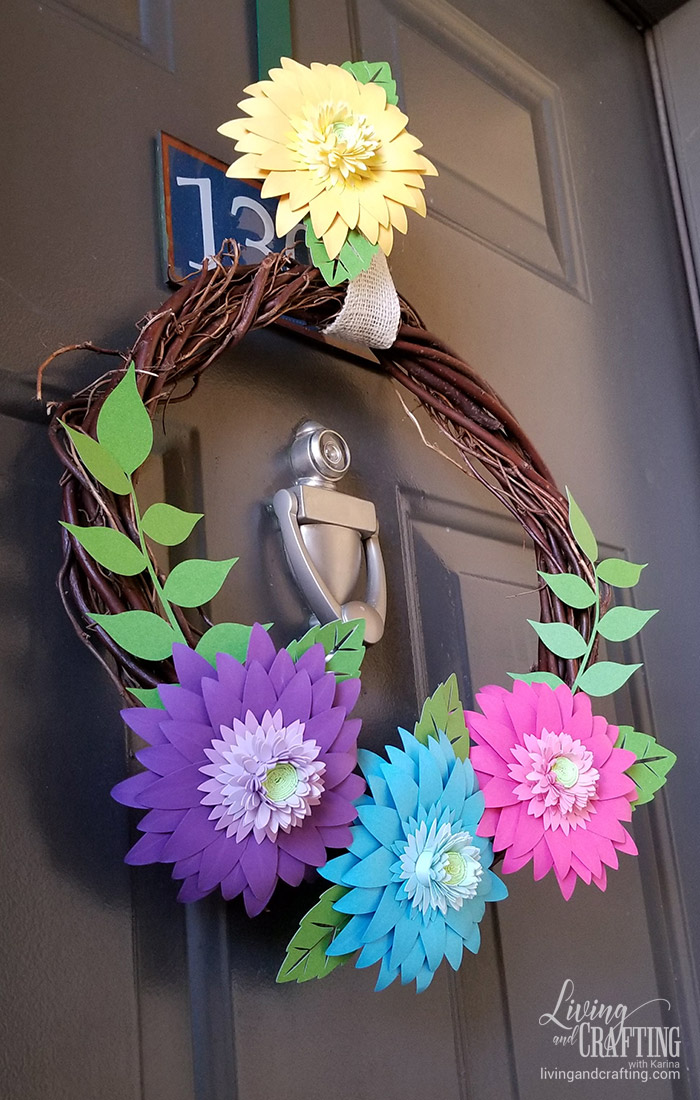
Look how it looks on the door of my house


I hope this tutorial will be your inspiration for this spring, do not hesitate to leave your comments or questions, and send me the photo of your Rustic Spring Wreath
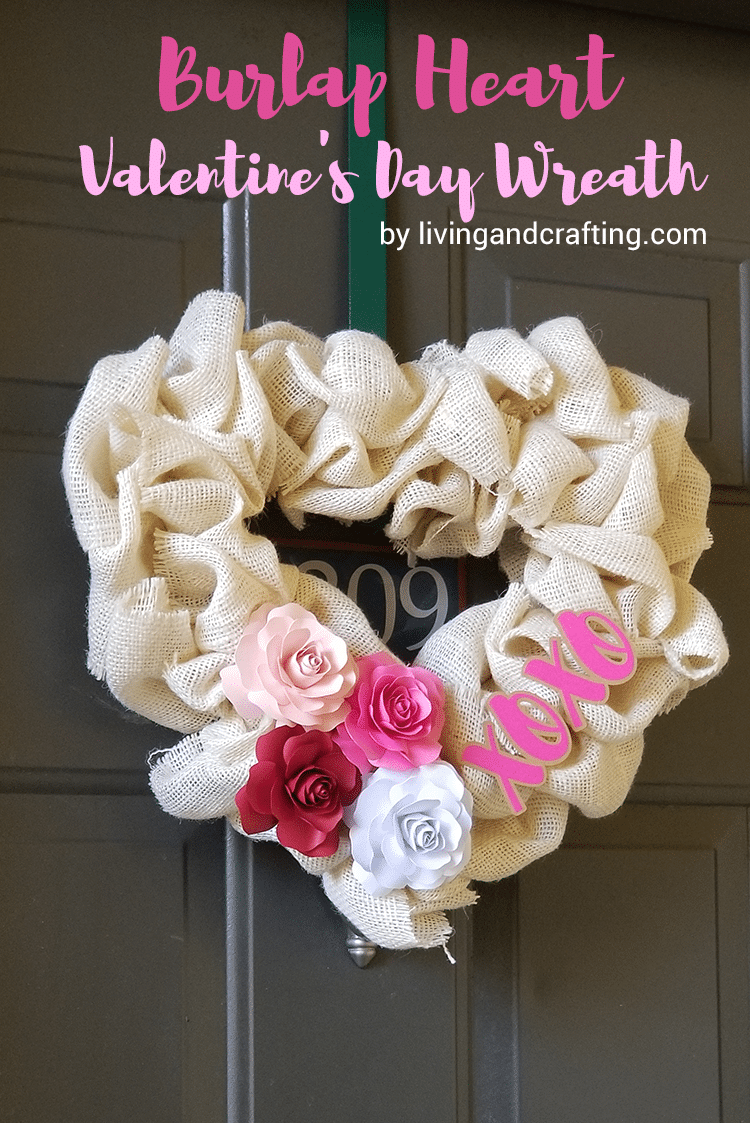
If you want to see another beautiful spring wreath, check out my friend Cami from The Crafting Nook for a cute one!

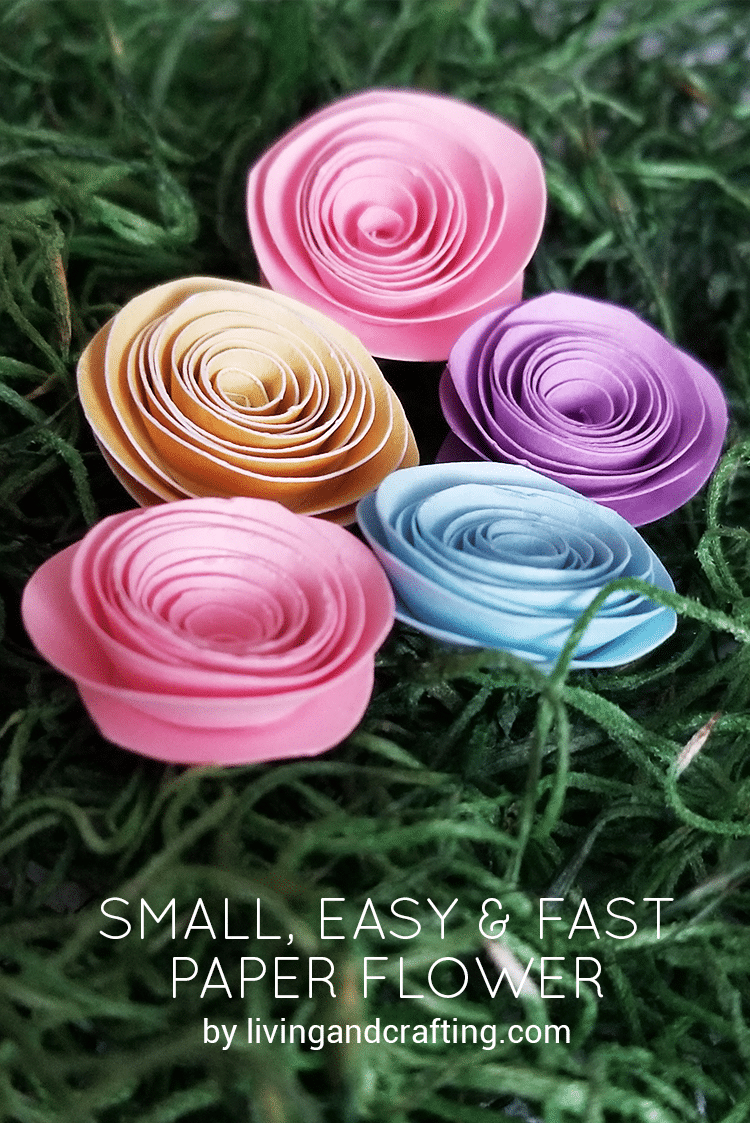
If you like this project, you might also like:

Kisses,
Kari